Zapier Webhook to connect to Zoho CRM
Zapier is a great tool for connecting different software services your business uses and sharing data in between them.
One tool that Zapier uses a lot is creating webhooks to serve as a link between your two accounts. If you want to set up a webhook between Zapier and the Zoho CRM system, simply follow the steps below:
Please note: Zapier may change the look and feel of this process. Several of the screenshots below are from Zapier's interface. They may update their interface after this documentation page gets published.
Recommendations before you get started: I recommend reading through all of the documentation first so you're familiar with the steps. I also strongly recommend that the appointment you use to test the zap has a client that has all the fields you want to map to Zoho saved on their client profile. You may first need to define the field labels for your client profile. There is more information on how to do this here: written docs or video tutorial.
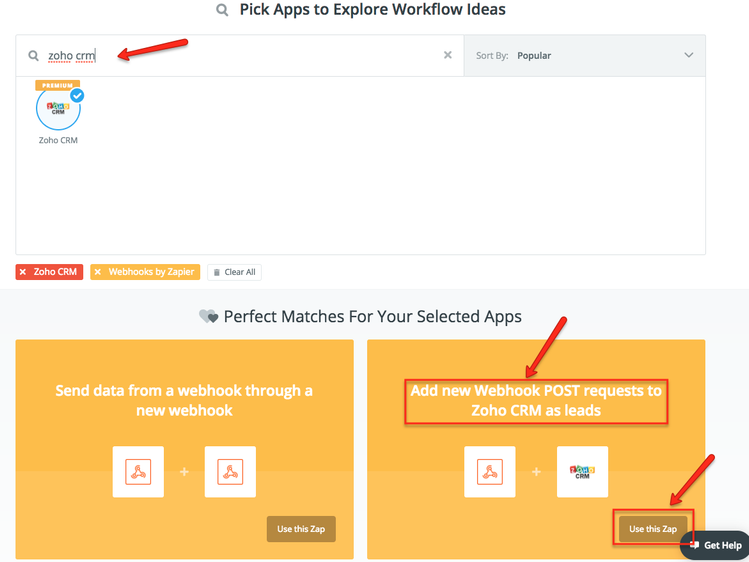
First, go to your Zapier account and search for Zoho CRM. Next, search "Webhooks" and click Webhooks by Zapier to add it to the search filter. In the results, you should see "Add new Webhook POST requests to Zoho CRM as leads". Find that option and click "Use this Zap" underneath it:
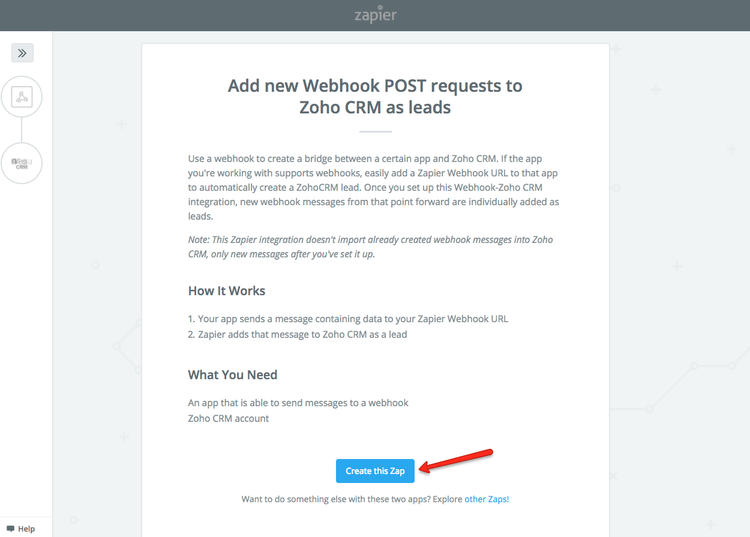
This will direct you through the creation process for setting up a new Zap. Click the button to "Create this Zap":
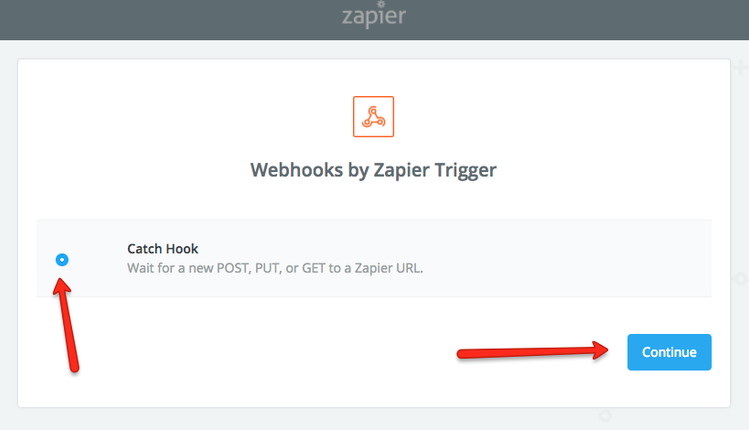
You'll choose the option to create a "Catch Hook" and press Continue:
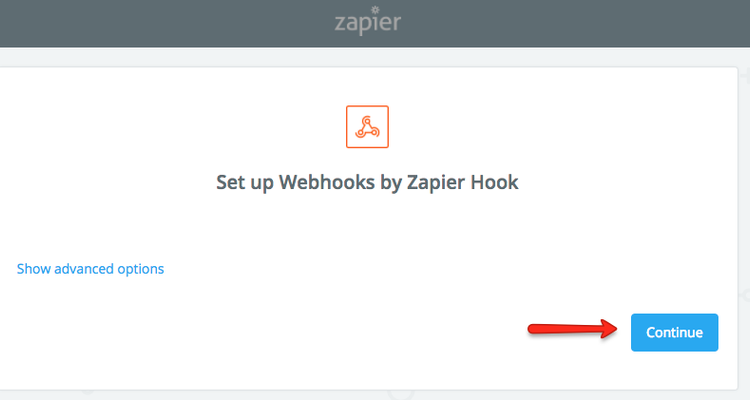
Click Continue on the "Set up Webhooks by Zapier Hook" page:
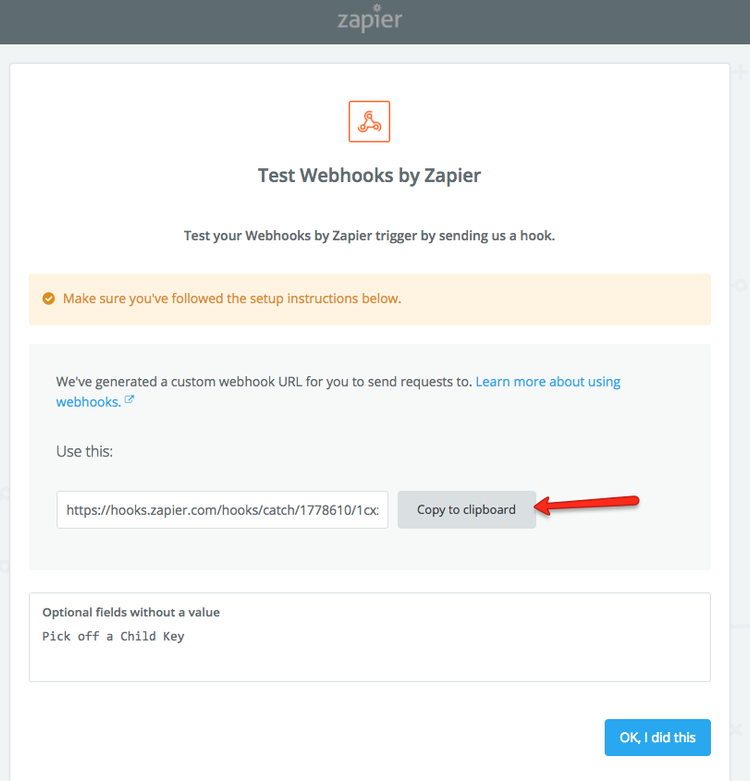
This will provide you with the web hook that you'll add to your TimeTap web hook integration field. Click the button to the right of the webhook to "Copy to clipboard":
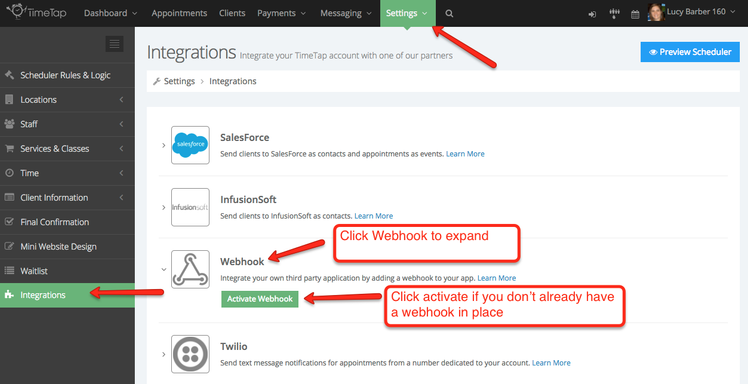
Login to TimeTap and go to Settings > Integrations > Webhook:
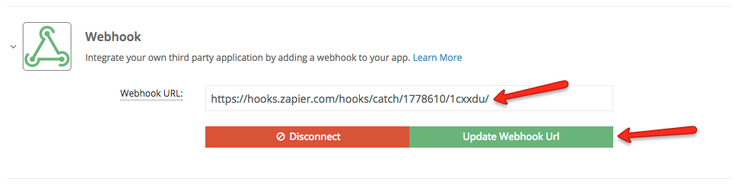
Paste in the webhook url provided by Zapier into the "Webhook URL" field and click the "Update Webhook Url" button:
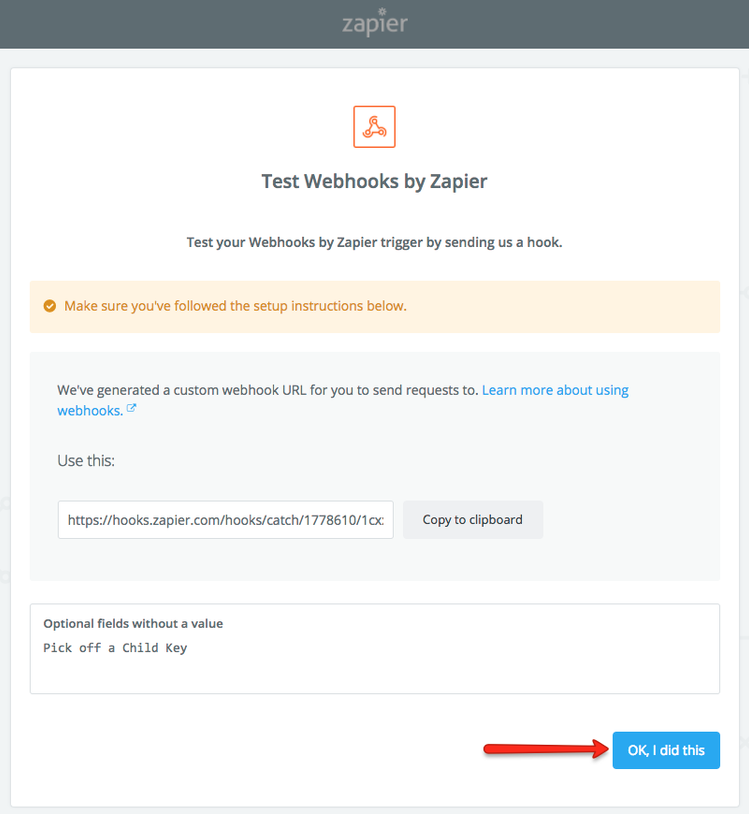
Now, Zapier is going to want to test the webhook. If you go back to where you have Zapier opened on your browser, you'll click the blue "OK, I did this" button:
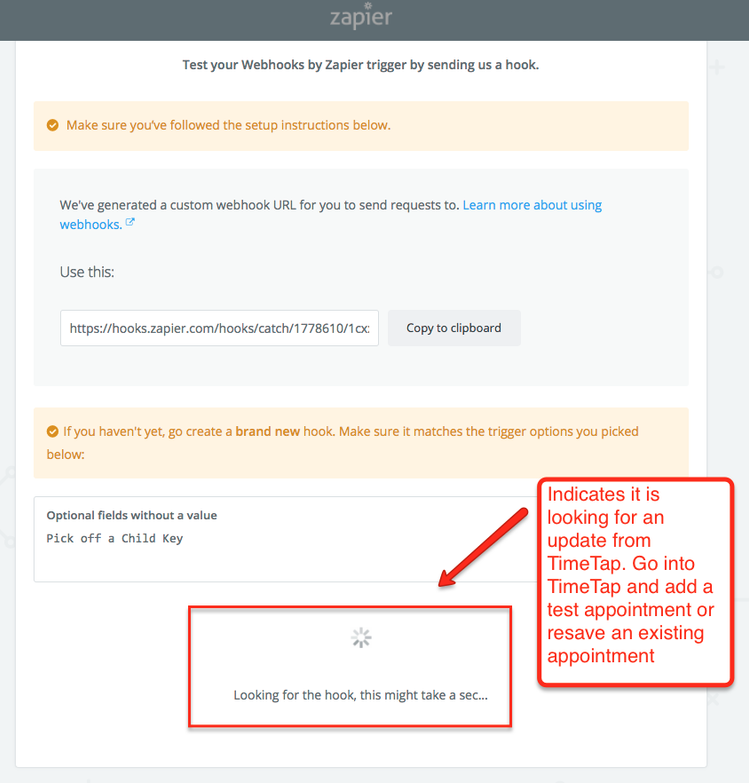
This will start the process where Zapier will listen for any updates to come through from the webhook url. To force an update to come through, go back to your TimeTap login, open up an existing appointment and click "Edit" and "Save Changes" which will trigger an update to POSt to the webhook. Once you've made an update, you can come back to Zapier and it should have registered the connection:
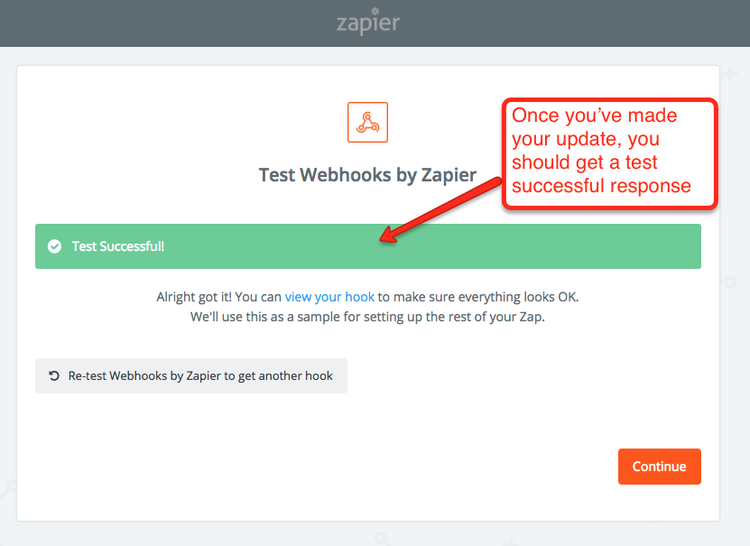
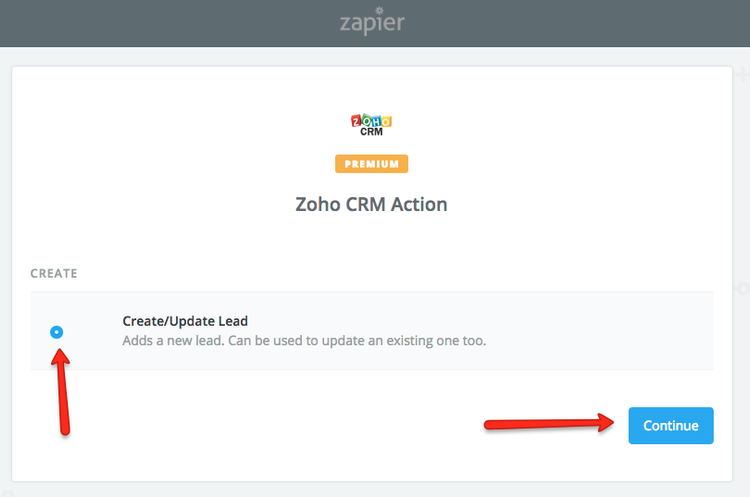
Click "Continue" after the test runs successfully. On the "Zoho CRM Action" page, select the option to "Create/Update Lead" and click "Continue":
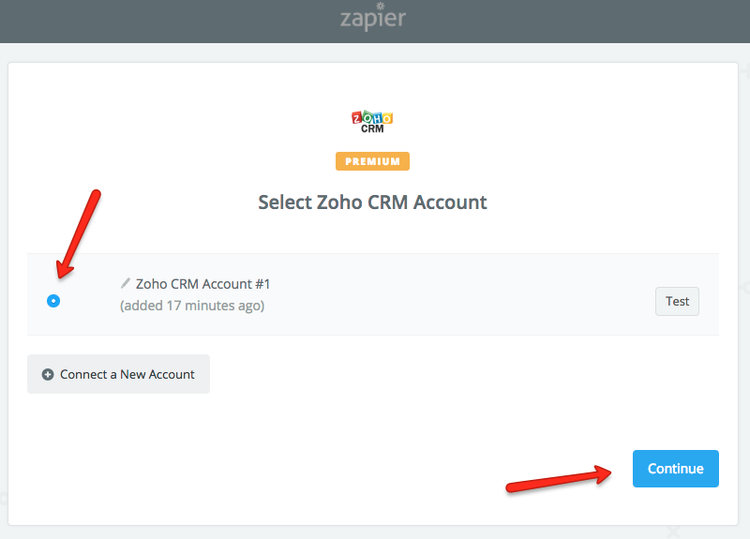
If your Zoho Account is already connected in Zapier, select it from the list. Otherwise, click "Connect a New Account" button. In the screenshot below, I have already added my Zoho account on Zapier so I will just select it from the list and click "Continue":
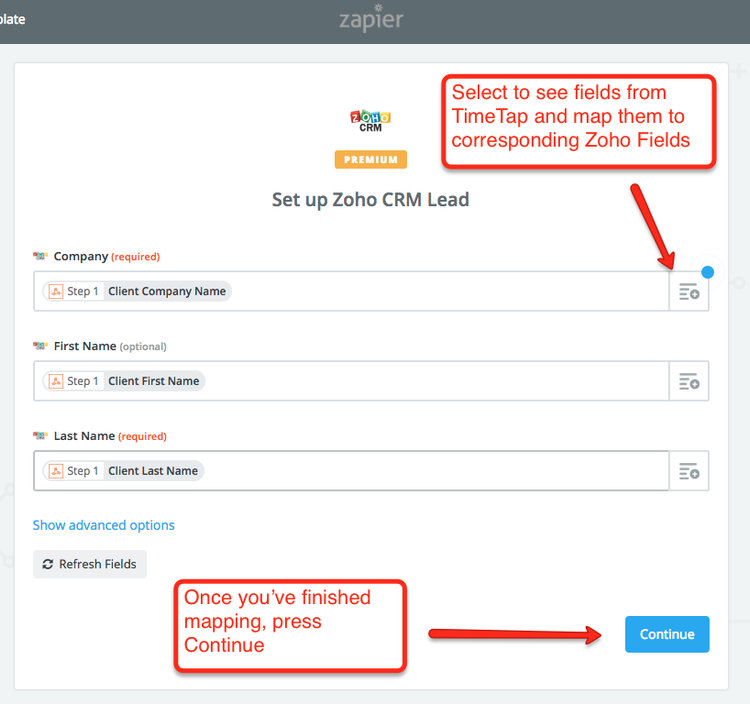
You'll then map the fields from the TimeTap webhook POST to your Zoho leads pages. Once you've finished mapping, press "Continue":
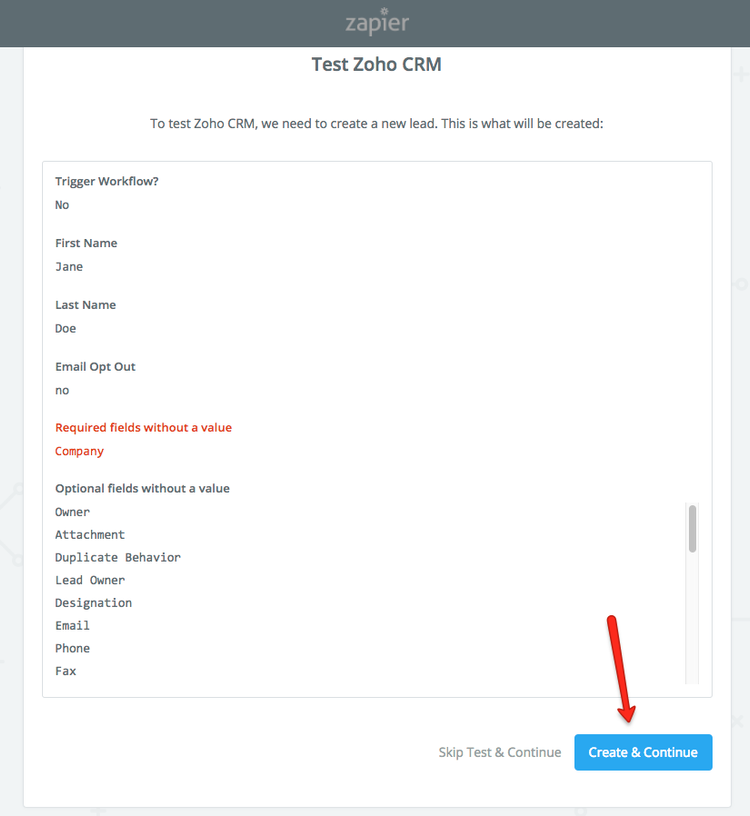
You'll get a quick confirmation message to show the information that is going to get passed via the webhook. Look through that and press "Create & Continue":
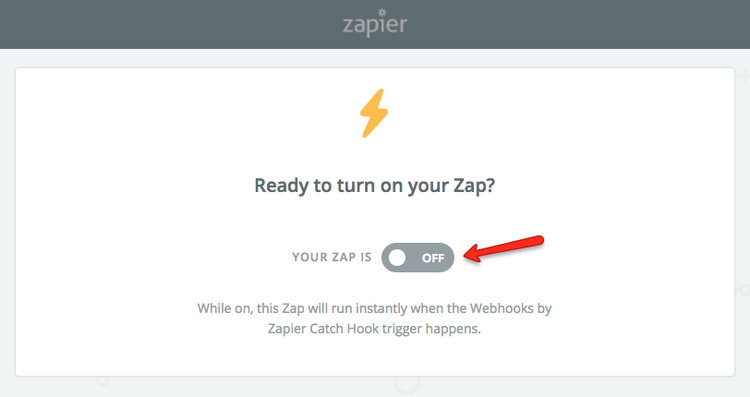
This will finish your setup process and you can turn your zap on:
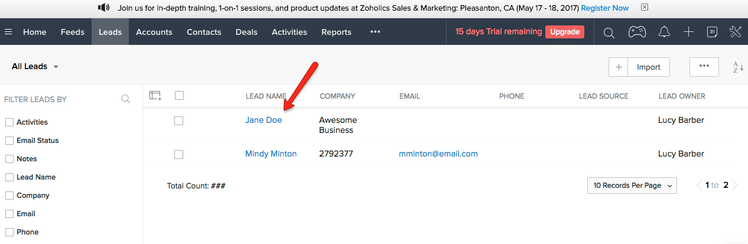
You can also take a look at your Zoho CRM and you'll see that the TimeTap client from your test appointment that you saved will have come through to Zoho as a lead: