...
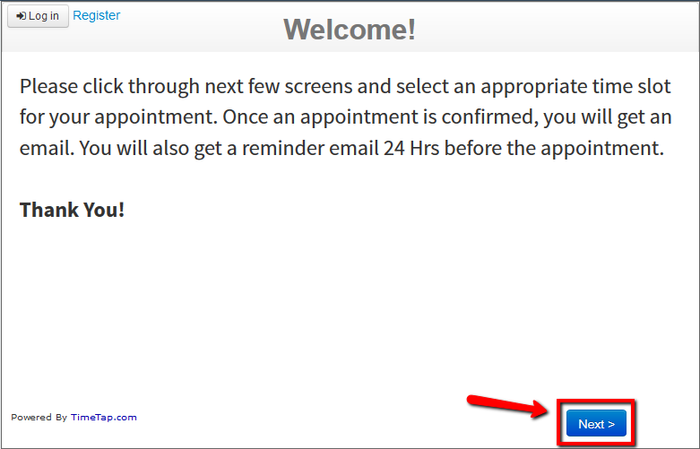
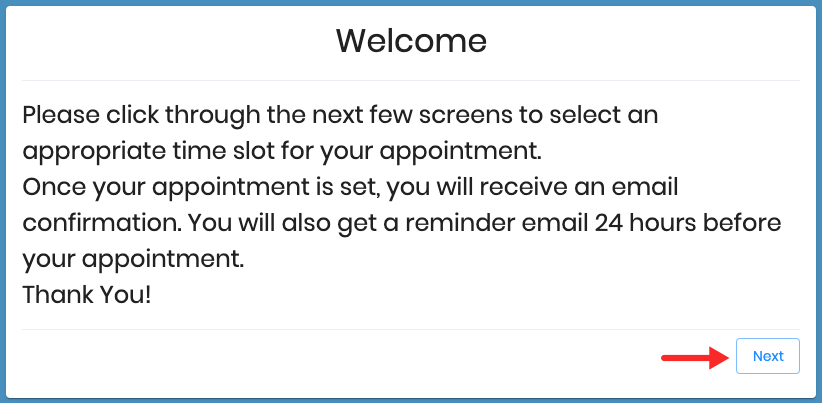
To start, when you get to the business's scheduling page, their scheduler will open up with a Welcome message:
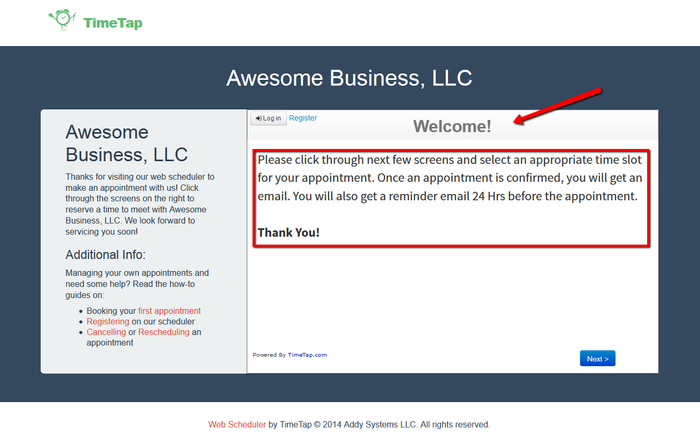
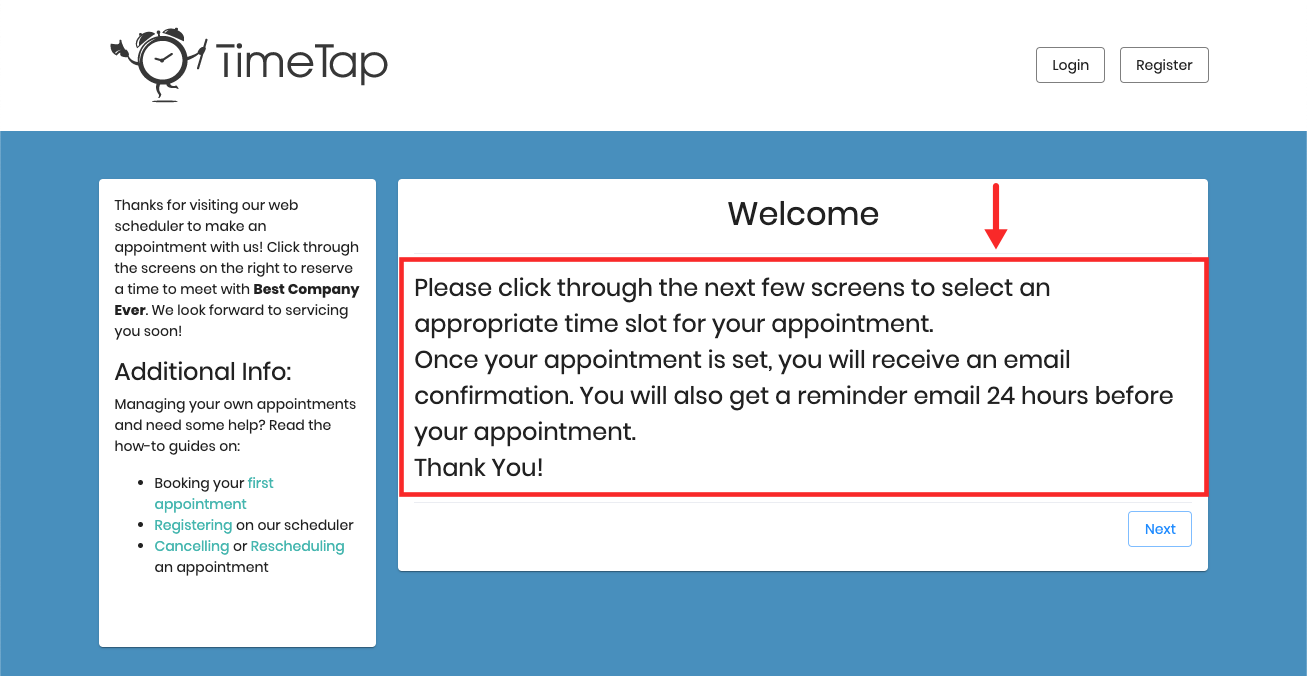
We recommend scanning or reading this welcome message each time you come to book a new appointment as the business may use it as a way to communicate updates to their booking process.
After reading the Welcome message, go ahead and click the blue "Next" button in the bottom right to move on to the second page of the scheduling flow:
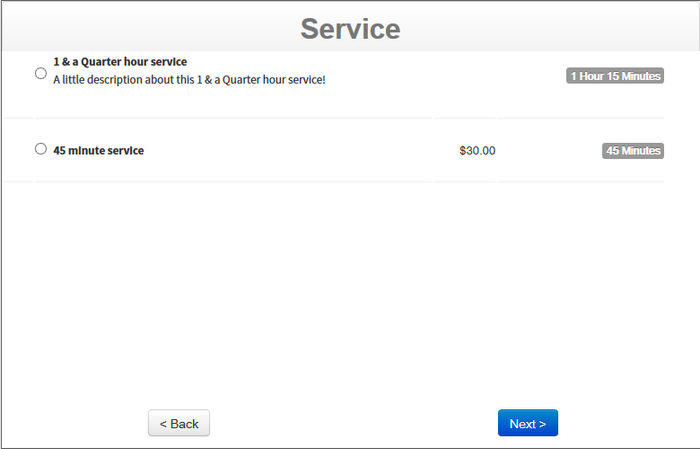
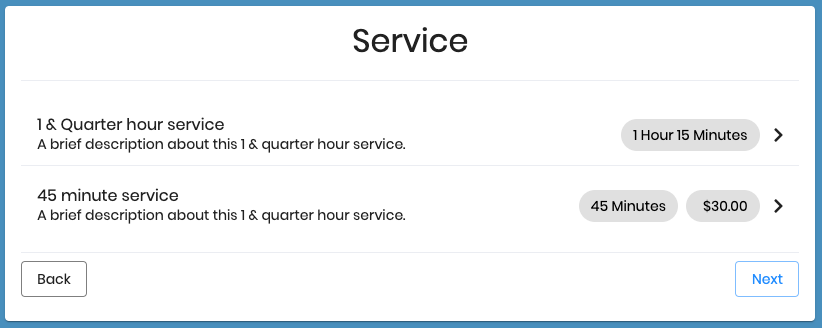
On the second page following panels of the scheduling flow, you'll choose the service that you are booking for your appointment. Depending on what type of business or organization you are booking with, this could be anything from a "1 Hour Massage" to a "30 Minute Parent-Teacher Meeting". The service may have a description underneath it or it may have a price to the right of it. The service may or may not display the total duration on the far right hand side as well.:
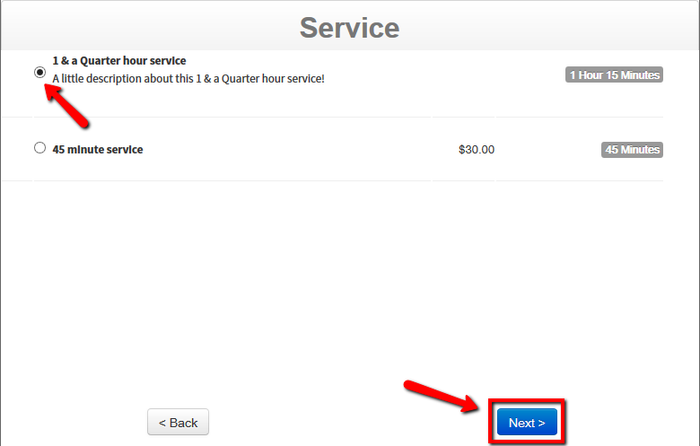
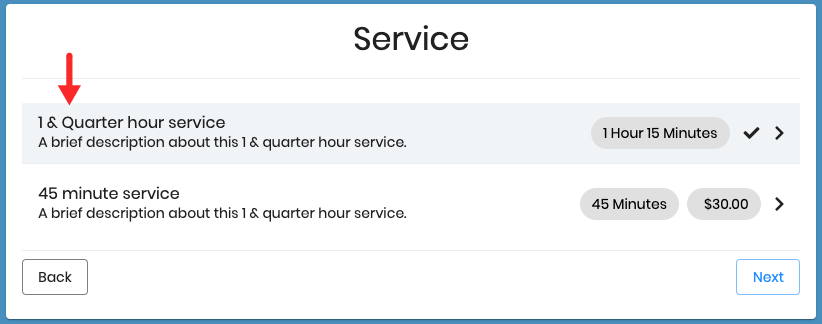
The next thing you'll do is select the radio dial button to the left of the service you want to book and click the "Next" buttonwill automatically move to the next panel:
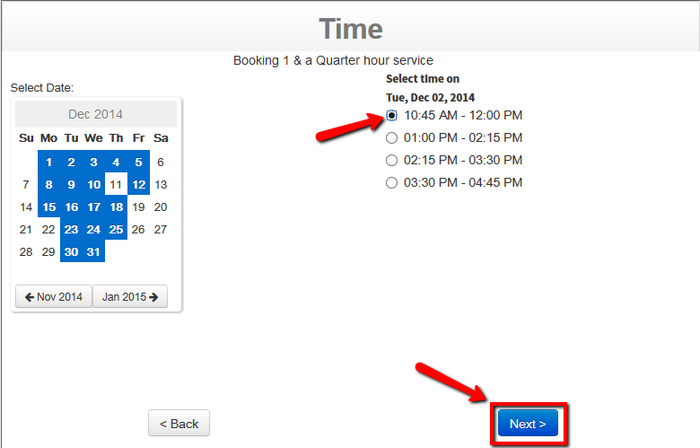
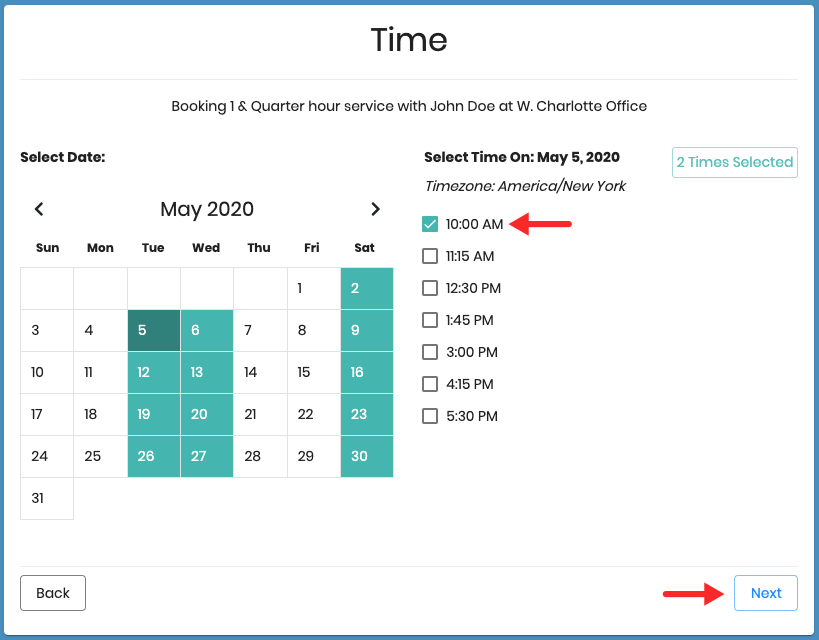
On the next page, you'll see a calendar on the left with the days of the week in a given month that the business is available to accept appointments. On the right you'll see the available appointment time slots for you to choose from on those days:
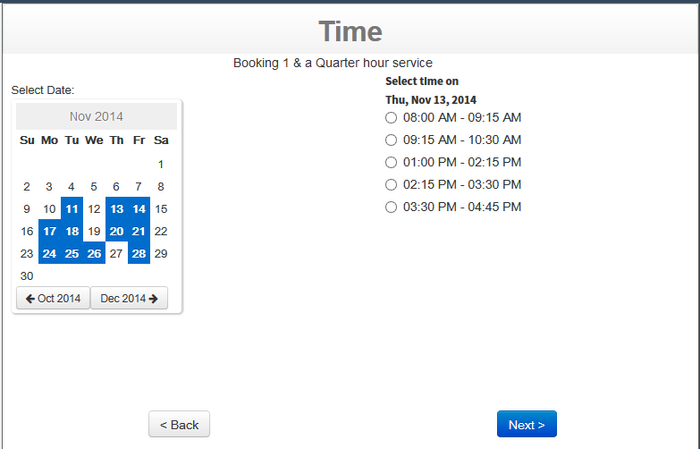
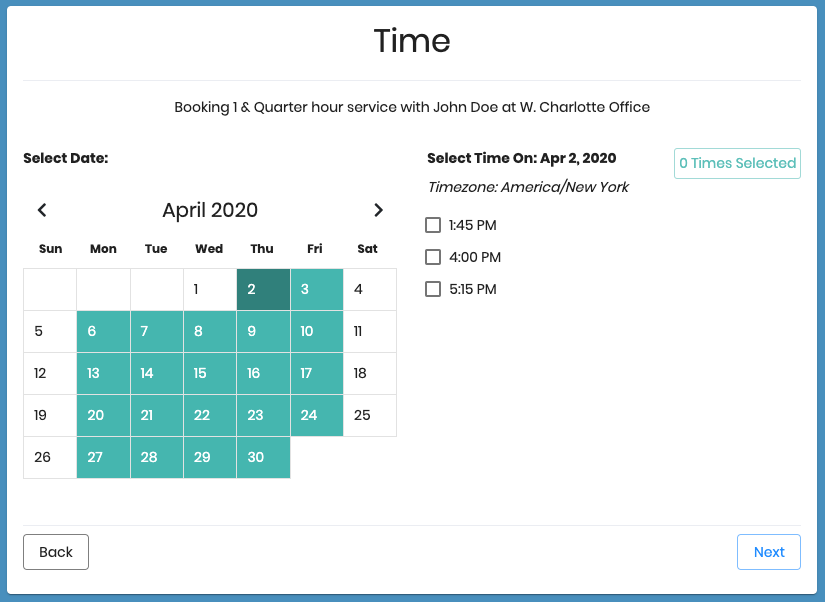
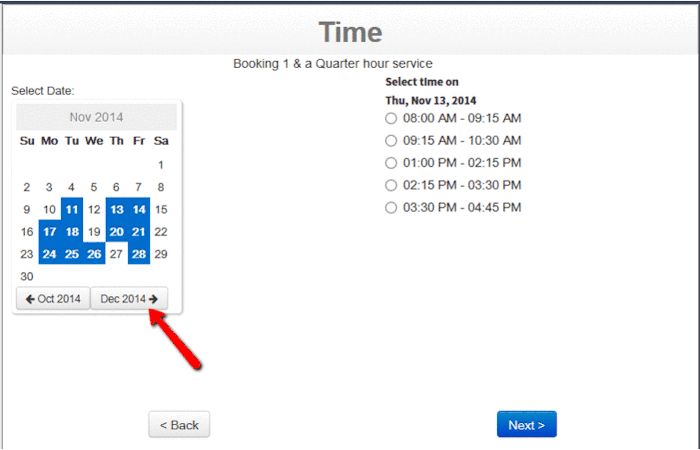
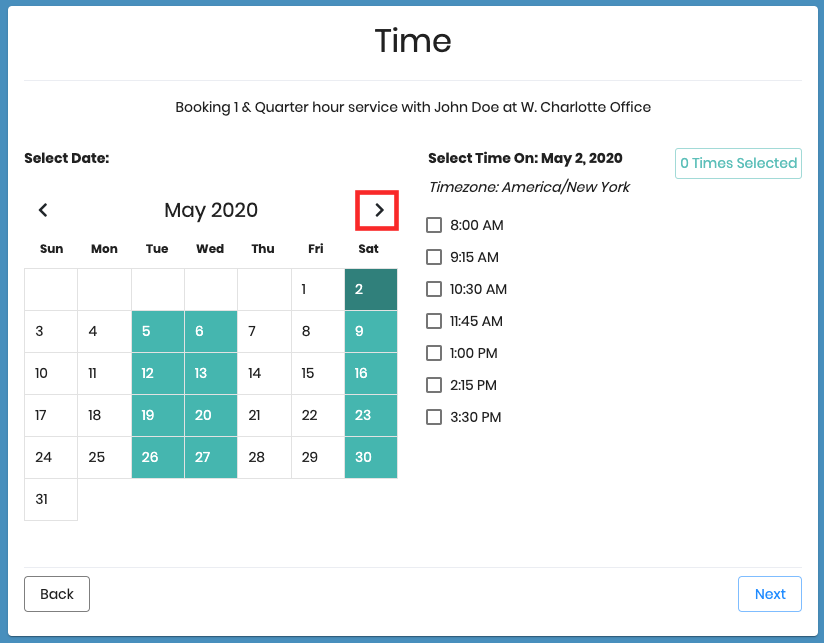
You can use the month buttons to scroll through the months to view different months if you are looking to book an appointment further out. Most businesses do have a cap on how far out you can book an appointment so you may run into the "Advanced booking not available after X date" at some point:
Once you have found the day you want to book on, select a time that works for you and click "Next":
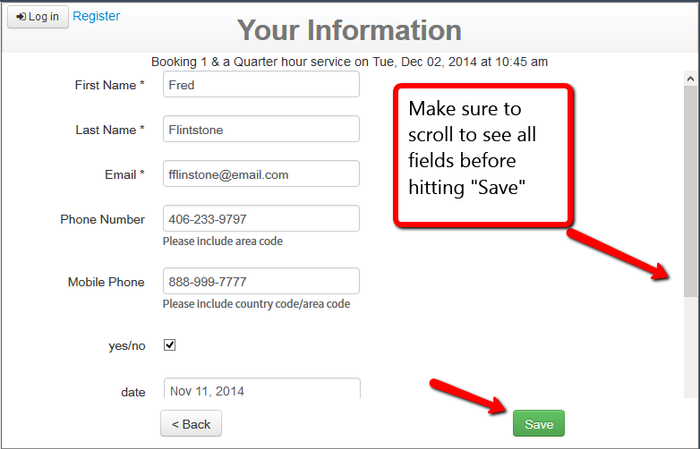
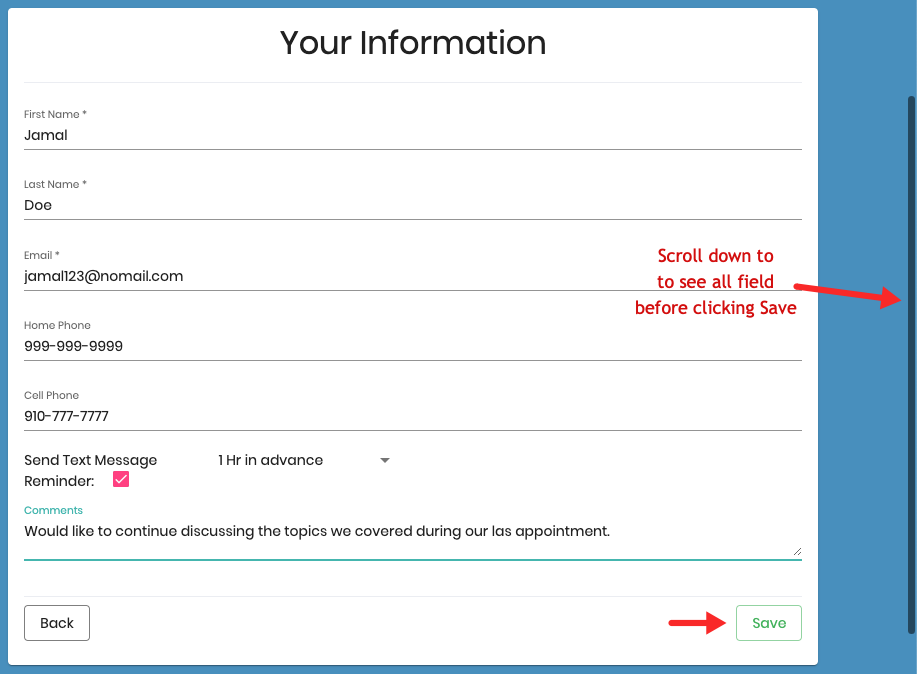
The second to last page is the page that captures your information in order to reserve the appointment time. Any required fields are indicated by the asterisk * mark:
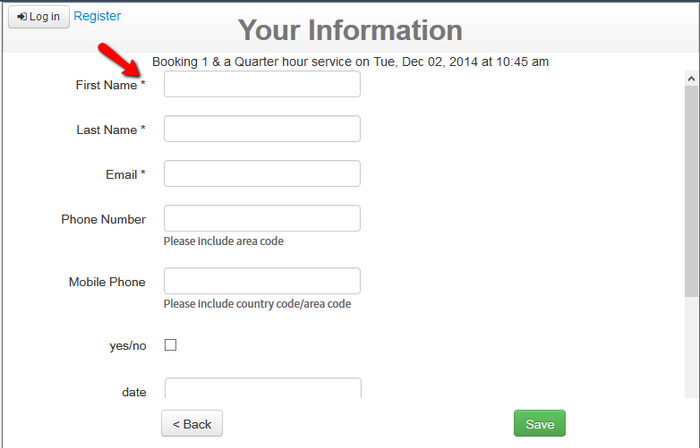
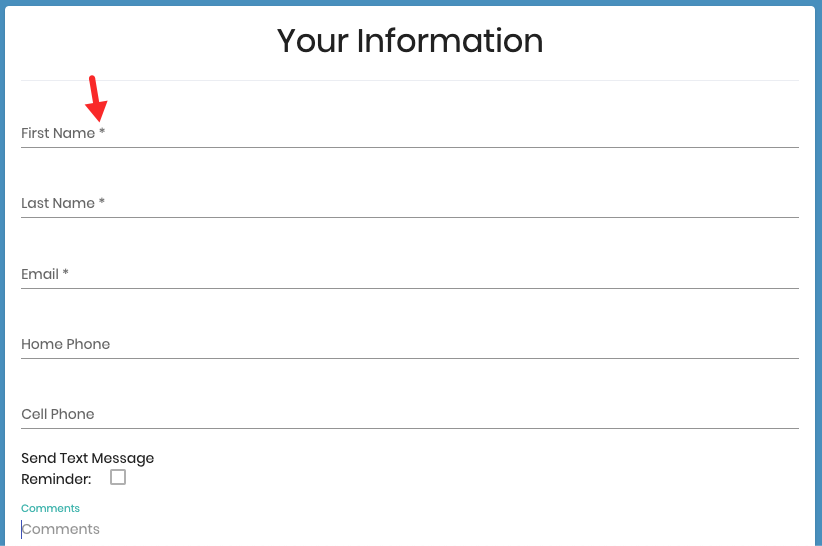
Also, there may be additional fields that a business is asking you about but you need to scroll in order to see them. Make sure that you scroll to the bottom of this page and fill out the required fields before hitting save:
After pressing save, you'll be directed to the appointment confirmation page which will summarize your appointment details with whatever information the business you're booking with feels is important to relay:
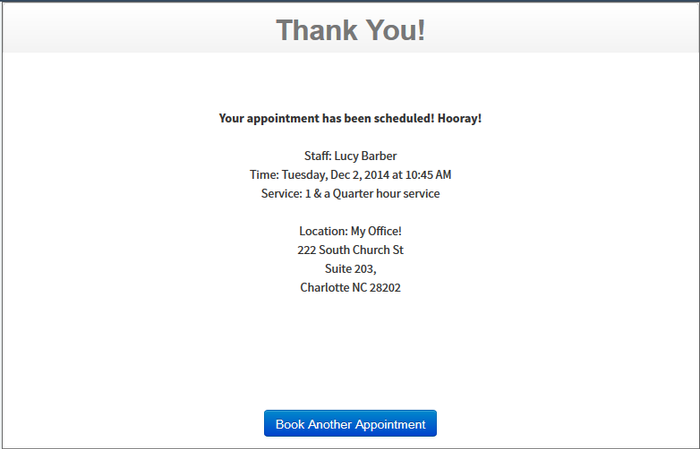

This summary information may include:
...
You will also now receive a confirmation email which will have a link to click where you can either Cancel the appointment or Reschedule it if need be.