...
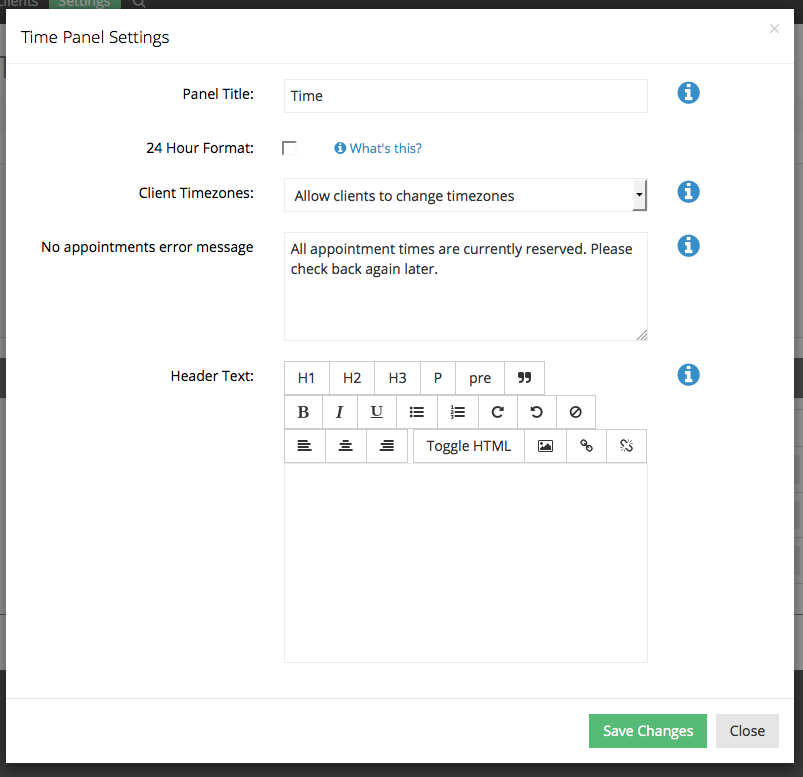
- The title of the panel
- The Time format (if you'd prefer 1:00pm to show as 13:00)
- Whether client can see the time when their appointment end
- Whether clients can adjust their timezone (or whether the appointment times just display in the business's time zone setting)
- What error message appears when there's no availability for services and no seats left for any class sessions
- The help text that appears at the top of the panel
You will make each of these changes by going to Settings → Time and clicking on the "Time Panel Settings" button:
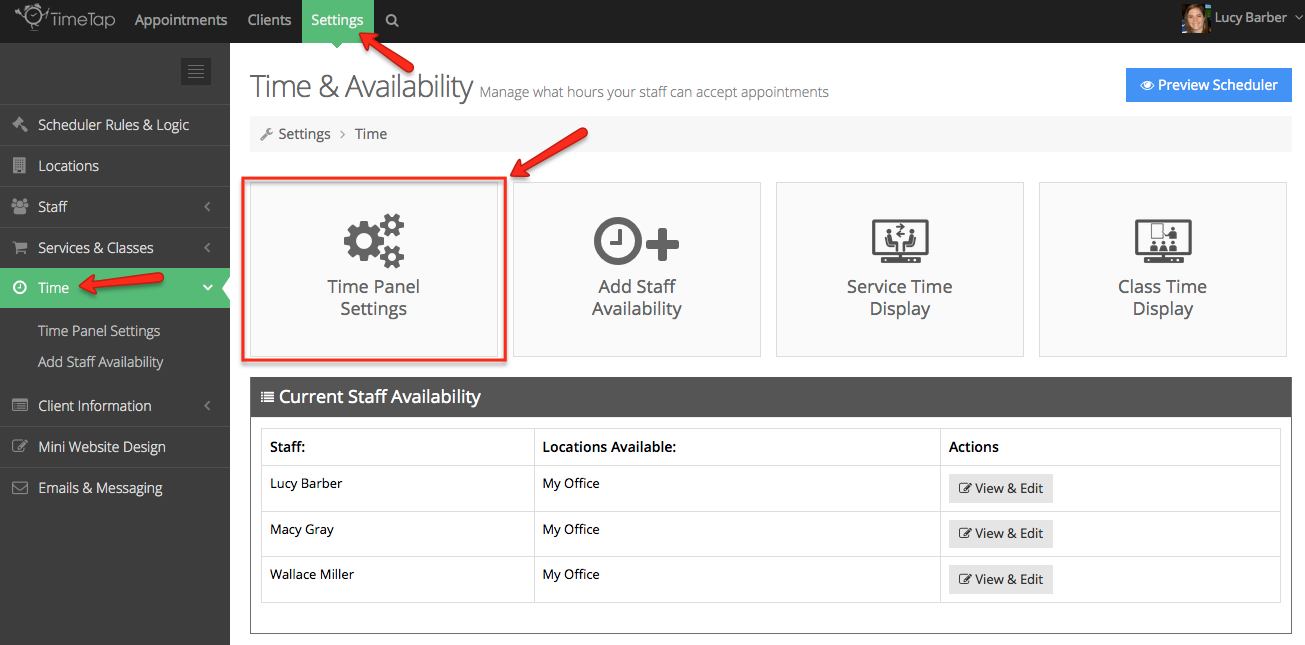
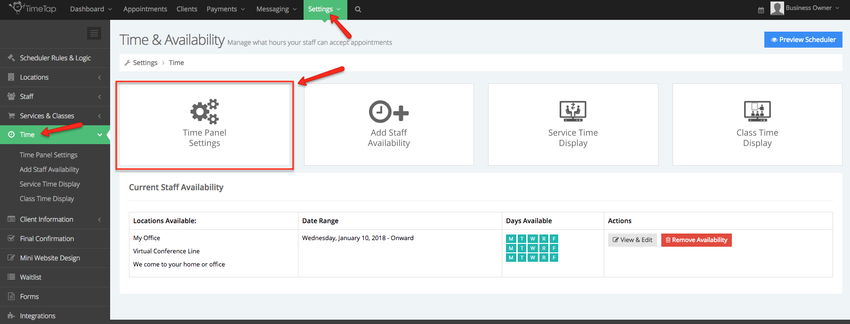
This will bring up your Time Panel Settings window:

| Anchor | ||||
|---|---|---|---|---|
|
...
- Panel Title: this is what displays in the header bar of the screen on the scheduler where clients are picking the date and time of their appointment
- Time Format: if you would prefer to display the appointment times in military format, you can turn on the 24 Hour Time Format option which would essentially make 1:00pm display as 13:00
- Show Appointment End Time: Select this option if you want to show both, the start time and end time of the appointment to your clients
- Client Timezones: by default, TimeTap will auto detect what timezone your client is in and display appointment times to your client in that timezone. It will also assign that time zone to your client in the client's profile. You have the ability here to change this default setting so clients are either (a) not able to change timezones and thus all appointment times display in your business's timezone setting (from point #3 above) and all clients would be assigned to that timezone or (b) not display the timezone at all
No appointments error message: This is the message that will appear when no more appointment times are available for your clients to book with you. By default it reads "All appointment times are currently reserved. Please check back again later." but if you are a TimeTap Professional user you can edit this message to include whatever language you would like for it to.Status colour Green title TimeTap Professional Feature
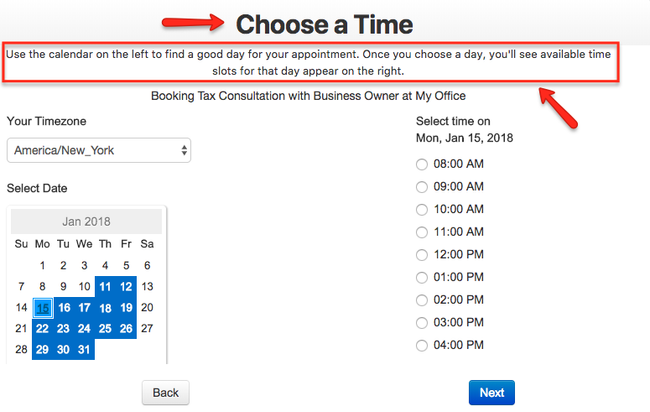
- Header Text: Whatever text you enter here will show up at the top of the "Time" Panel in your scheduling flow. This can be used to explain more around the times you're available or to offer clients another option for getting in touch with you if they don't see a time they like for their appointment.
...
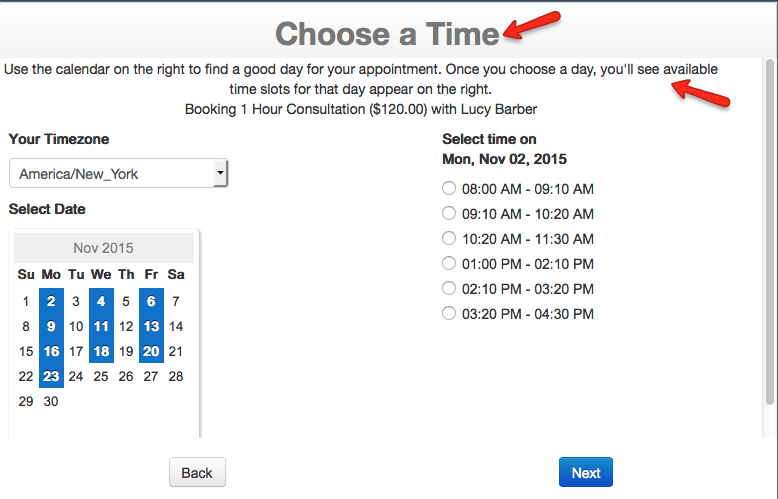
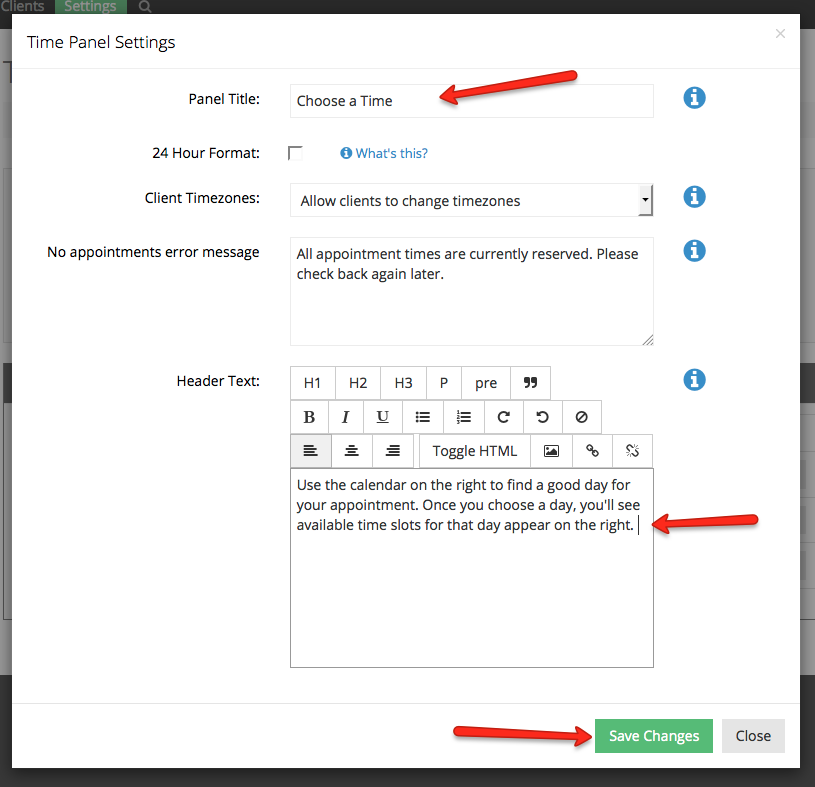
For instance, in the screenshot below you'll see I've changed the Panel Title to "Choose a Time" & added a bit of a description to the header text box:

Then when I go to my scheduler and view the Time page, I'll see the updated header and the appointment start times display every 15 minutes hour on the days I'm available: