...
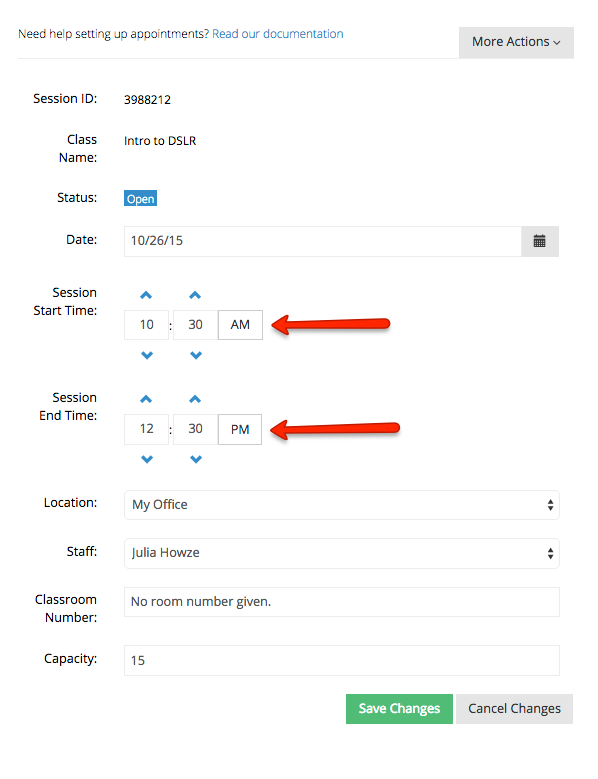
Clicking this will turn the screen from view only mode to edit mode. From here you can make any of the adjustments you need to and it will update for all registered attendees in the class. For instance, if I needed to change the above class session so that it started at 10:30am instead of 10:00am, I can simply change the Session Start Time:

By . By changing the start timeSession Start Time, the end time will also automatically update based on the duration of the class. From here
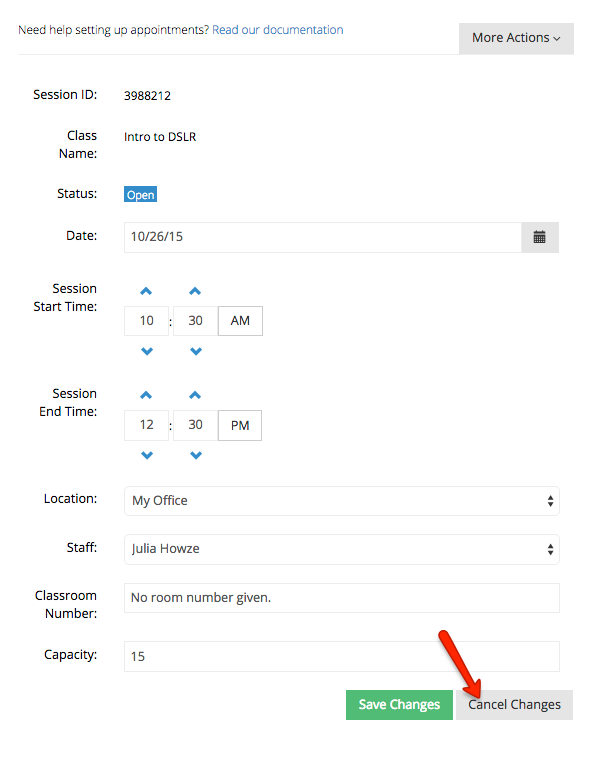
Let's say, however, if I go to edit an appointment and as I’m making the changes in Edit Mode I realize that I’m editing the wrong appointment, I can easily roll back the changes. While in Edit Mode, there is a button next to the “Save Changes” button at the bottom right-hand side of the screen called “Cancel Edits.” If, at any point in editing an appointment, you decide to discard your changes, you can press the “Cancel Edits” button to revert the appointment back to its previous state and exit Edit Mode.
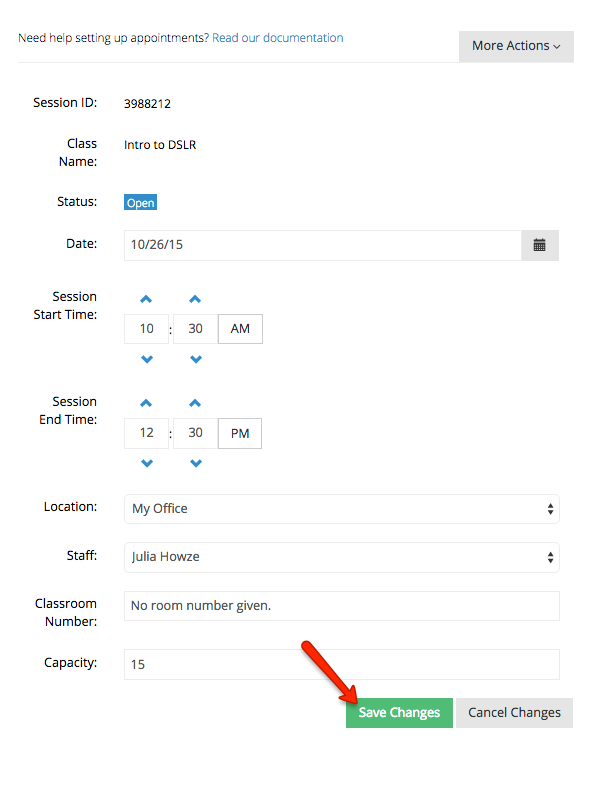
If I am satisfied with my current changes, I can press "Save Changes" and choose whether I want to send out .
A dialogue box will appear providing me the option of sending the attendees an email to
...
notify them of the change.
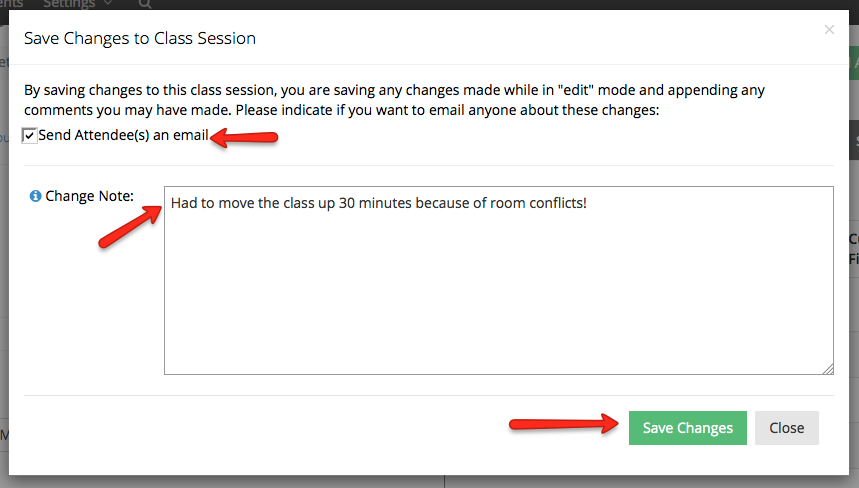
Once I press Save Changes on the send email window, the email will go out to all registered session attendees and the class session details screen will go back to view only mode with the new time saved:
...