...
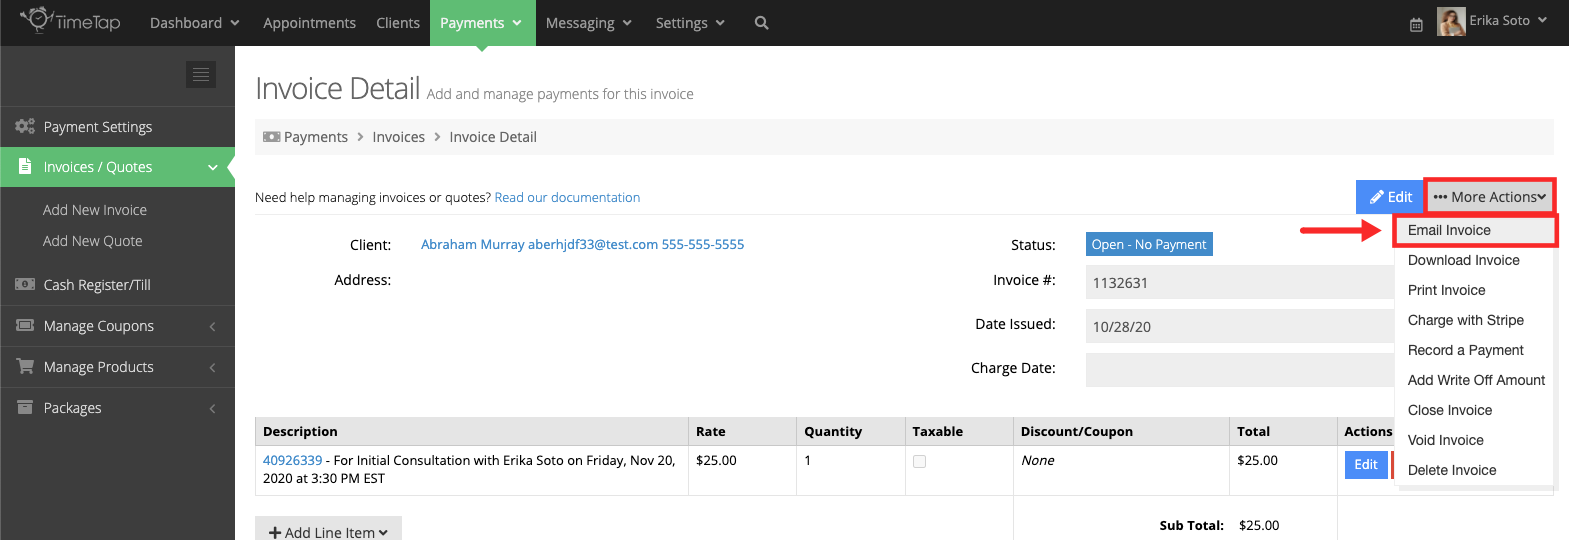
With the invoice created click More Actions and select Email Invoice:

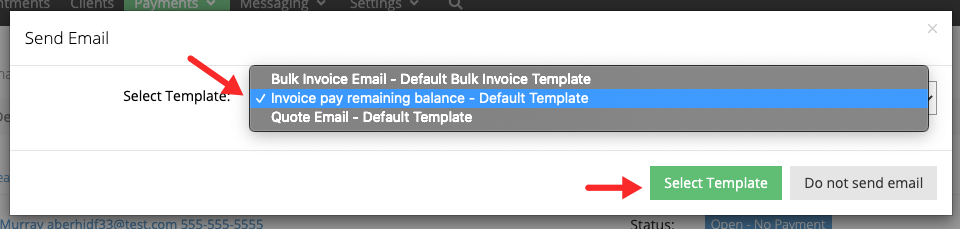
In the Send Email template window, you'll see the following options:
- Bulk invoice Email - Default Bulk Invoice Template: Send this template if you want your client to see a summary of their invoice, this template does not have an option for clients to submit payment.
- Invoice pay remaining balance: - Default Template: Send this template if you want your client to see a summary of their invoice and have the option to pay.
- Quote Email - Default Template: Send this template if you want your client to see a summary of their quote, this template does not have an option for clients to submit payment.
For our example, we'll choose "Invoice pay remaining balance" because we want to give the client the option to submit payment. After the selection is made, click 'Select Template':
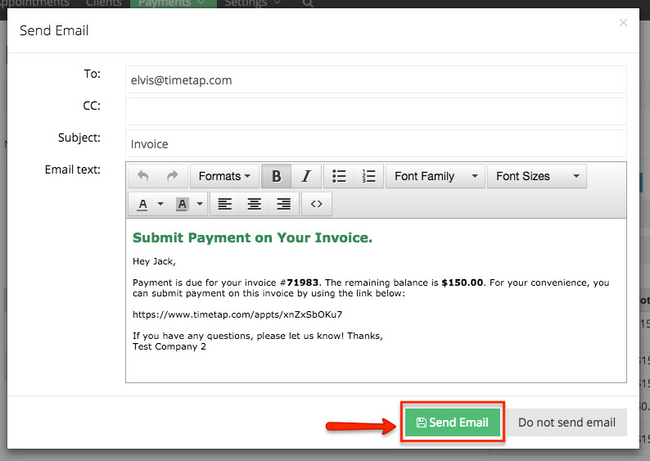
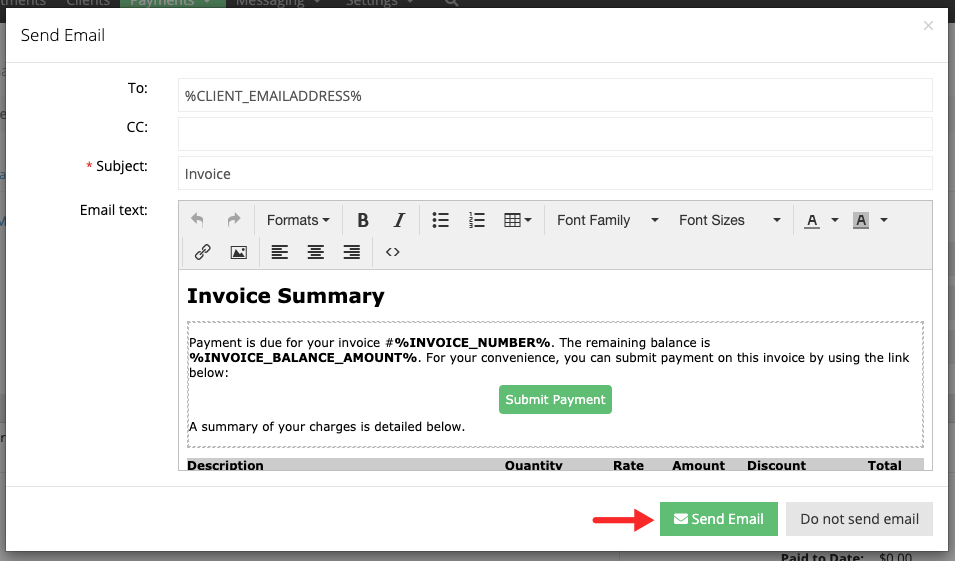
You will then see a preview of the email you are about to send to your client, keep in mind that the information in this email can be modified by updating your email templates. After quickly reviewing the email, click Send Email:
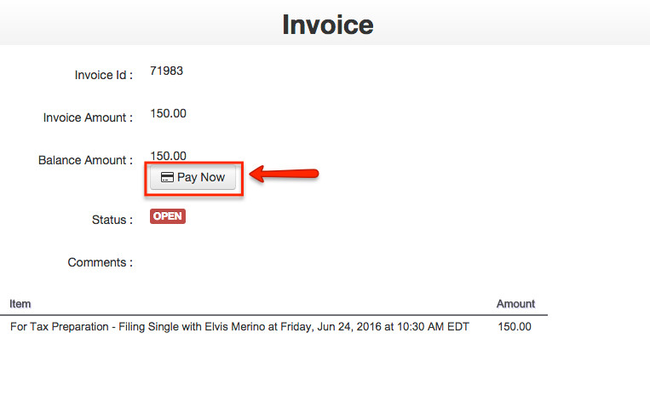
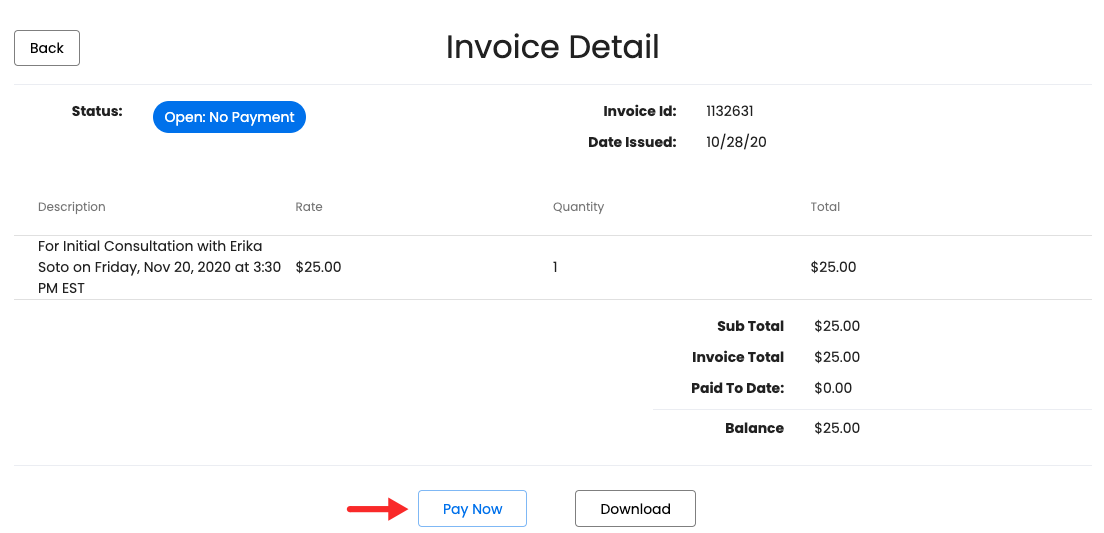
When your clients click the hyperlink in the email they will taken to a landing page where they will have the option to view their invoice and submit payment by clicking Pay Now:
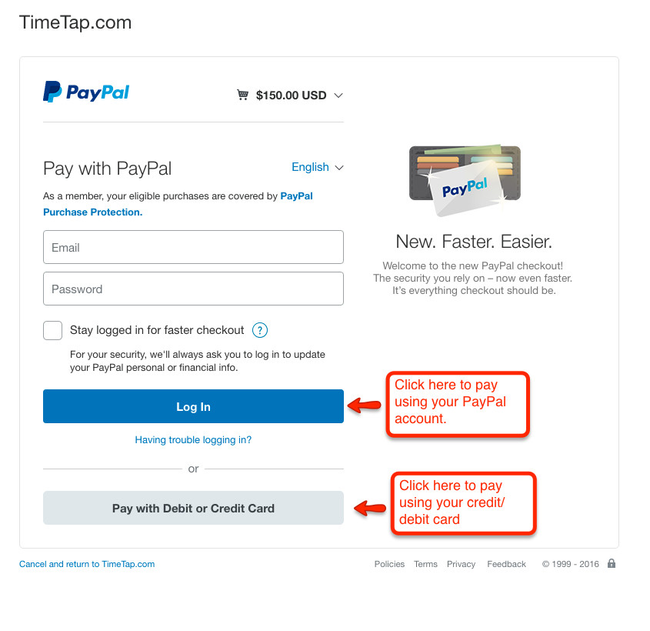
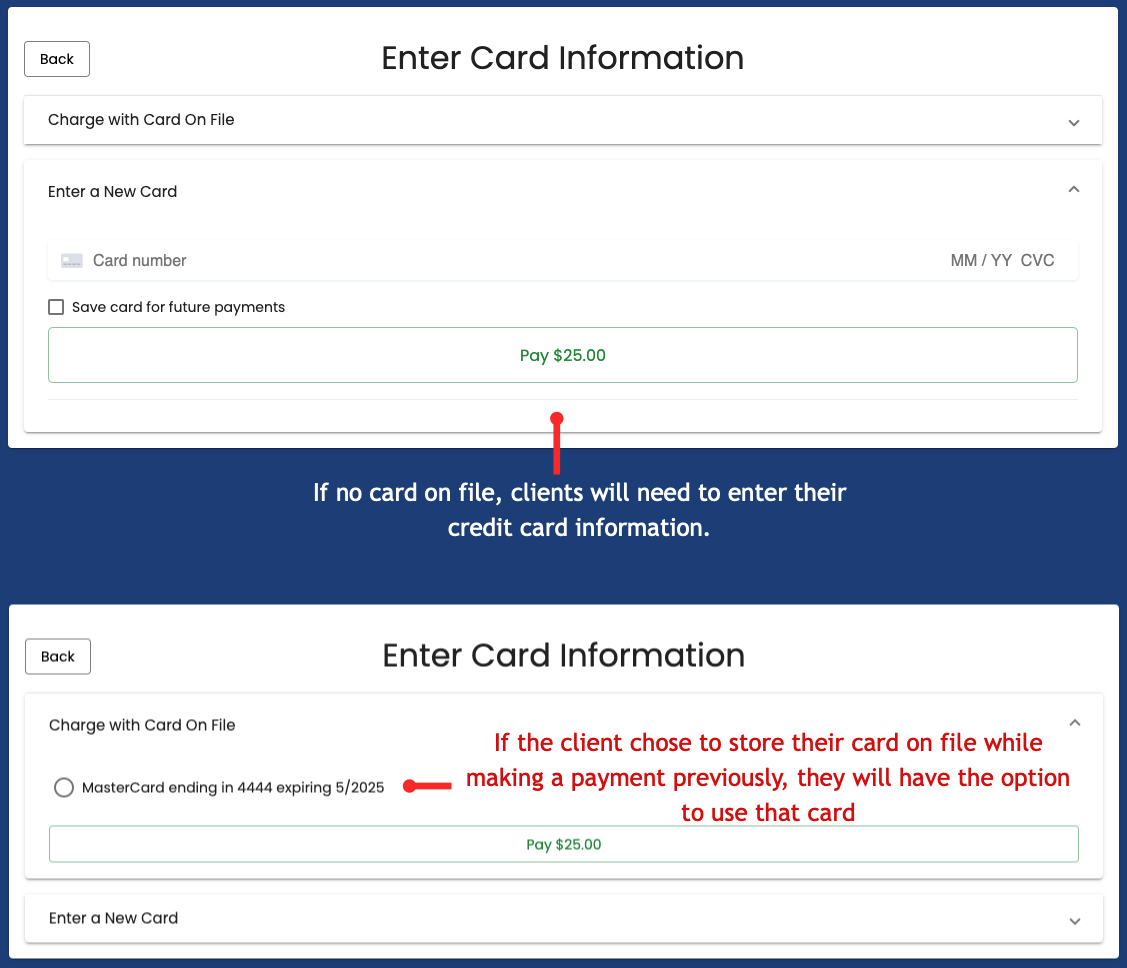
Depending on the payment service you activated your customer will be able to submit payment through PayPal, Cayan, Authorize.net, or E-xact. The example below gives an idea of what your customers will see in PayPal Stripe once they have chosen to submit payment:
After the payment has been submitted your client will receive an confirmation which they can print for their records and the invoice will automatically sent to Closed-Paid