| Anchor | ||||
|---|---|---|---|---|
|
In this page we will cover how to:
If you have any questions about adding file upload fields after reading through this documentation, please feel free to reach out to our support team and we'd be happy to answer them for you.
In this scenario, I want every client to upload a completed disclaimer form at the time they book an appointment. Once this form is uploaded I want to keep it in their profile for future reference.
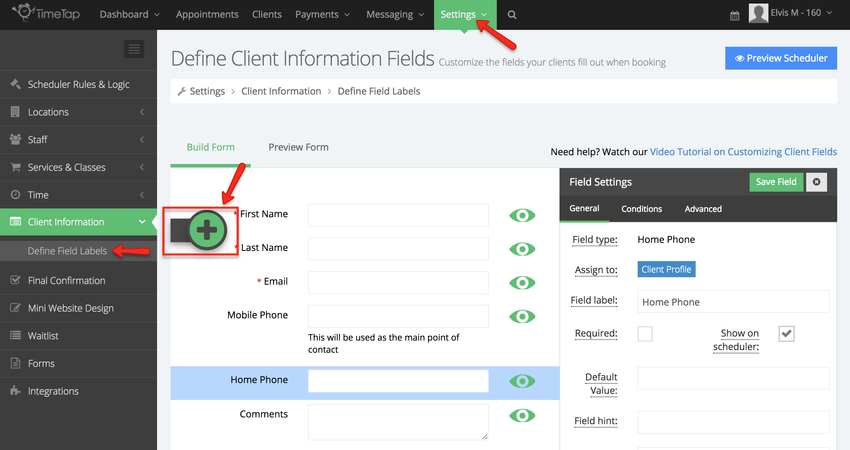
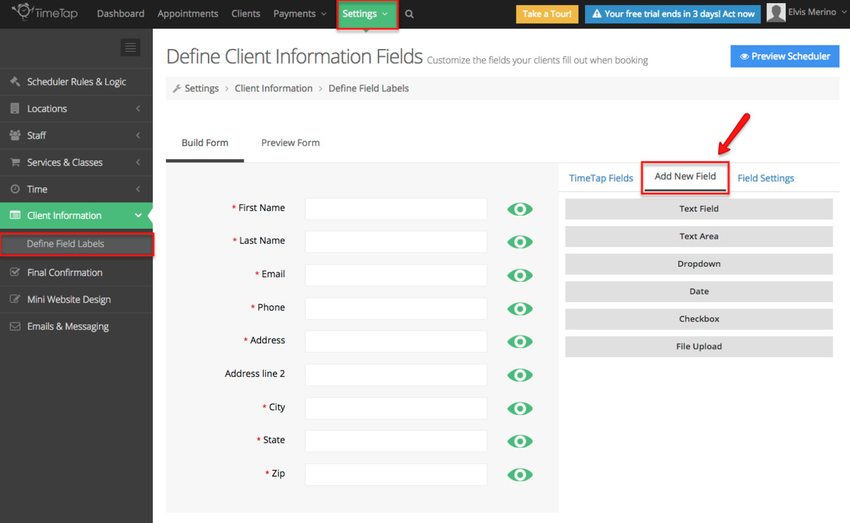
First go to Settings → Client Information → Define Field Labels, and click the "Add New Field" button:
After you've clicked the "Add New Field" button, select the Add New Field tab:
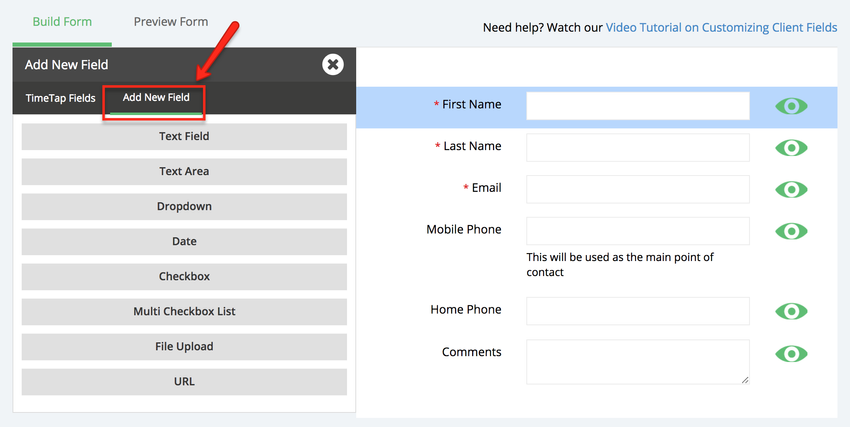
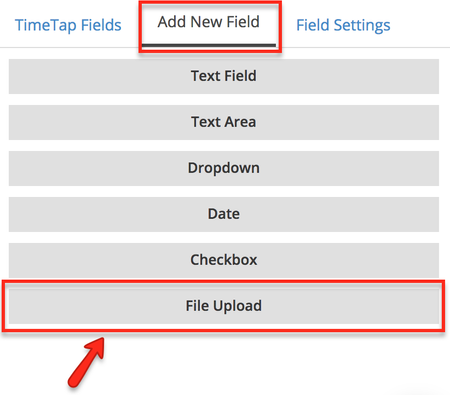
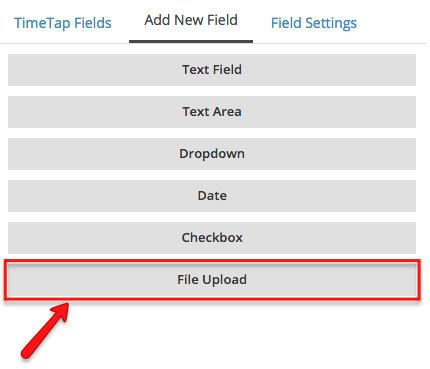
Once in this tab you will see a list of all the types of fields you can create, select File Upload:
I will assign this field to the client profile and will make it required:
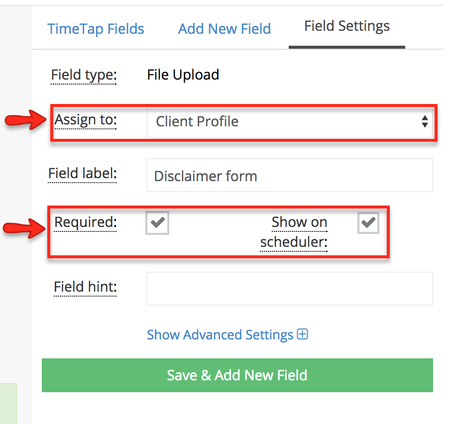
I will then assign the field label as 'Disclaimer Form':
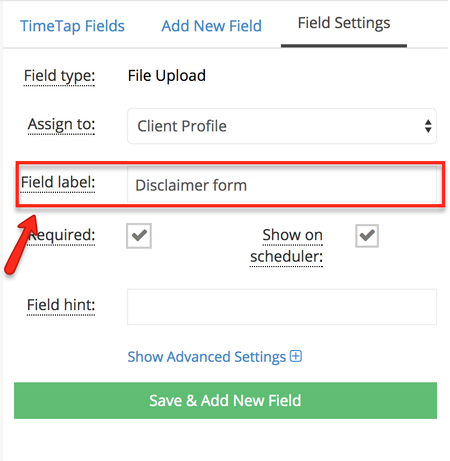
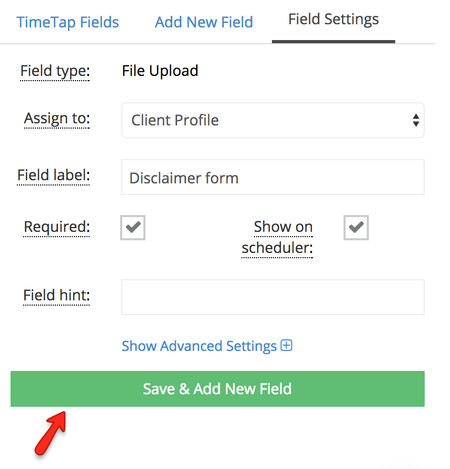
Once I've entered all the field details, click Save & Add New Field:
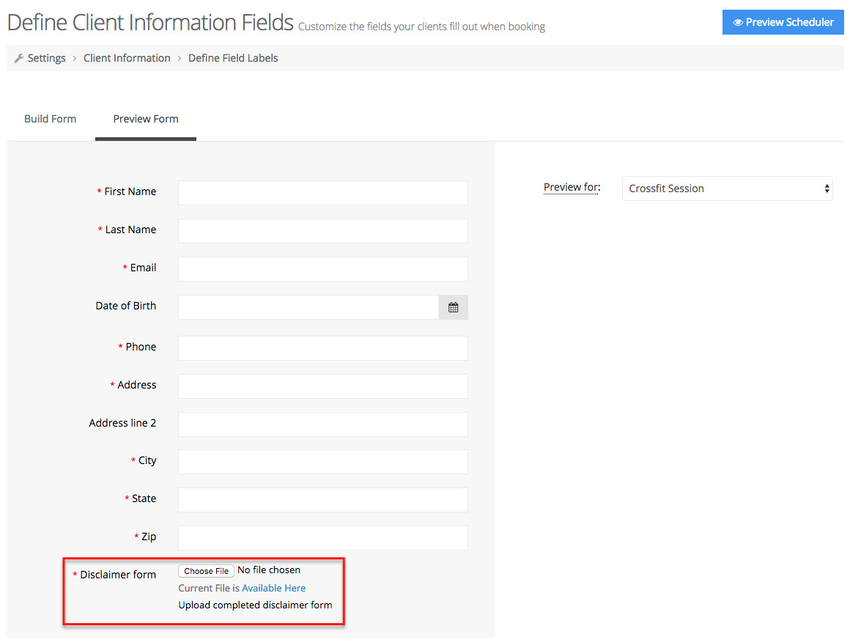
This new added field will now appear under the Build Form tab, and I can click the Preview Form section to get a preview of what it will look like to my clients:
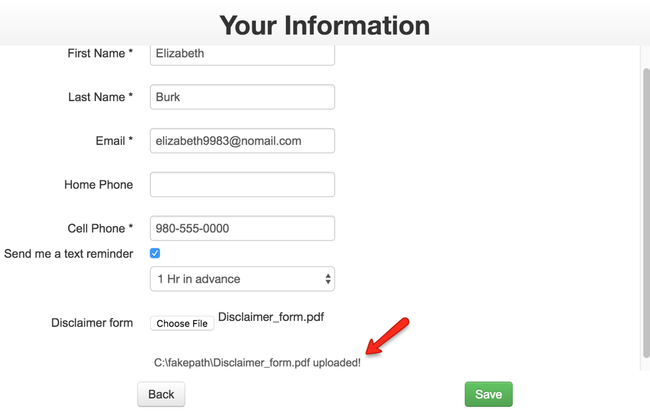
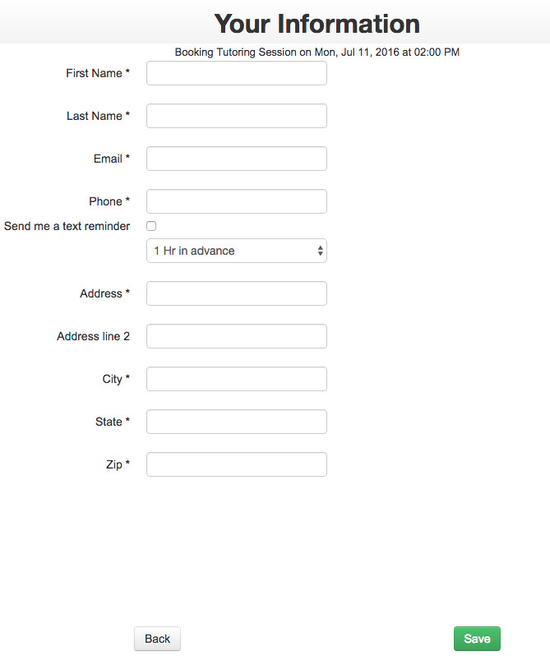
Once your clients go to your scheduler and get to the panel where they have to enter their information they will see the File Upload field displayed this:
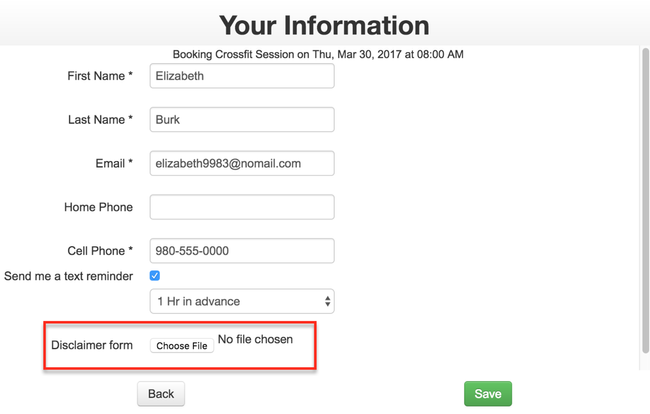
When your client clicks the Choose File button they will be prompted to select the file they wish to upload, once selected the file will be added to the scheduler:
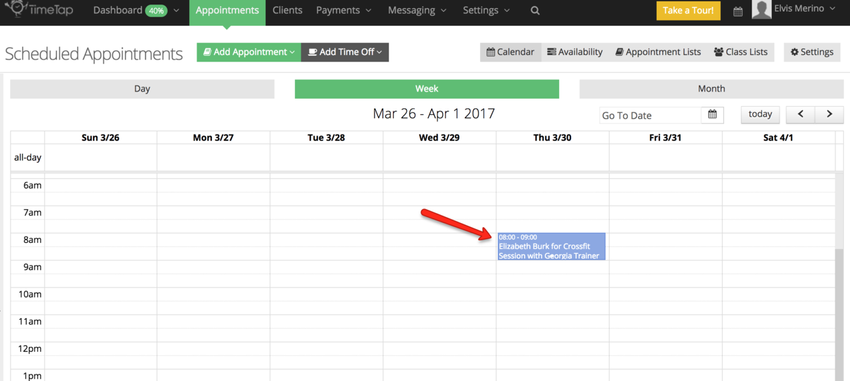
After your clients have uploaded the filled documents and entered the required information to book appointments, you can go to the back office and click the individual appointments to view its details:
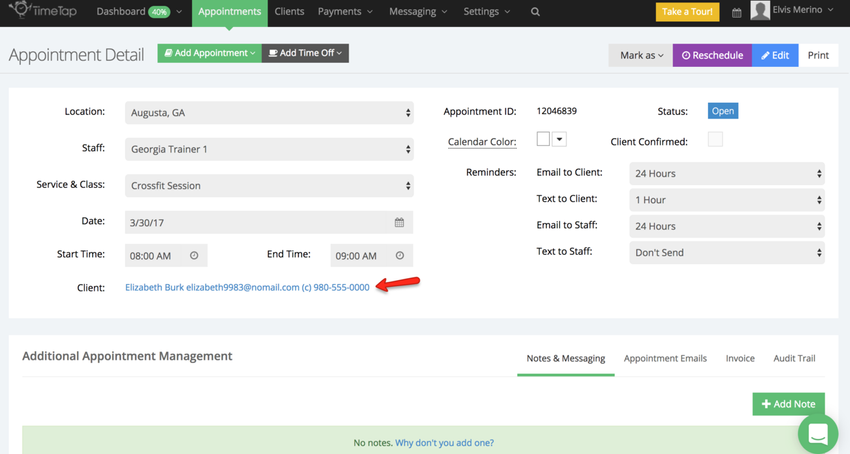
Once in the Appointment Detail page, you will be able to see all the relevant information about this appointment that was just created, including the name of the client who booked the appointment. Click the hyperlink containing the client's information:
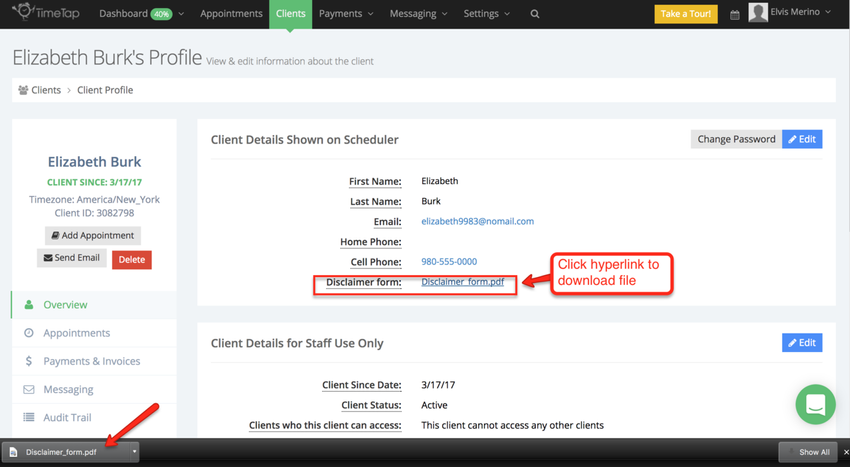
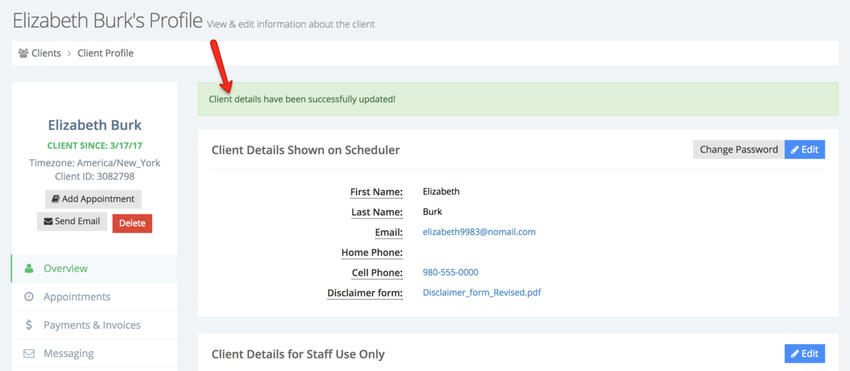
You will then be taken to the client's profile where you can see the file that was uploaded at the time he/she booked their appointment. Keep in mind that the reason this file appears in the client profile is because we assigned it to Client Profiles:
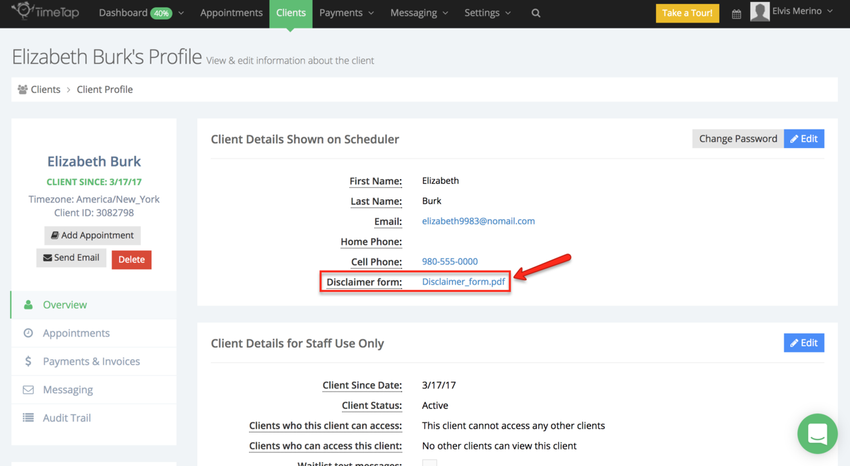
To download the file to your computer where you can keep for your records or print it, simply click the name of the file:
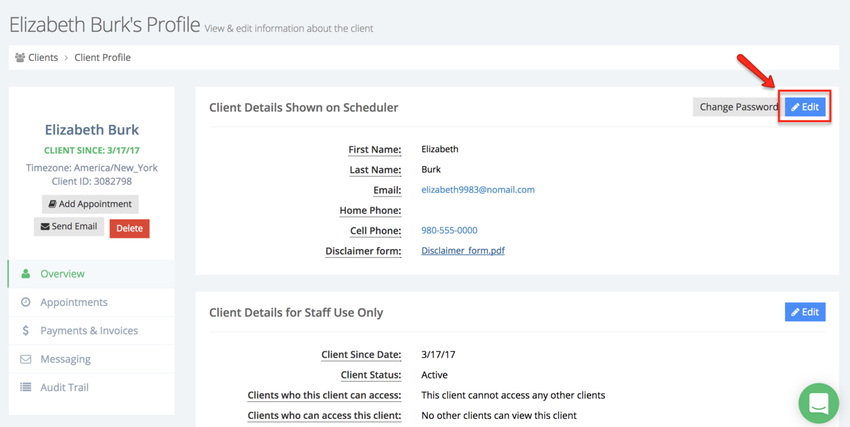
In the case that you would like to replace the file your client uploaded with another or remove it all together, click the Edit button to the right of the Client Details shows on Scheduler section:
Once you've clicked Edit, you will be able to edit client details, but for now let's focus on replacing the uploaded file. You will notice that before you replace the file TimeTap gives you a change to download the current file by clicking "Current File is Available Here" or remove it from the field by clicking "Remove File":
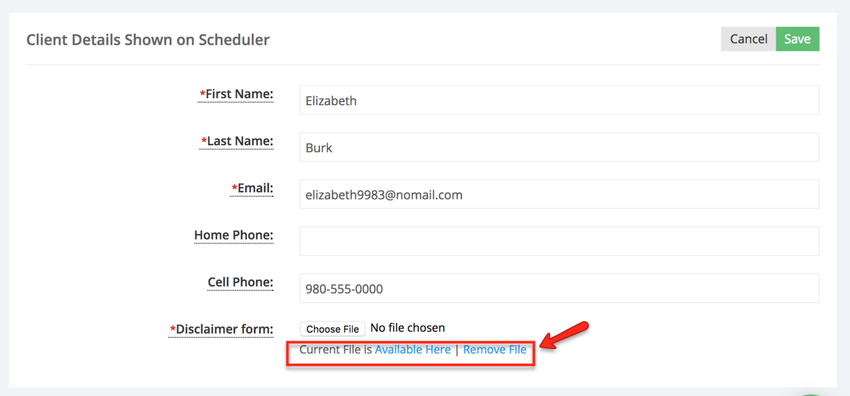
To replace the file, simply click the button Choose File, you will then be prompted to select the file you wish to upload:
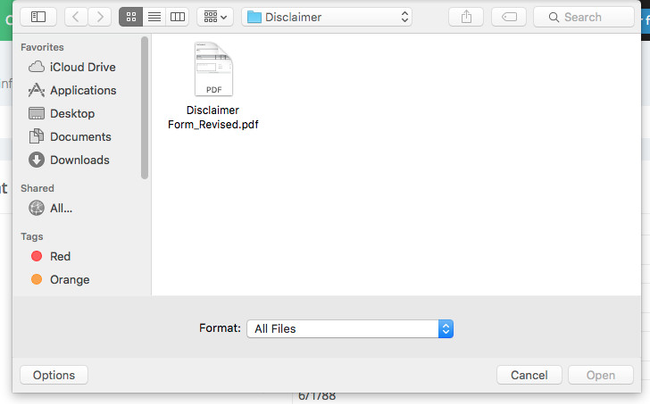
Click Save once you've uploaded your file:
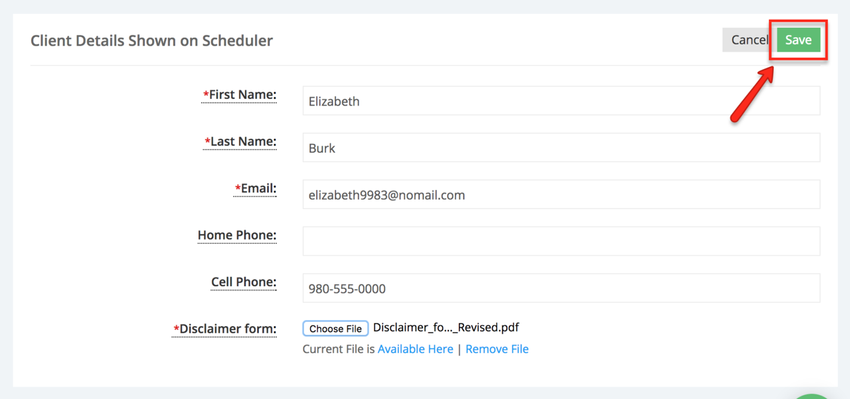
A message will appear letting you know that the file was saved successfully:
There may be instance when you want to attach documents to your client's profiles or to appointments they book. In this section we will create a file upload field which will be hidden from your client but it is accessible to you and your staff , - this specific field will be part of the appointment details and not the client profile like the example above.
Let's assume that you run a tutoring center and would would like to attach a summary of what was covered in each tutoring session , - this summary will be used for internal purposes only.
First go to Settings → Client Information → Define Field Labels, and click the tab to "Add New Field" near the top right corner of the screen:
Once in this tab you will see a list of all the types of fields you can create, select File Upload:
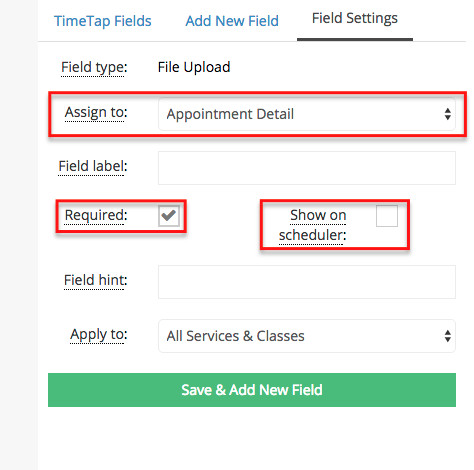
In this scenario we want every staff member to upload a completed session summary form after the appointment has taken place. Once this form is uploaded we want to keep it as part of the appointment details for future reference. I will assign this field to the appointment detail , and will make it required, but it will not be shown in the scheduler:
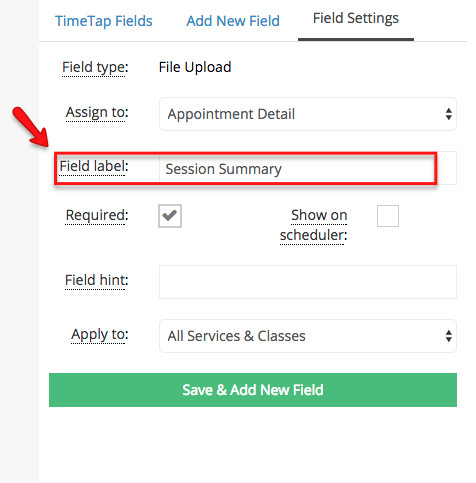
I will assign the label to this field, 'Sessions Summary':
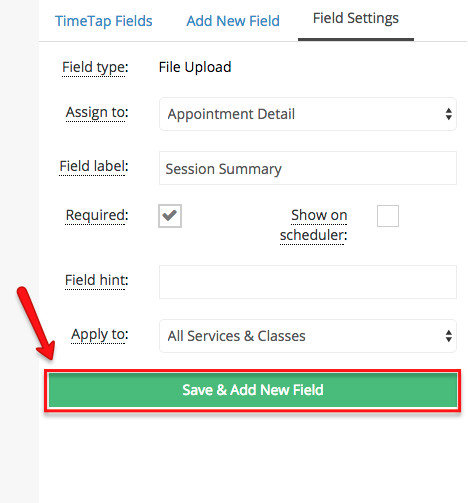
To add this new field I will click 'Save & Add New Field':
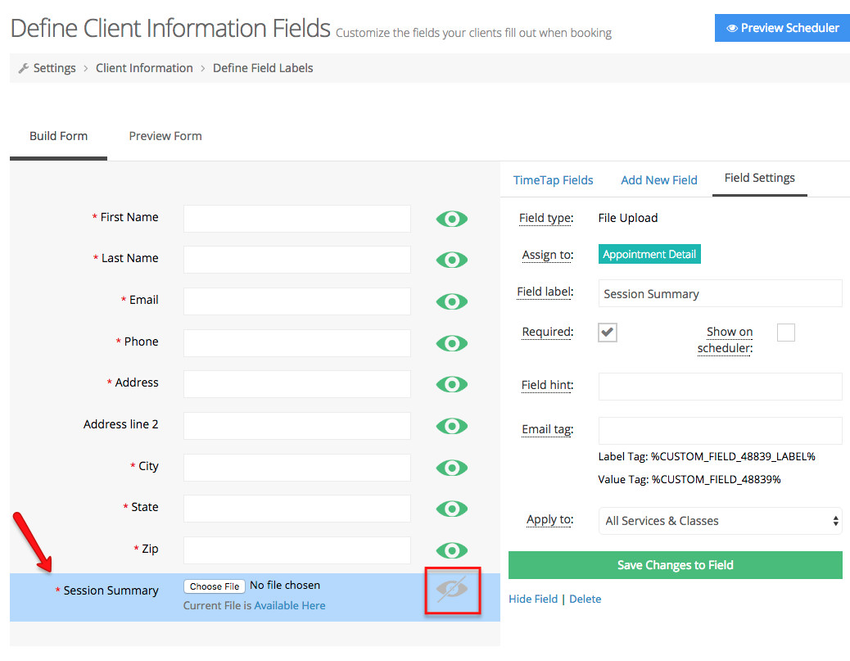
This new created field will be added to the list of created fields to the left of the screen under the Build Form tab, you will also notice that the "green eye" is not highlighted next to the field, this means that the field is not visible in the scheduler:
When your client goes through the scheduler to book an appointment, this newly created field will not be available to them:
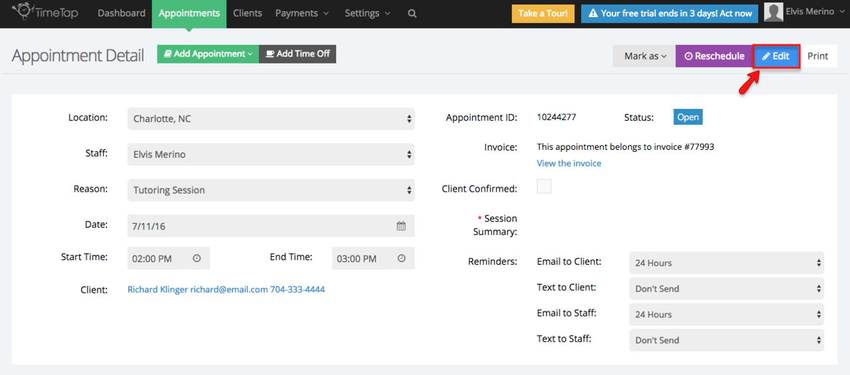
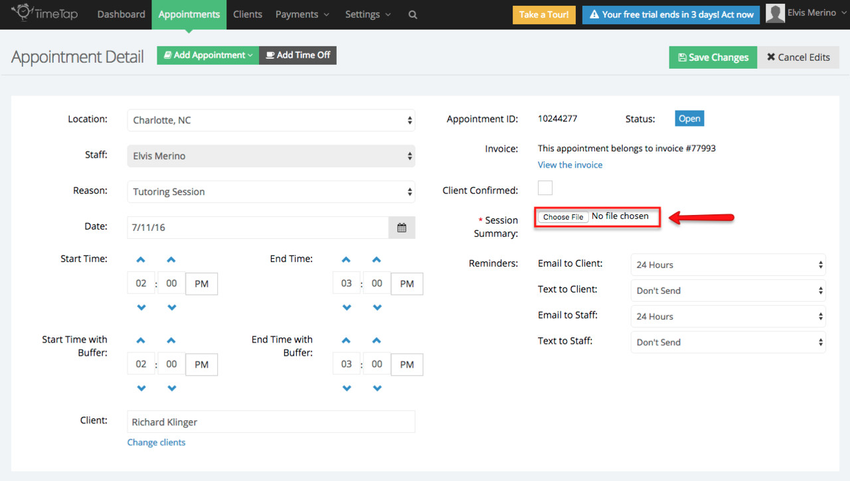
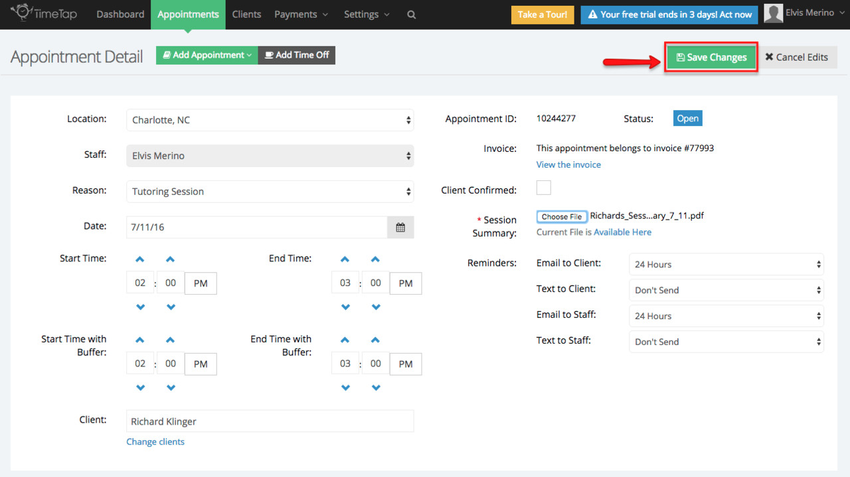
Once the appointment has taken place, go to the Appointment Details page and click the Edit button to upload the session summary form:
Go down to the Session Summary field we created and click the Choose File button:
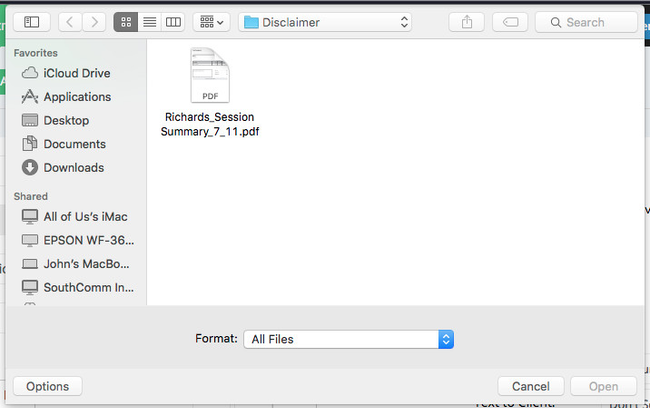
You will be prompted to select the file you want to upload:
After attaching the document click Save Changes:
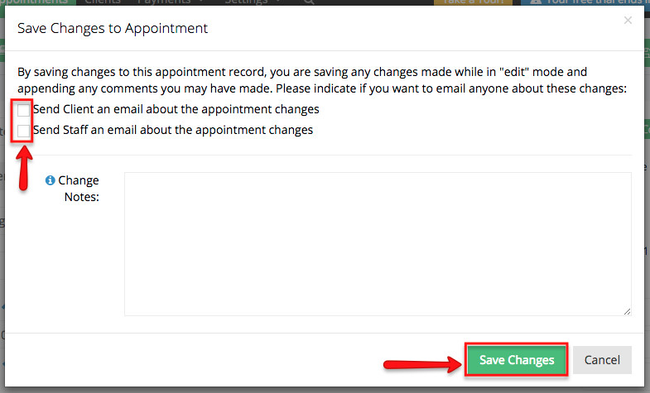
A new window will open asking you if I you want to send an email to the client about the change made to the appointment details, in . In this case an email is not necessary. Uncheck , so you can uncheck the boxes to send an email to the client and staff and click Save Changes
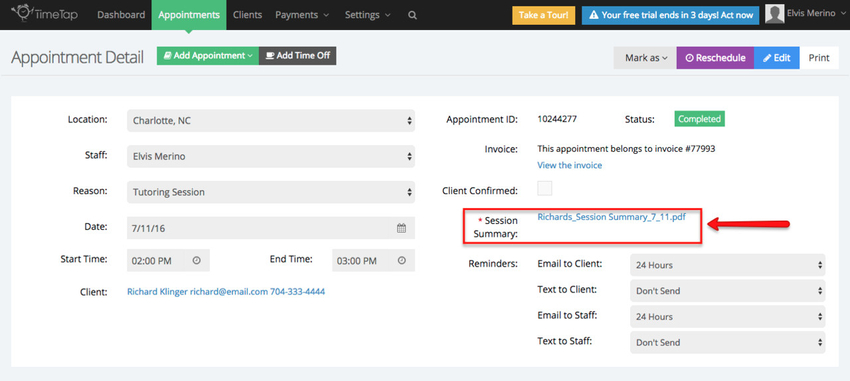
This will attach the file to the appointment details and is where it will be saved to be used for future reference:
The file we just attached can easily be access accessed if we look up the client's profile in the Clients tab:
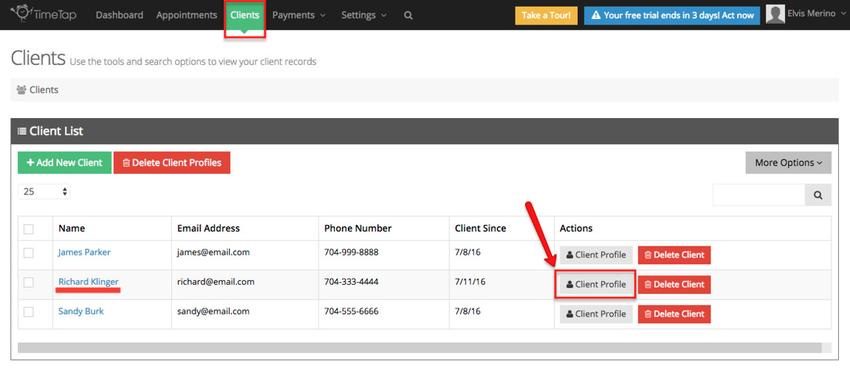
Once in the client's profile we will go to the Appointments tab, where we can see all upcoming and past appointmentappointments:
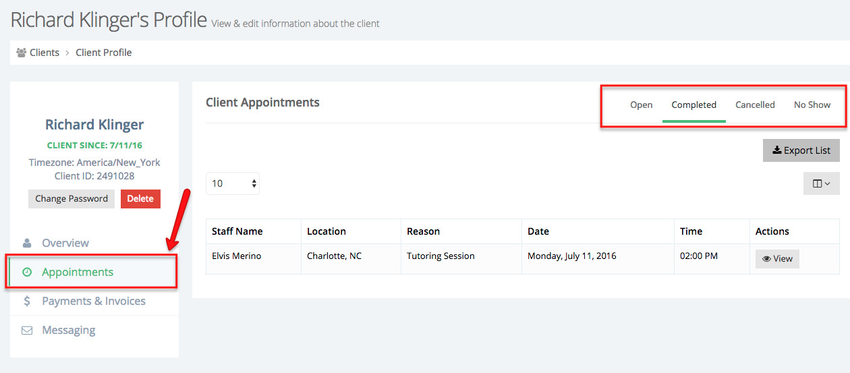
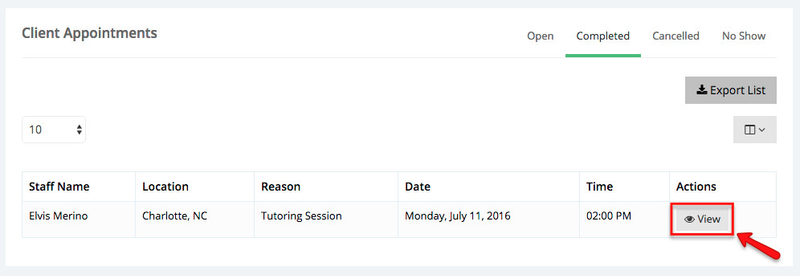
Once I've found the session I want to review I click the view button to the right of it:
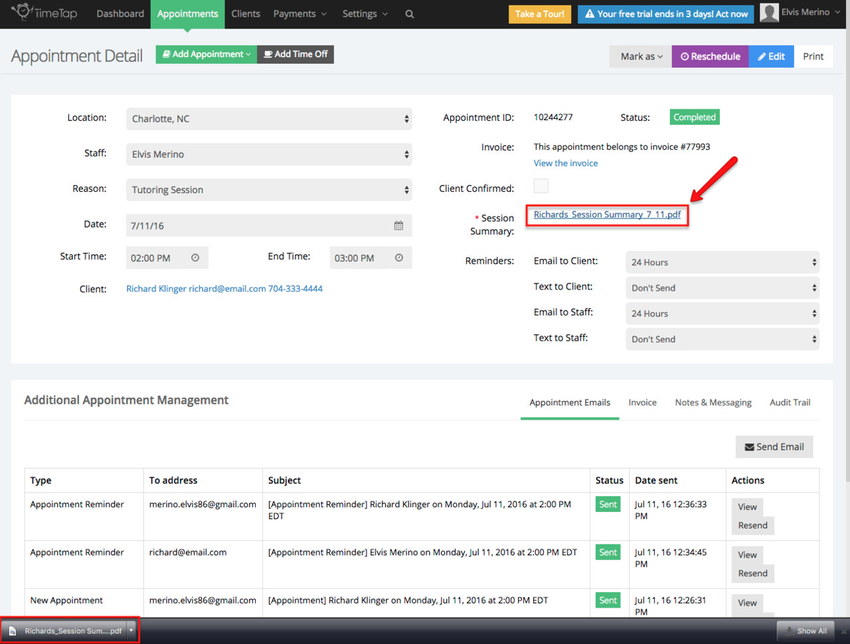
From the Appointment Detail page the document can be downloaded by clicking the hyperlinked name of the document, and this will immediately being downloading download the file to my computer:
The file upload field can be used in different scenarios, if . If you have any questions on how to apply this field to fit your business's needs, don't hesitate to contact our Support Team.