| Anchor | ||||
|---|---|---|---|---|
|
On this documentation page, we will walk through how to do this on both a new and existing appointment.
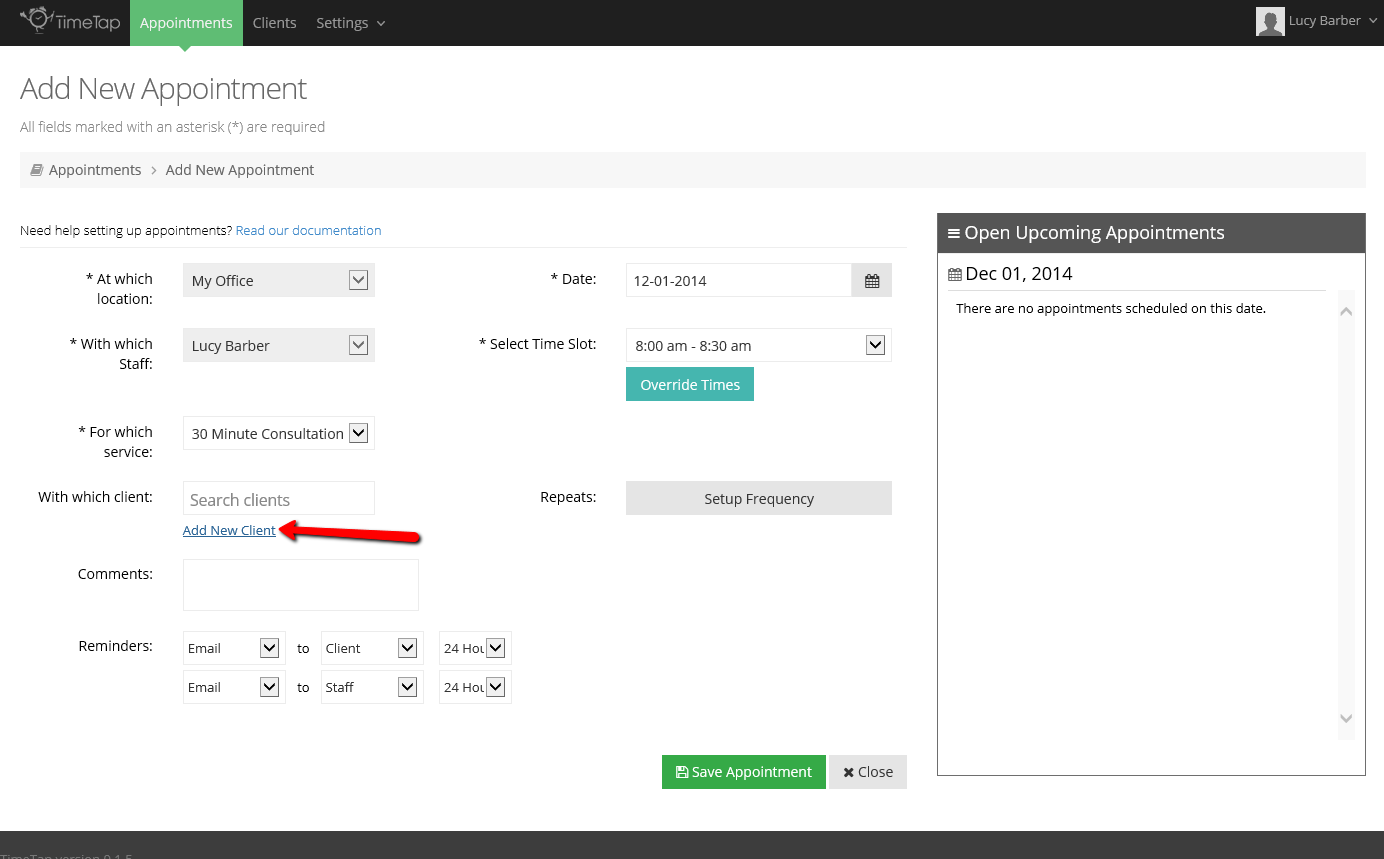
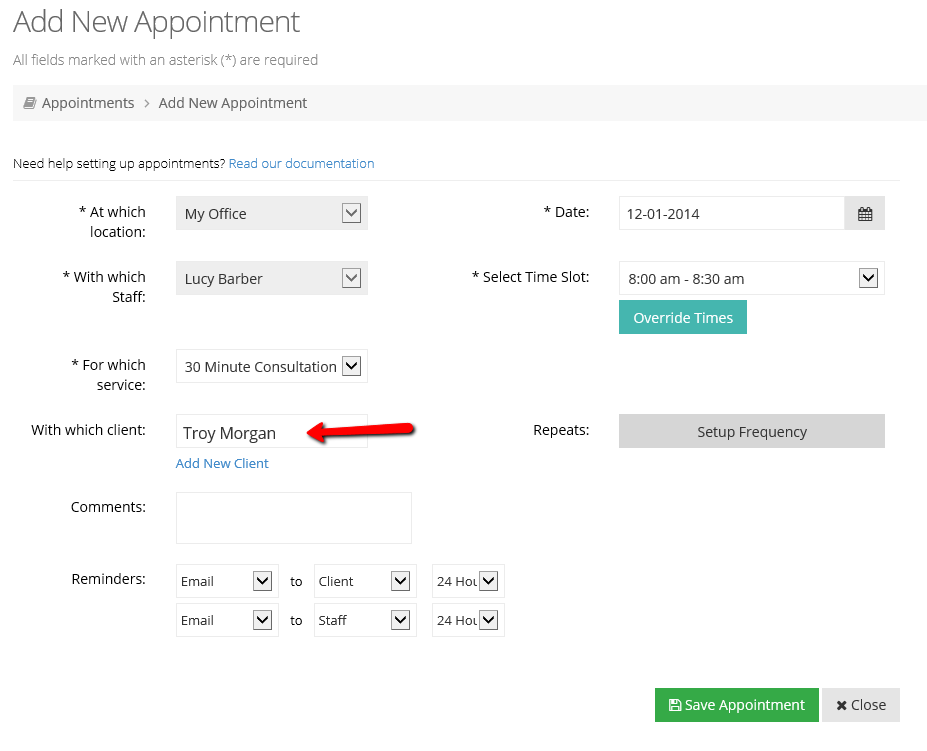
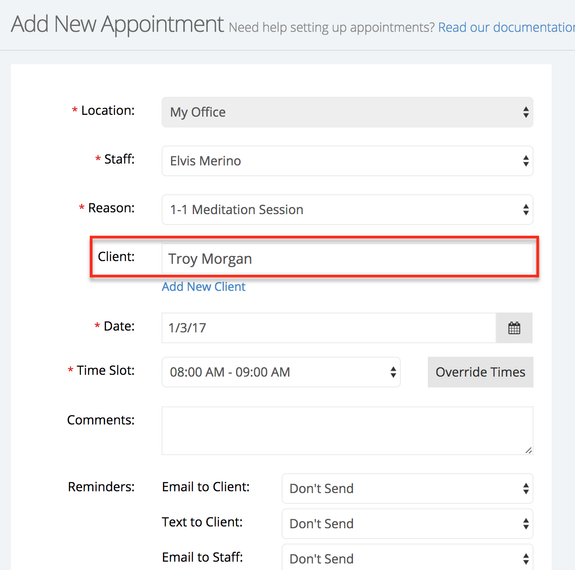
When you are adding a new appointment to your schedule, you have the option on the Add New Appointment screen to add a new client that's assigned to the appointment. You'll see this option underneath the "With which clientClient" field on the "Add New Appointment" page:

Once you click on it, the "Add New Client" form window will appear where you can enter in the information for the client as you have it customized under Settings → Client Information → Define Field Labels. By default, the timezone will be what you have your business set to in your Time Panel Settings:
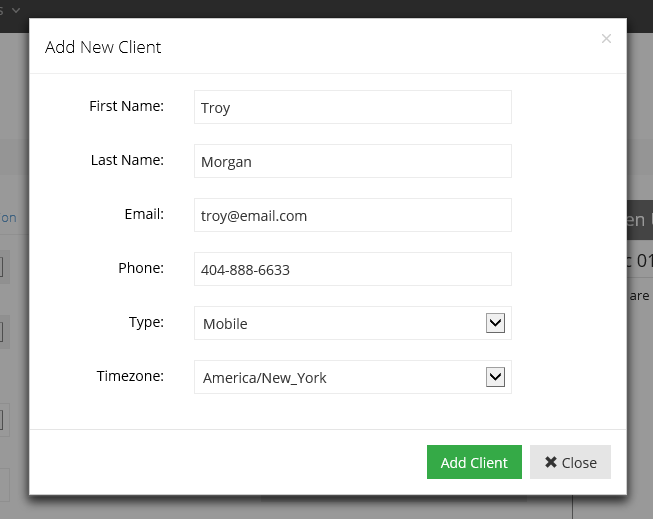
Once you finish filling in those details about the client, click the "Add Client" button. This will add the client to your client list as well as attach him/her to the appointment you're creating:
If you included the client's email address when adding them as the client, then when you press "Save Appointment" after entering all the date, time, & service details, you can send out a New Appointment Confirmation email to the client.
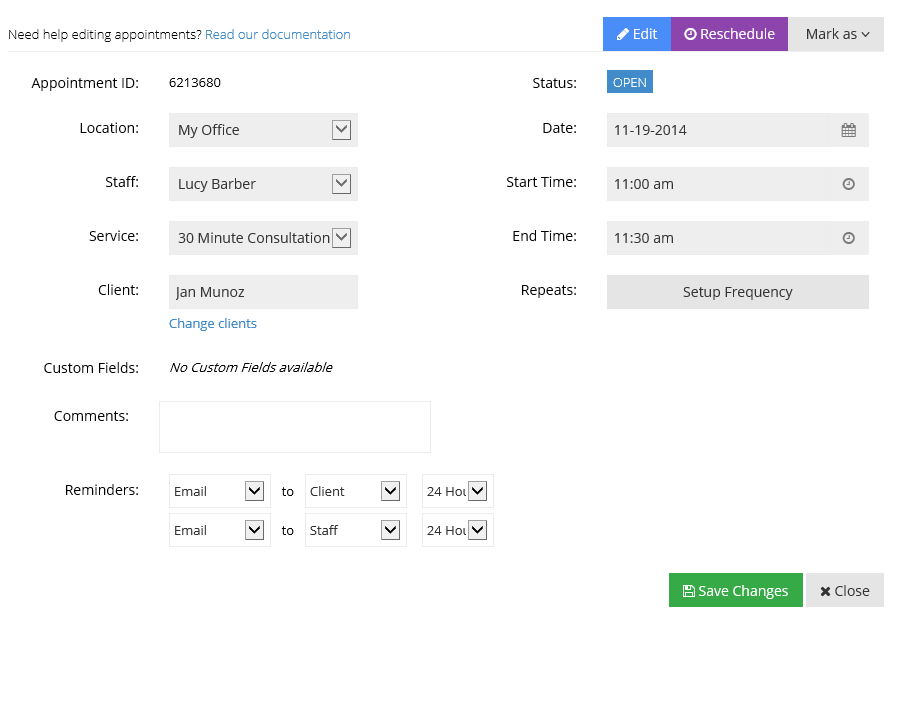
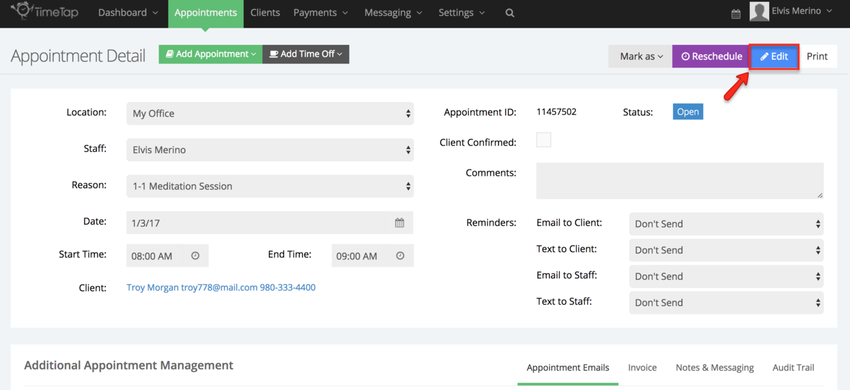
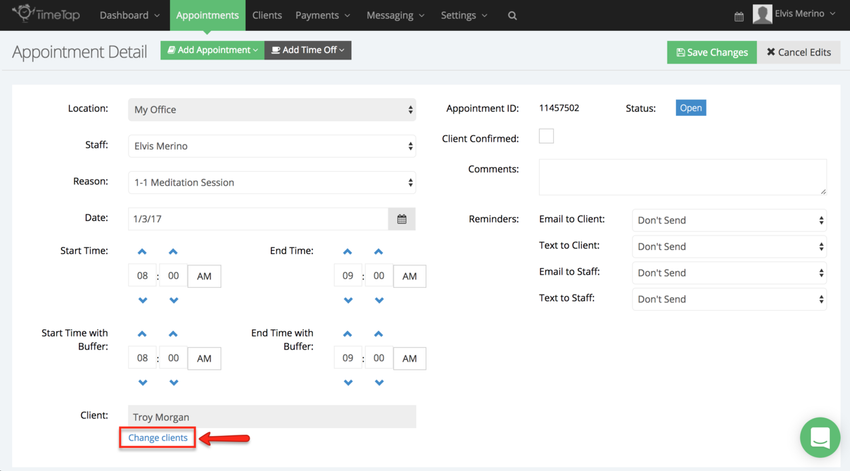
At some point, you may find yourself in a position where you are swapping out which clients are assigned to which appointments. You can easily do this from the Appointment Detail page after the appointment has been set up by click the Edit button on the top corner of the screen:
and then click "Change Client" link under the client field:
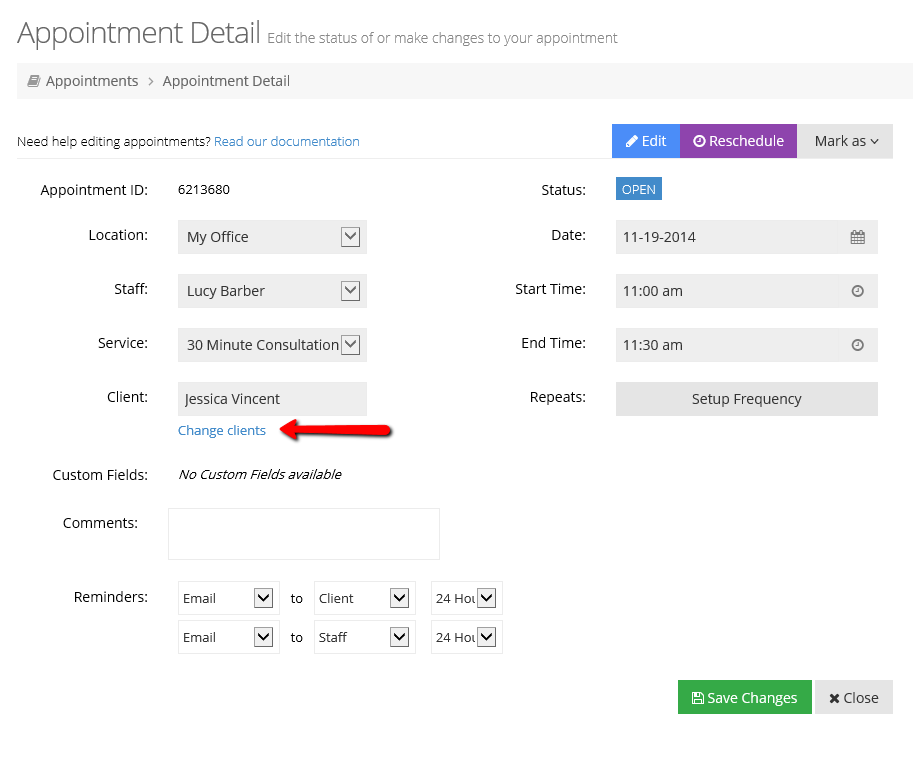
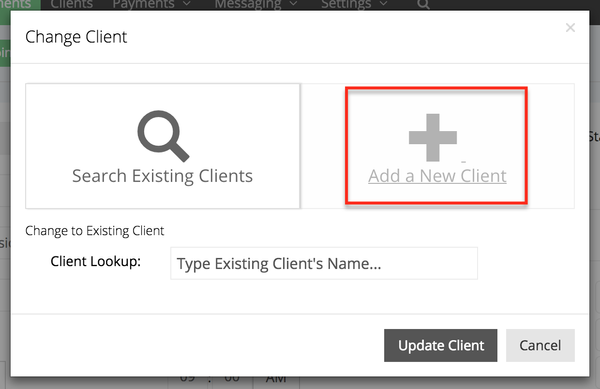
This will bring up the "Change Client" window:
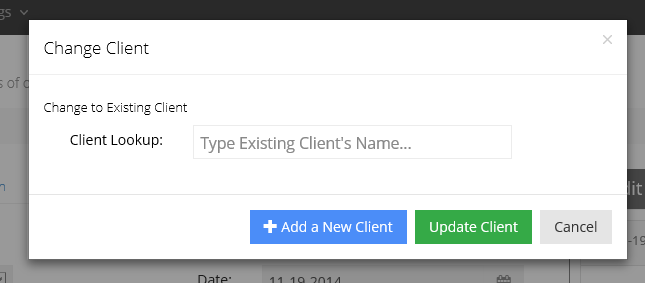
You could use this form to search for existing clients that are already in your client list. Just type in the first 3 letters of the clients first or last name and they will come up there. You can learn more about this on our documentation on changing clients on an appointment.
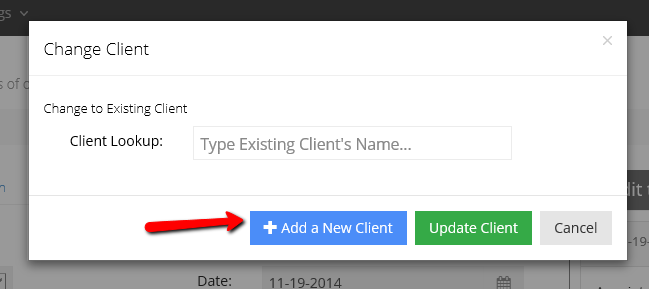
Since, however, this documentation is on adding clients, we will look further into the process of adding a new client when changing clients on the appointment. To add a new client assigned to an existing appointment, click the "Add a New Client" button from the Change Client window:
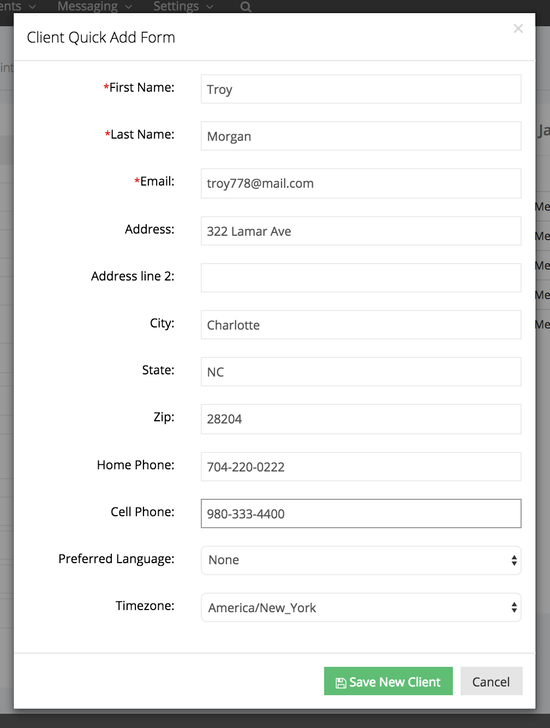
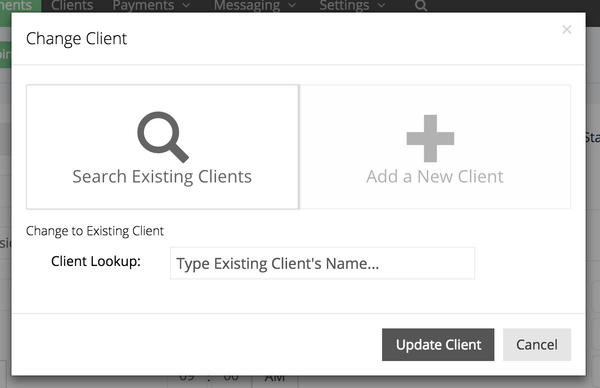
Once you press "Add a New Client", the Change client window will change to the New Client form where you can enter in the details on your client based on what you have configured under Settings → Client Information → Define Field Labels:
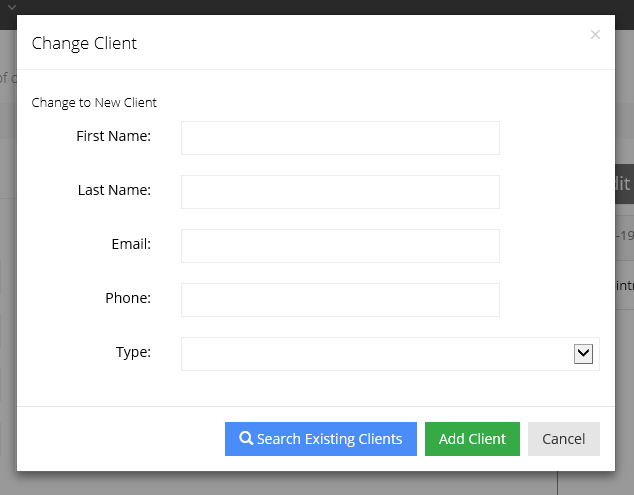
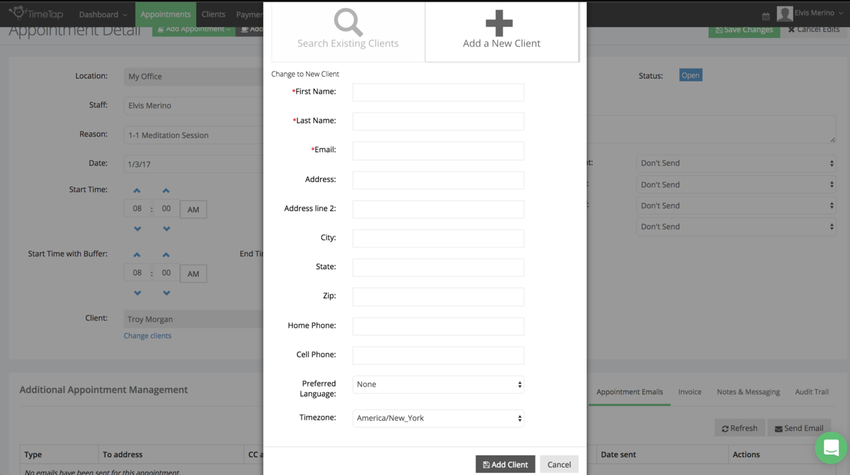
After Adding the New Client, it will be included on your appointment record and if you press "Save Changes" on the Appointment Detail screen, you can send the new client an email about the update you made to the appointment: