| Anchor | ||||
|---|---|---|---|---|
|
As mentioned on our general payment portal page, when payments are actually taken through Stripe, that is handled by Stripe. TimeTap does not store any of your client's credit card details or Stripe account information. This also means that all fees associated with credit card processing are taken by Stripe. We (TimeTap) do not take any additional fees on top of what Stripe takes. If you want to take deposits for your services and/or classes on your TimeTap account, then you'll need to choose the Business account type. This is because the option to allow for multiple payments on a single invoice (which would be the deposit amount and then the remaining balance at a later date) is only available as a feature in the Business account version. You'll find instructions on how to do this here.
In this documentation we will cover:
To activate Square payments, you'll need to grant TimeTap permission to access your Square account. First, go to Payments > Payment Settings and expand the Stripe payment portal:
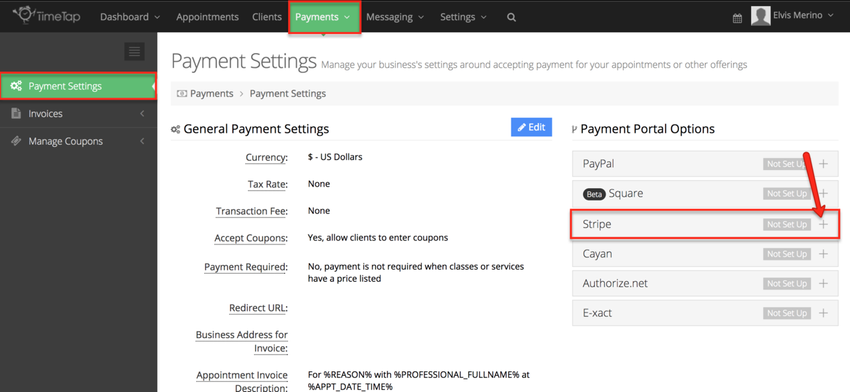
Under the expanded Stripe payment portal, click the green button to "Activate Stripe Payments":

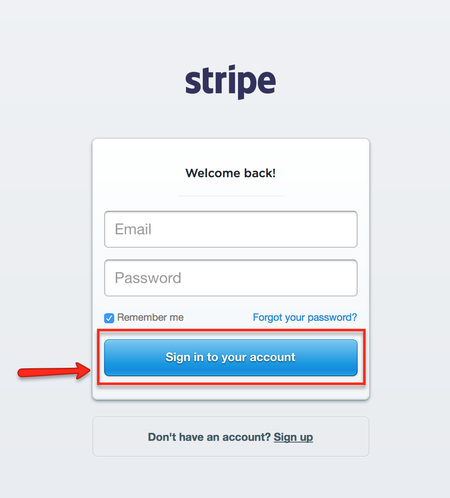
This will link you to the Stripe authorization page (if you aren't signed into Square yet you may be prompted to sign in first). Click "Sign in to your account" from the Permissions page:
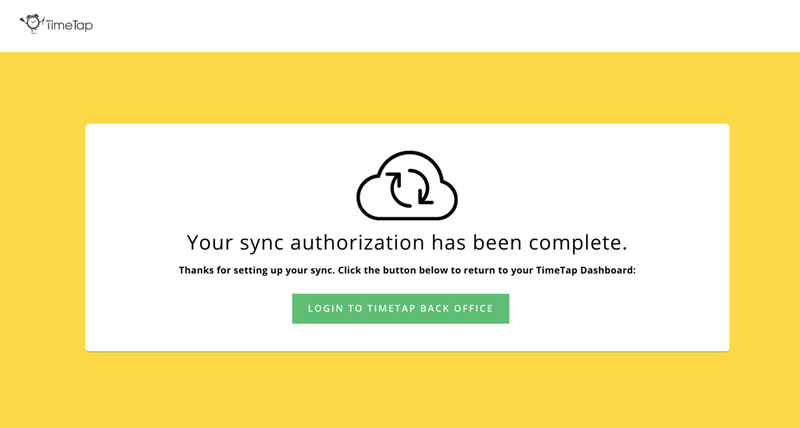
You'll then get an authorization complete message form TimeTap and can go back to the TimeTap back office:
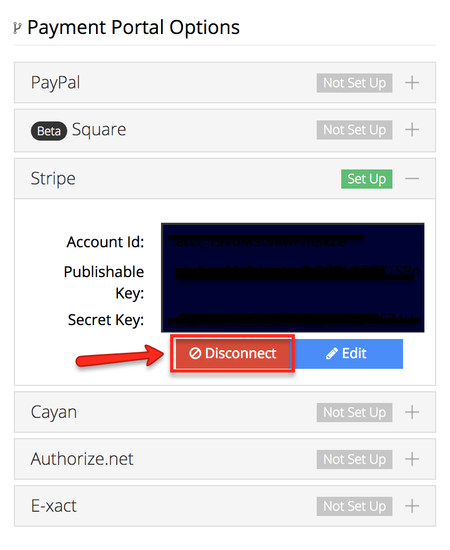
Back in the Payment Settings menu of your TimeTap back office, you'll see that your Stripe account has been "Set Up" which indicates it is successfully linked. If you would like to disconnect your Stripe from TimeTap simply expand the Stripe payment portal again and click Disconnect:
Once you have your Stripe Payment Portal setup and have configured your Payment Settings the way you'd like for them to be for your business, you are ready to start taking payments upon booking.
You'll want to make sure that the services, classes and/or courses that clients can book with you have a price listed for them. You can check this out under Settings > Services & Classes:
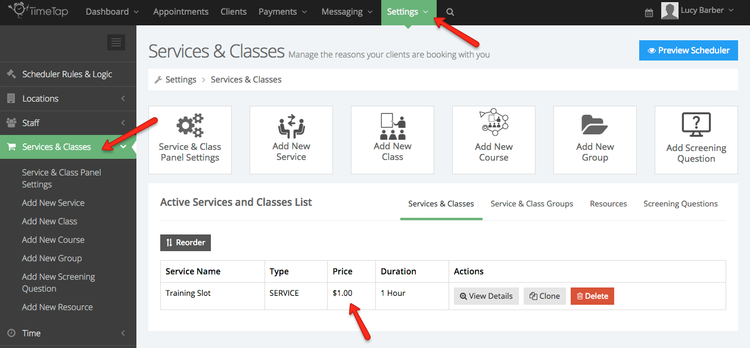
To add or change the prices for your appointment reasons, just click the "View Details" button next to the service, class, or course in this list and then click on that reason's "Payments" section. From there you can configure the reason's price and/or deposit amount. Learn more about that here.
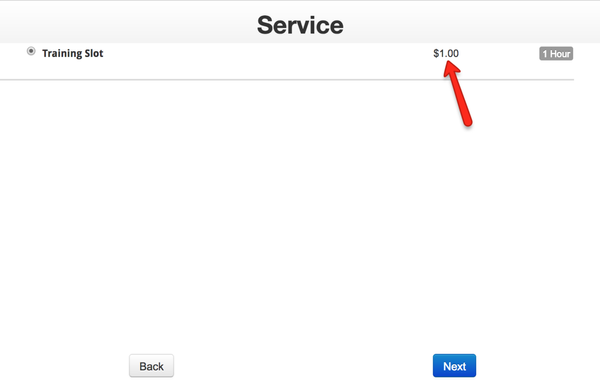
Now that the setup steps are out of the way, when your client goes to book with you on your scheduler, they will see the price of the reason they are booking when they are selecting their appointment type:
They'll then select their date and time, and enter their information. On the confirmation page, they'll see they confirmation title and confirmation message that you've configured in your Payment Settings:
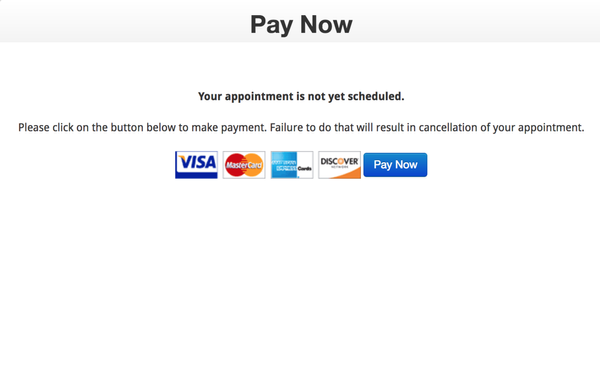
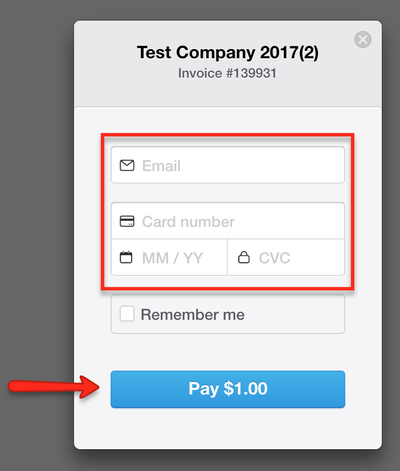
If the client clicks "Pay Now" they'll be connected to your Stripe account's payment gateway where they can enter in their email, card information and click "Pay" to submit their payment for the appointment:
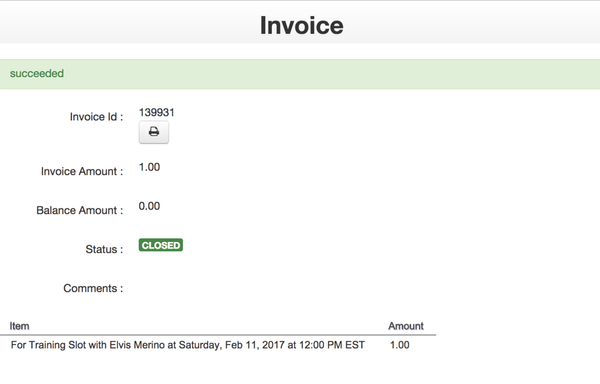
After your clients have submitted their payment they will be taken to the invoice details panel in your scheduler. In this panel panel they will see their invoice number, have the option to download the invoice as a PDF file to their computer, see the amount paid, remaining balance, status of the invoice and the details of the invoice:
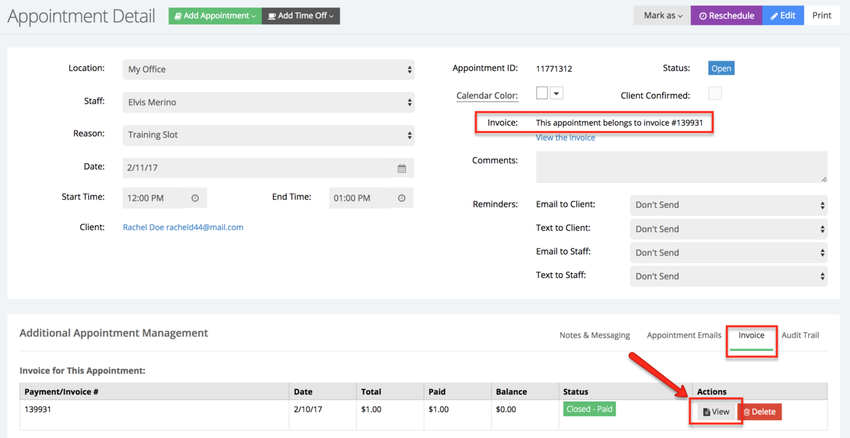
You'll see the invoice attached to their appointment in TimeTap:
If you view that invoice, you'll see the payment confirmation at the bottom of that invoice detail page:
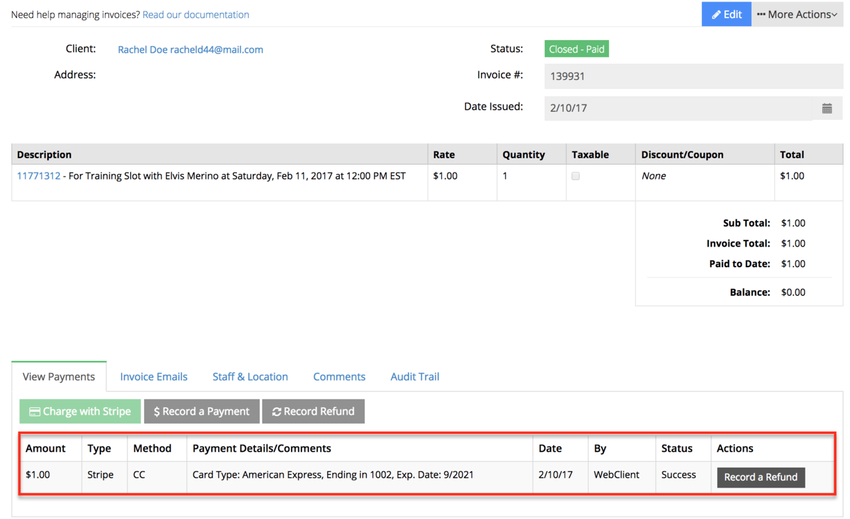
If the full price of the invoice has been paid the invoice will be in Closed status. If you end up refunding this in Square, you can always record that refund in TimeTap by clicking the "Record a Refund" button next to the payment in TimeTap's Invoice Detail screen.
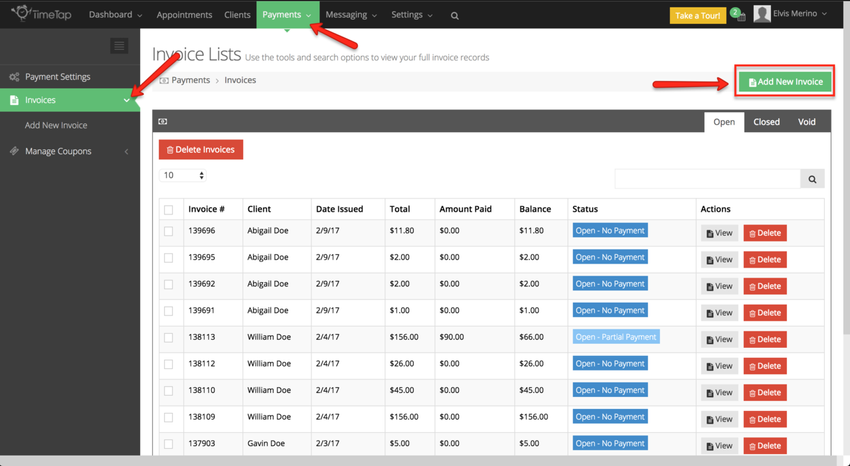
Staff can login to TimeTap and take client's credit card numbers to charge invoices as well. You can find client's existing invoices from the Payments & Invoices section of a client's profile or you can add a new invoice for a client under Payments > Invoices > Add New Invoice.
In this demo we'll add a new invoice and then show how to charge for that invoice through Stripe.
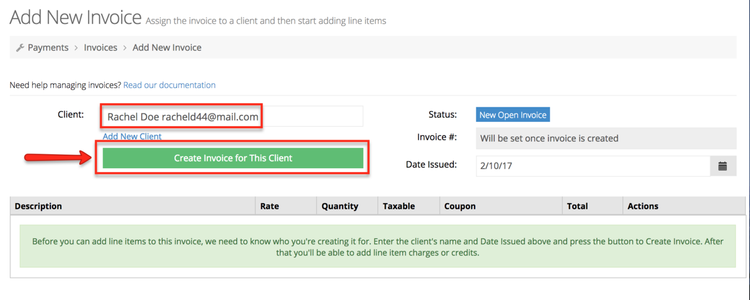
First, under Payments > Invoices, I'll click the "Add New Invoice" button:
I'll type in the name of the client that I'm making the invoice for and click "Create Invoice for This Client":
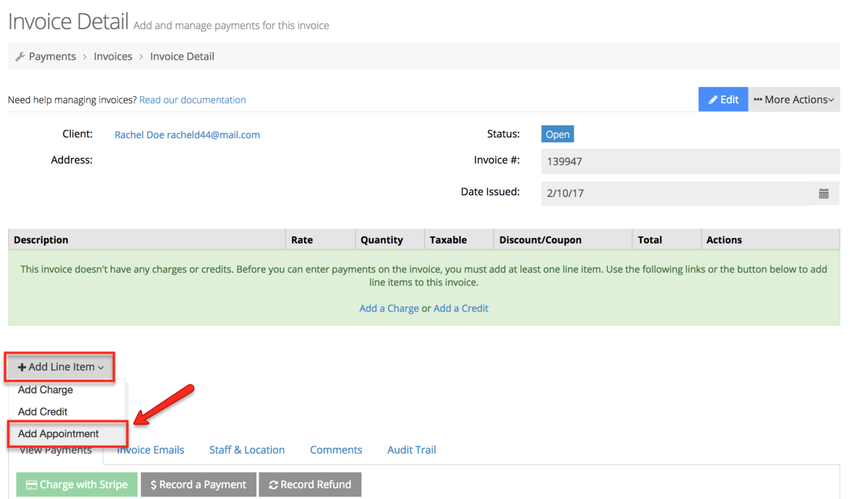
On the created invoice, I can use the Add Line Item button to add charges, credits, or appointments. In this example I'm going to look at the client's un-invoiced appointments:
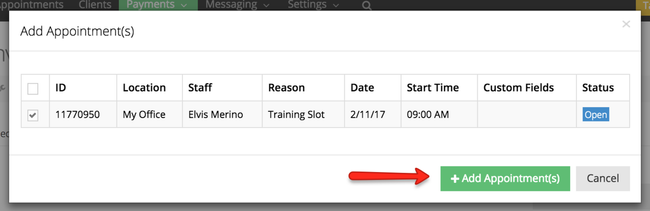
I'll select the appointment that I want to add to this invoice from the pop up window:
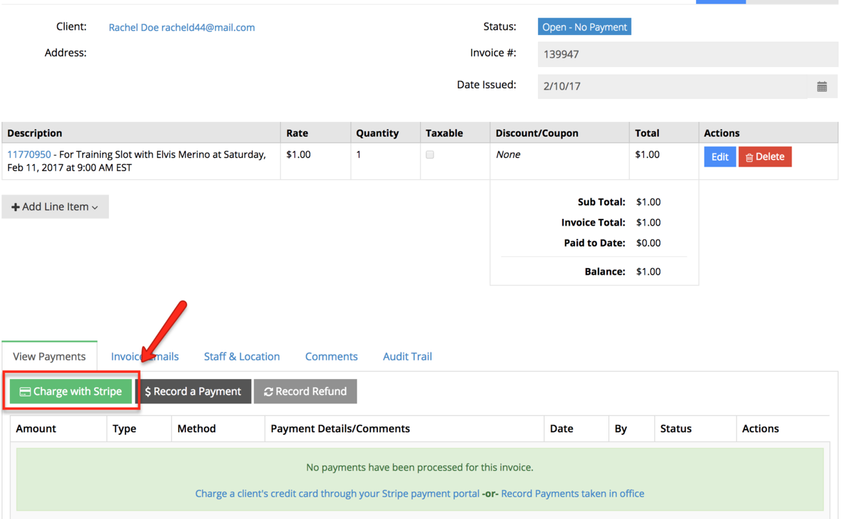
This will add the appointment as a line item to the invoice:

At this point I can either add more line items to the invoice or I can go ahead and click the "Charge with Stripe" button under the View Payments at the bottom to charge for this invoice:
I can then enter in the amount I want to charge and then select the option to Charge Amount with New Card or Charge with Card on File (if the client has made a payment in the past for a previous invoice through TimeTap their card card is stored in Stripe). If you select to the to charge with card on file the payment will be processed immediately:

Please note: That Stripe allows you to set your account to Test Mode, meaning that you can test the payment flow without charging your card or incurring in transaction fees while testing.
When the charge goes through, you can close the window and see the payments recorded on the invoice and see that the invoice is now closed:

You'll also be able to login to Stripe to see the charge.