The rules for registering for the scheduler differ based on whether you are:
- A first time client who has not scheduled any appointments online with the business you are booking with in the past
- or -
- A returning client who has made appointments with the business through the online scheduling system in the past
If you are a first time client who has not made an appointment through the online scheduler in the past, details around registering are available here.
If you are a returning client who has made appointments through this business's online scheduler in the past, details around retrieving your login information are available here.
Registering as a first time client who has not made an appointment through the online scheduler before:
If you are a first time client who hasn't made appointments through this business's online scheduling system in the past, you may want to consider Registering for the scheduler. This will make it so that you can always go back to the business's scheduling page, login, and see all of your appointment history or book an appointment without have to re-enter you information each time.
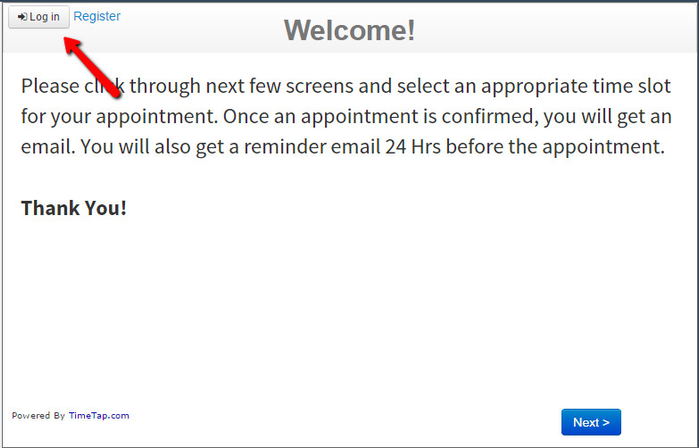
To get started, click on the blue "Register" link in the top right of the Scheduler on the Welcome page:
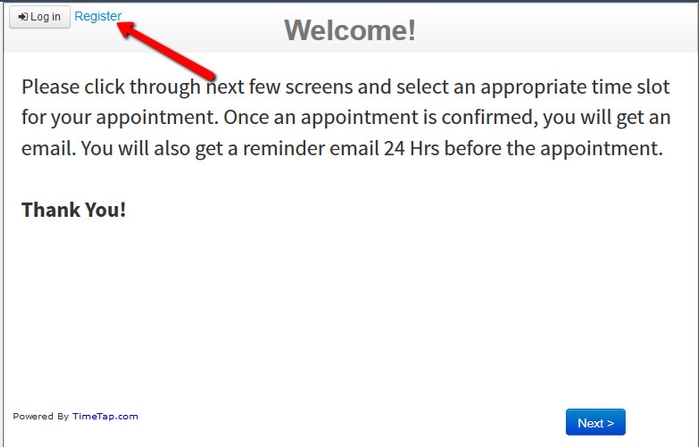
A quick caveat: some businesses may turn off the Login & Register options on their scheduler. If you do not see these options on the Welcome page, then the business you are booking with does not allow for registration or login.
Now, back to the program: Once you click register, you'll get a small box where you can enter in your email address first and then click Next:
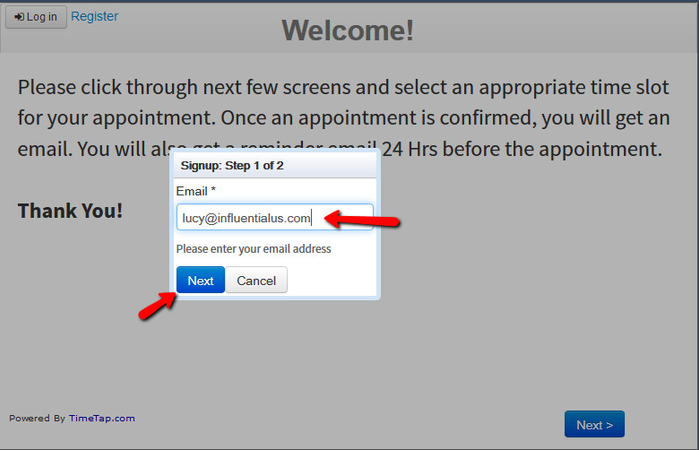
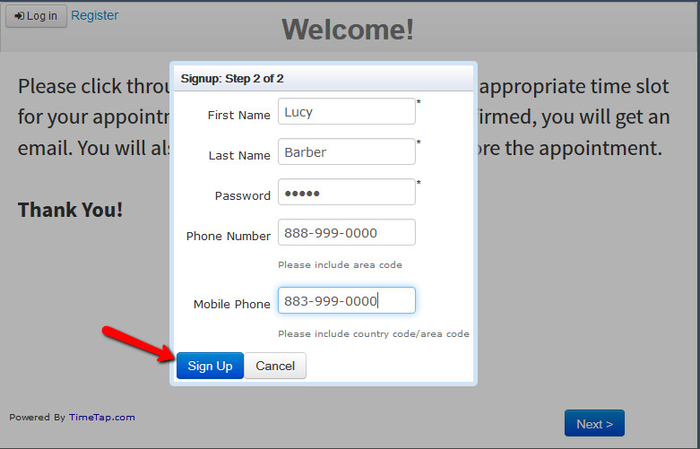
Entering your email address first checks to make sure you weren't pre-registered by the business and thus already have an account. If you weren't pre-registered, then after clicking Next you'll be prompted to put in your name, set a password, and enter in the contact details the business asks for. Once you finish filling in those fields, click the blue "Sign Up" button.
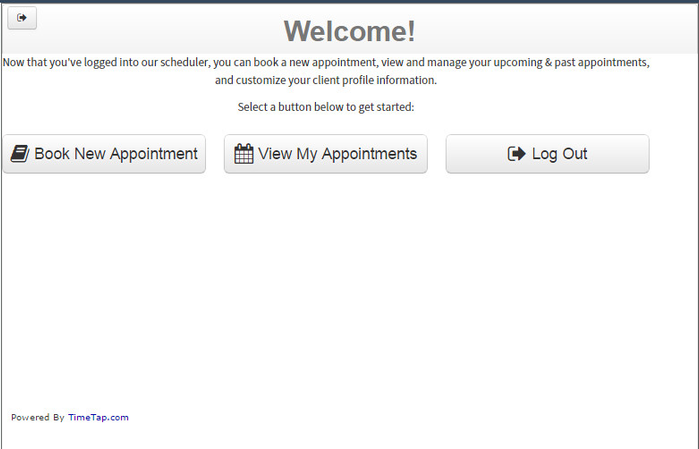
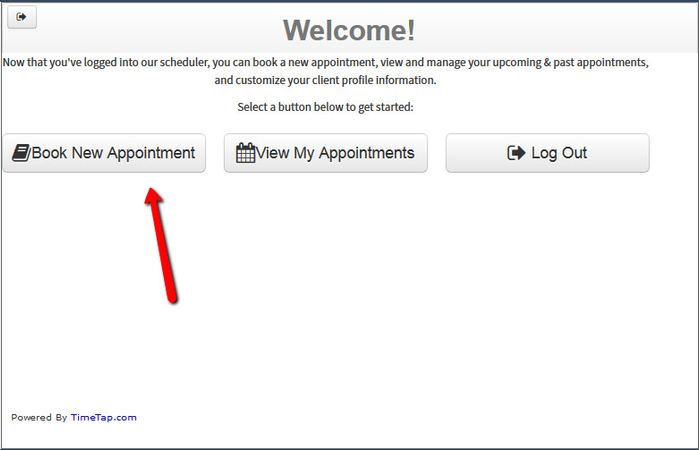
Now you are all registered! You will be automatically logged into the scheduler once you click on the blue Sign Up button from the second step of registration and can click on the button to "Book New Appointment" if you would like:
This will take you through the flow of booking an appointment with the business (that's very similar to what you would see if you just booked an appointment first instead of registering)
Registering as a Returning Client who has made appointments online with this business in the past
The registration process on a business's scheduler on TimeTap goes by email address. Thus, if you have made appointments on a business's scheduler in the past and inputted your email address, then you are technically already registered for an account, but just haven't set up a password with them.
You may want to register officially (and get a password) so that you can login and view your appointment history as well as book appointments without having to re-enter your information every single time.
If you didn't know this and went to register on the scheduler, then after clicking the "Register" link and entering your email address, you would receive a message that:
"You've made an appointment in the past through this scheduler and thus already have an account.
We've sent you an email to create a password which will allow you to login to this scheduler.
If you don't receive this email in the next few minutes, please contact support@checkappointments.com"

This is the same thing as being pre-registered by the business for making appointments.
At this point you will receive an email with a link to create a password to login and view your appointment history:
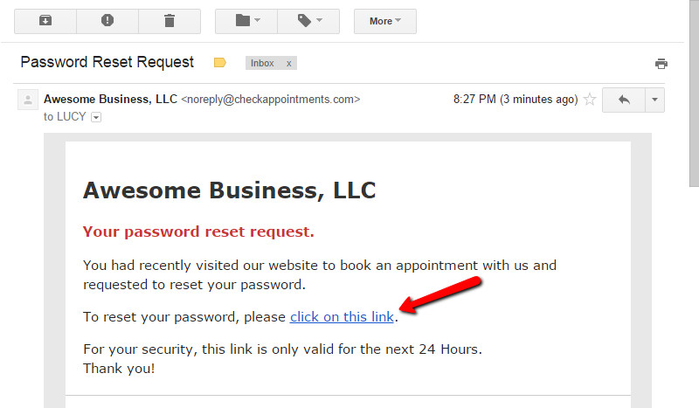
Click on that link to reset your password and then go back to the business's scheduler to login:
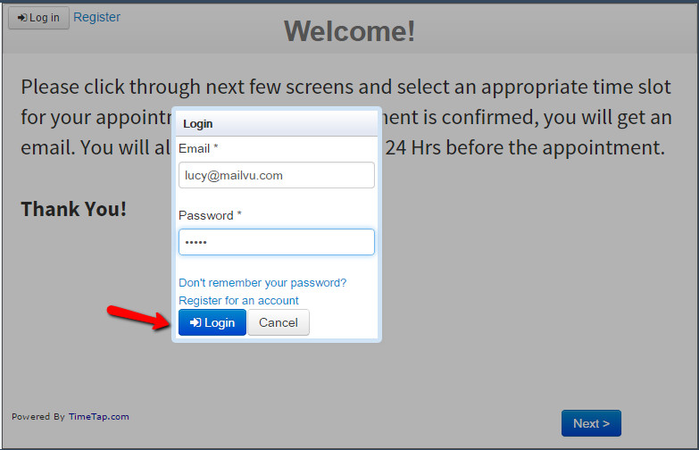
Enter in your email and the password you just set and press "Login":
You'll now see the menu options to make a new appointment, view your existing appointments, or logout: