Once you have selected the button your want to place on your website and copied your button's embed code, you are ready to head over to the html editor for your website.
Depending on which content management system (CMS) your website runs on, finding your html editor may be a bit different. If you don't know where your html editor is within your CMS, consult the support documentation for your CMS to find out.
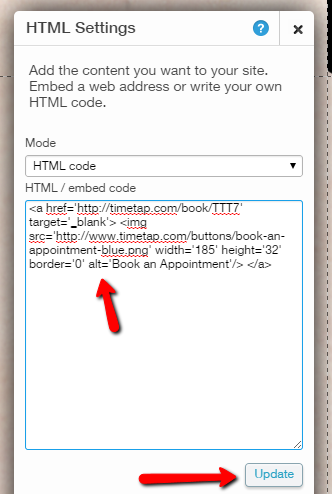
Once you have found your html editor, simply paste in the code that you have copied from the TimeTap app. Here's an example of pasting in the embed code using the Wix HTML editor:
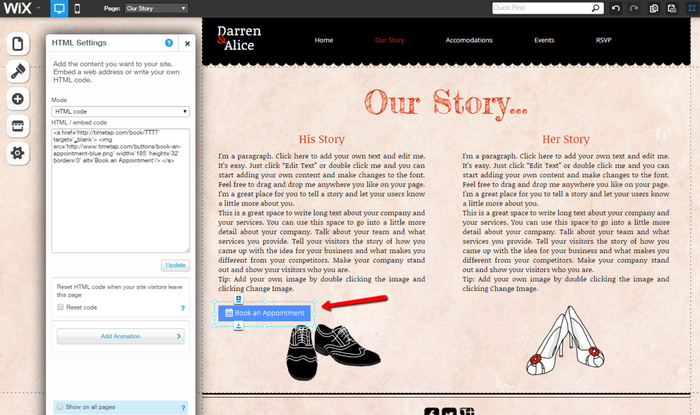
Once you update or save the button embed code on your site's html editor, it will update and display on the page on your website where you've pasted it:
If you look at the embed code itself, you'll see that it is essentially an image and a link to your mini website. Here's the embed code for the blue button I just pasted:
<a href='http://timetap.com/book/TTT7' target='_blank'> <img src='http://www.timetap.com/buttons/book-an-appointment-blue.png' width='185' height='32' border='0' alt='Book an Appointment'/> </a>