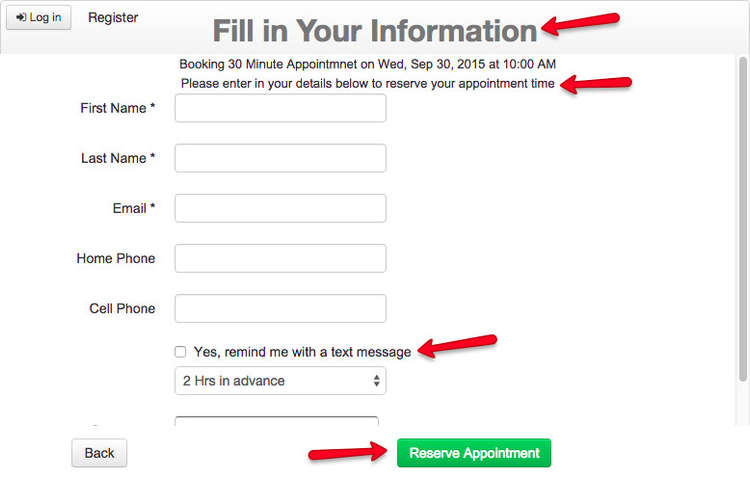
The second to last page of your client-facing scheduler is where your clients will enter in their contact information in order to reserve their appointment time. You can customize the text and what information you collect from clients on this step by editing your settings on the Client Info Settings section of the Client Information page.
On this specific documentation page, we'll go through how to edit the text and labels that appear on the client information page of your scheduler.
We go through how to change the booking form that clients actually have to fill out on our documentation on defining field labels.
To change the text and labels on the Client Information page of the scheduler, click the Edit button in the top right of the "Client Info Settings" portion of the Client Information screen of the TimeTap Back Office:
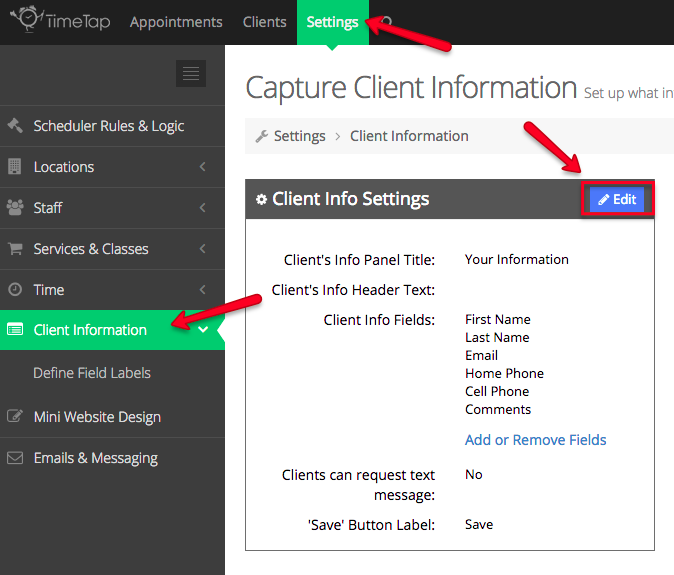
That will bring up your Edit Client Info Settings window:

Fill in the changes you want to make and press Save Changes:

In this window, you can turn on whether or not clients can request a text message reminder when setting up their appointment. By doing this, you add a field beneath the "Cell Phone" field of the booking form that clients can select and then determine how far in advance of the appointment's start time they want to receive a text message reminder.
After pressing Save Changes, you can open up your scheduler and click through to the last page to see how those changes have taken effect: