Underneath Settings → Scheduler Rules & Logic, you'll find several customization features which will make your clients feel like the booking process is really catered for your business.
In this specific piece of documentation, we'll take a quick tour of the Scheduler Rules & Logic page found at the top of your left hand menu when under the Settings menu from the top navigation. Access the links below for further topics covered under this area of our documentation site:
- Working with your Scheduler's Configuration settings
- Customizing your Greeting message
- Embedding the Scheduler on a Website
- Selecting a Book Now button
- Previewing your Scheduler
The links above will direct you to pages which describe how to use each of the features found on this page. Now, onto the tour.
A Tour of the Scheduler Rules & Logic page
The Scheduler Rules & Logic page is the top item on the left hand menu when you select "Settings" from the top navigation bar:
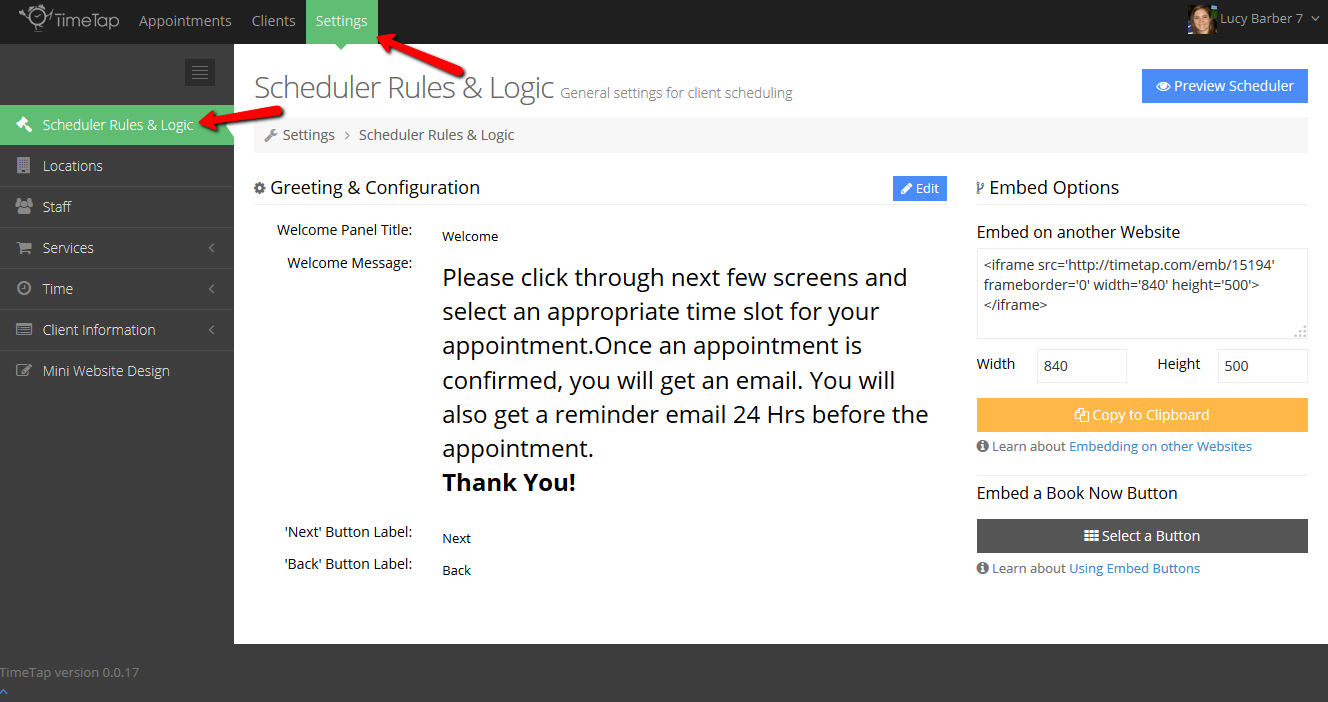
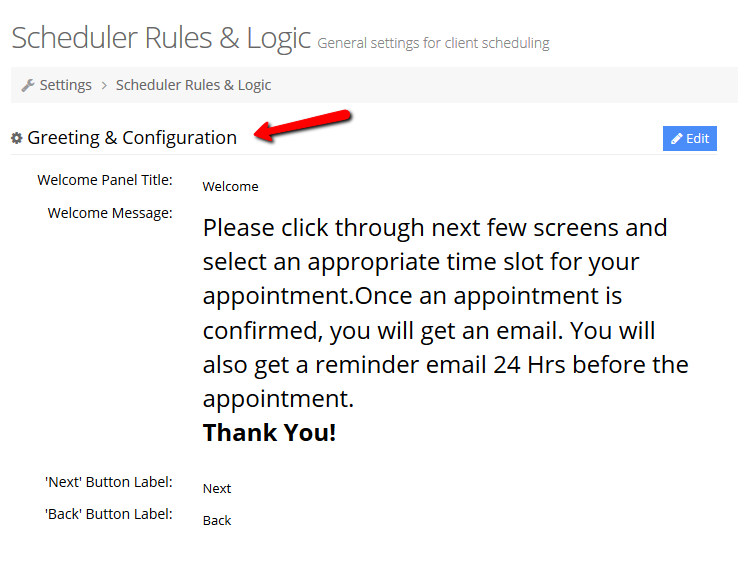
On the left hand side of the page, you have the Greeting & Configuration section where you can define what client see on the first page of your scheduler. This message will persist no matter if they're accessing your scheduler through your Mini Website or if you have embedded on your own website:
On the right hand side of the page, you'll see you have your Embed Options. You have the choice to embed the whole scheduler on a separate website or you can grab an embed button to link clients to your mini website. You can place that embed button on your website or you can insert it in the signature for the business emails you send out:

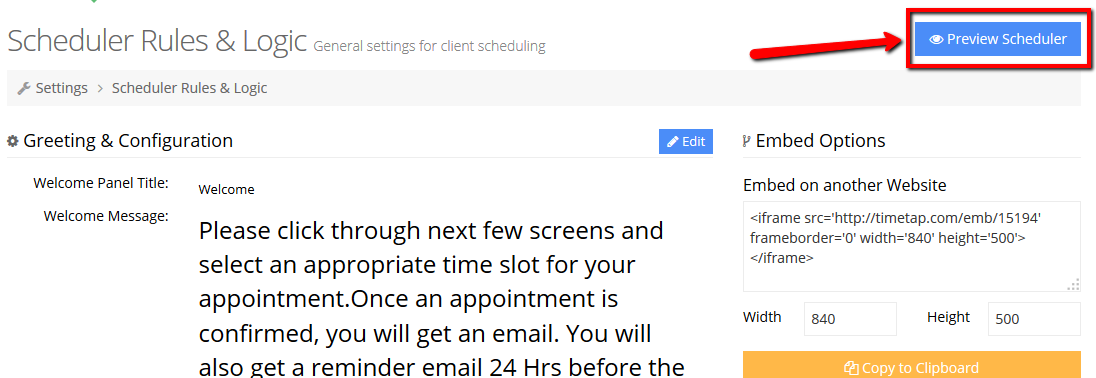
On the top right of this page (and every page in the Settings menu) you'll see a blue "Preview Scheduler" button. This will open up a new tab on your browser so that you can quickly click through and look at any changes you may have made while in the Settings menu. If anything looks out of place and you're not sure what went wrong, you can always contact TimeTap support for help with how to fix it: