Adding the proper logo for the new child account
Once the child account is created, you'll want to swap out the logo from the account you cloned from with the logo for the client for the new account you created. You'll need to do this in two places:
- Under Settings > Mini Website Design: This will change it for the booking landing page that candidates get directed to when they're scheduling
- Under Messaging > Messaging Settings: This will change it for the email header that is in the templates that get out to candidates for bookings
Changing the logo under Settings > Mini Website Design:
Set the logo for the child account by following the steps below. This will update the logo that is shown on the landing page that candidates book through. I recommend that the image be no larger than 200px (150px may be even better) in height in order to display well on the scheduling page and not push the scheduler too far down.
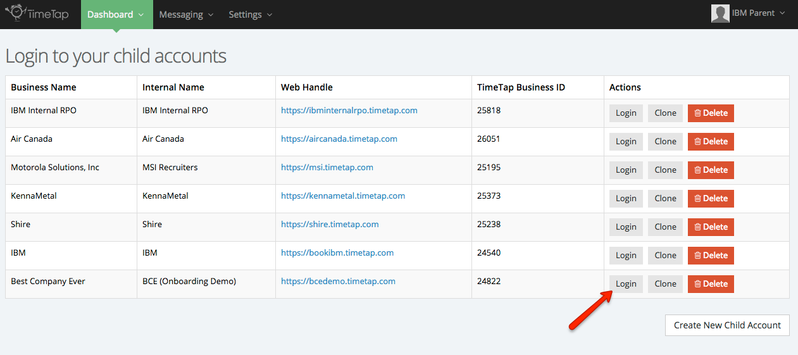
- Login to the parent account and click the "Login" button next to the child account that you want to add the logo for (please note: I'm using the Best Company Ever (Demo) account that I set up for your team a while back to go through this documentation so nothing is messed with on any live accounts)
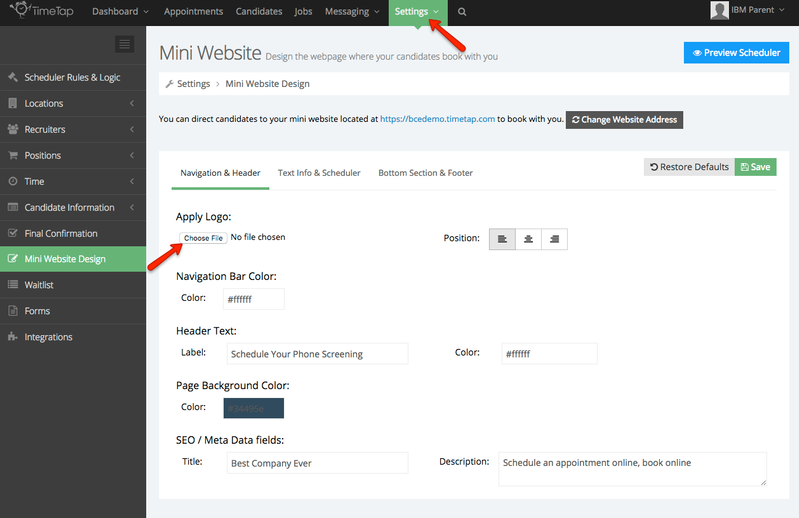
- Once logged into the child account, go to Settings > Mini Website Design:

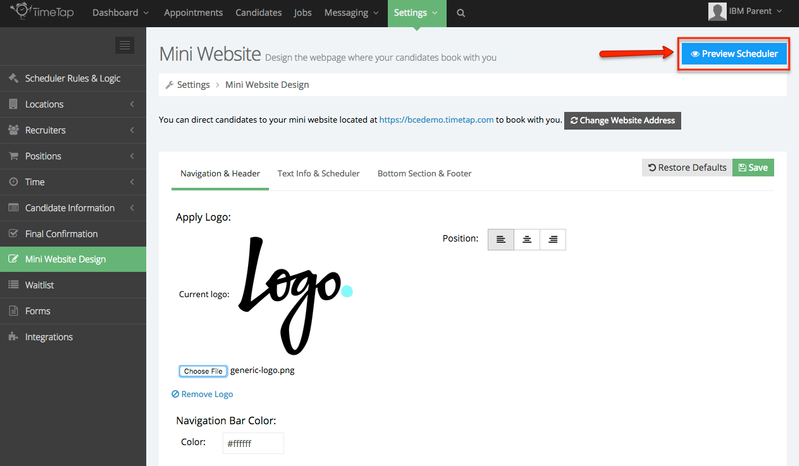
- Under Settings > Mini Website Design, you'll see that it will default to the tab "Navigation & Header". Underneath that tab you'll see the "Logo" option. Click the button to choose file/browse and select the image file for the logo (.png & .jpeg file formats preferred):
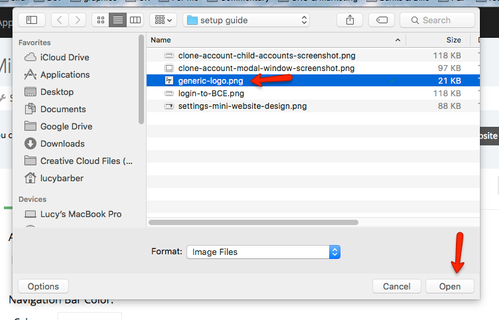
- Once you've found your file in the file explorer, click the button to open it and it will save to your scheduling page:
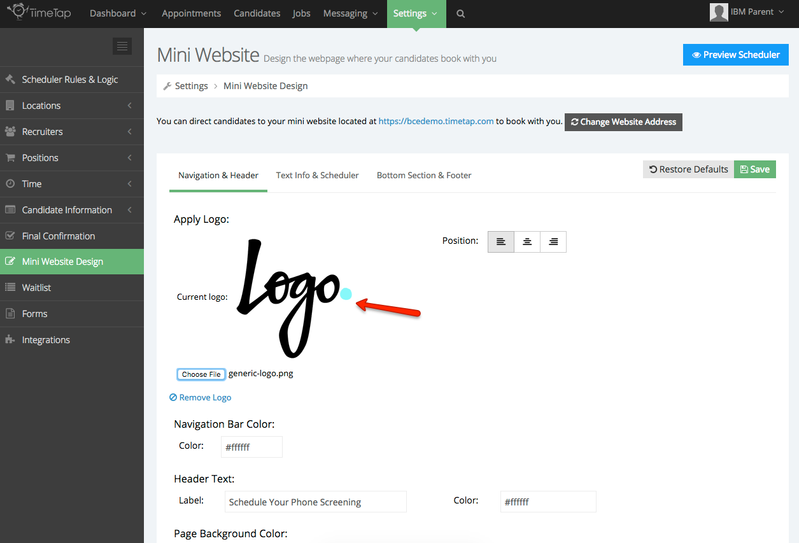
- It will now be displayed on your Settings > Mini Website Design page:
- You can also view it on the scheduling landing page. To do this, simply click the blue "Preview Scheduler" button in the top right:
That will take you to a sample scheduling landing page where the logo will be displayed: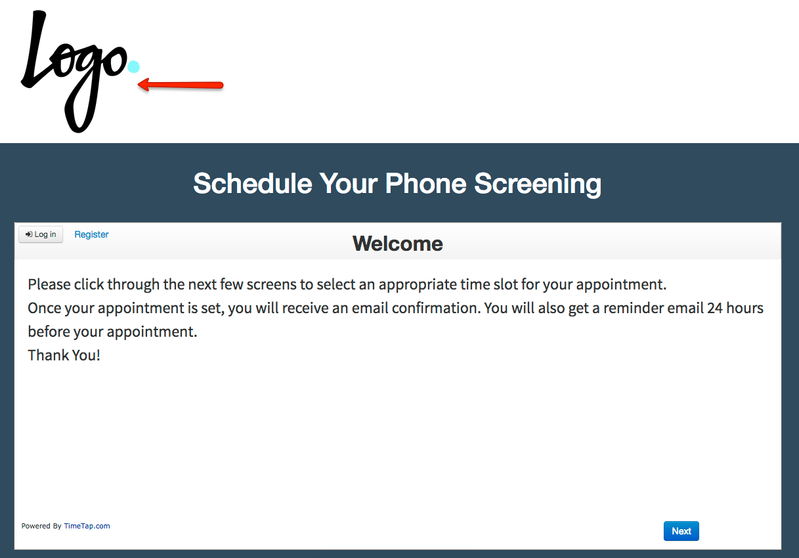
Changing the logo under Messaging > Messaging Settings
The logo that displays under Messaging > Messaging Settings will be what shows up on in the header all of the email templates that are sent out.
At this point, you will now able to upload the logo within TimeTap. Let's walk through how to do this -
- Login to the IBM Parent account and then click the Login button next to the child account that you want to add the logo to (please note: I'm using the Best Company Ever (Demo) account that I set up for your team a while back to go through this documentation so nothing is messed with on any live accounts)
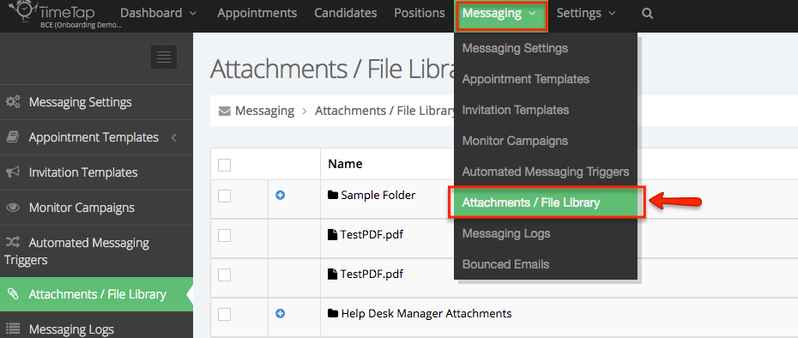
- Once logged into the child account, go to Messaging > Attachments / File Library
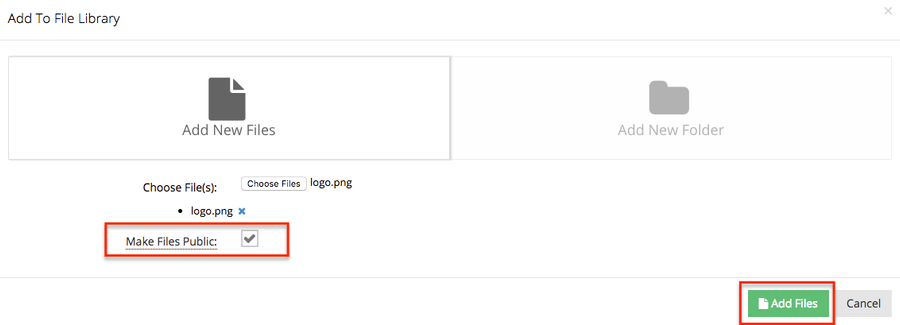
- Select + File / Folder > add new file >
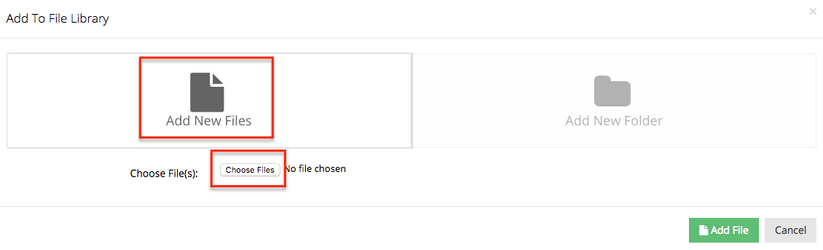
- Select file and be sure to select 'Make Files Public' so the source code is an option when it comes time to copy it, then 'Add Files'
5. Click the link icon on the same line item as the attachment you want to add to your email, it will copy the link automatically.

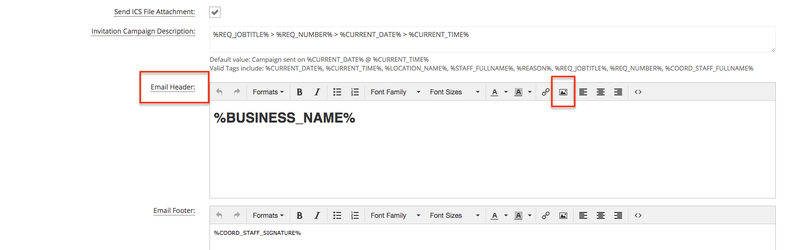
6. With that code copied, you would now go to Messaging > Messaging Settings

7. Scroll down to Email Header and select the image icon in the email header field to bring up the "insert/edit imagine" tool, which is what you'll use to attach the logo. Please note: If there is any content in the email header field currently, feel free to use your mouse to select it and delete it.
8. In the "Insert/edit image" pop up window, paste the link that was copied from the Attachments/File Library page into the source field:

Click the "tab" key on your keyboard to tab out of the source field and you'll see the dimensions fill in automatically based on the size of the image:
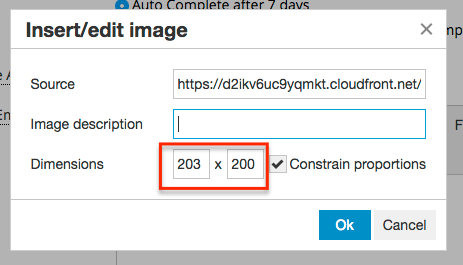
The dimensions are width x height, so in the screenshot above the image will be 203px wide by 200px high. If you want it to be smaller/bigger change the dimensions here and if the "Constrain proportions" checkbox is checked the height value will adjust proportionally depending on what you set the width value to.
Please note:most email clients have a max width of 600px. I do not recommend setting the image to be this wide. I would recommend no wider than 250px to display well on all devices.
Click the "Ok" button from the "Insert/edit image" pop up to insert the image to the email header: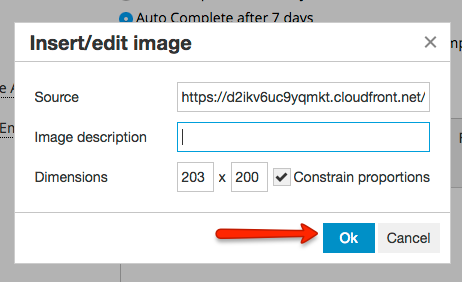
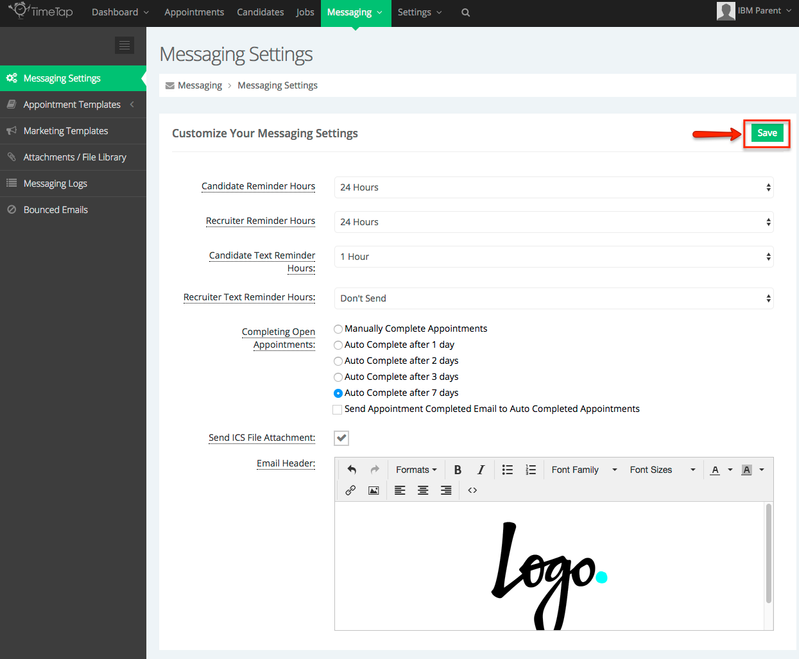
- You'll now see the logo appear in the email template header:
If you want to center the logo, you can highlight it and click the "center" icon in the toolbar: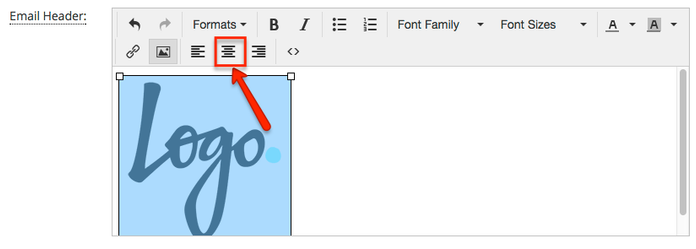
Please note: centering can sometimes be finicky when there are images but no text. If you're having trouble centering, put your cursor in front of the logo, like so: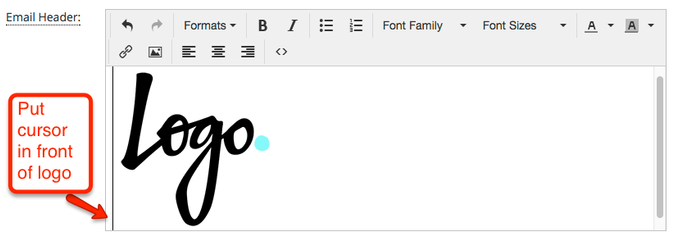
Then press the space bar on your keyboard: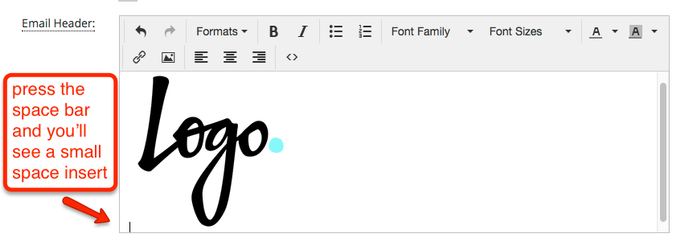
Now try highlighting everything with your cursor (including the space you added) and pressing the center icon (you can also use ctrl + a on Windows machine to highlight everything):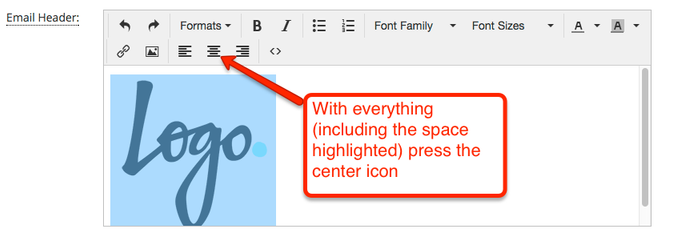
- Once you've got the logo positioned how you want it, simply press the "Save" button in the top right to commit your changes:
That is everything you'll have to do to add the logo into the header. You'll want to test out sending an email template to make sure that it is appearing correctly. We go through testing sending email templates in another section of this documentation.