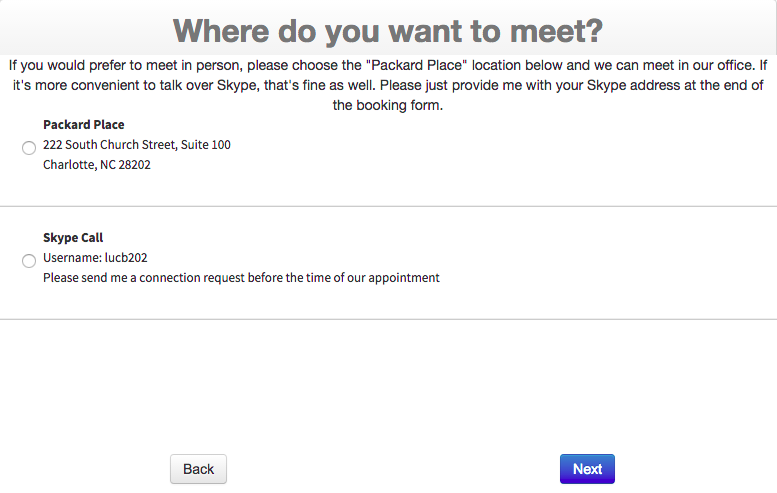
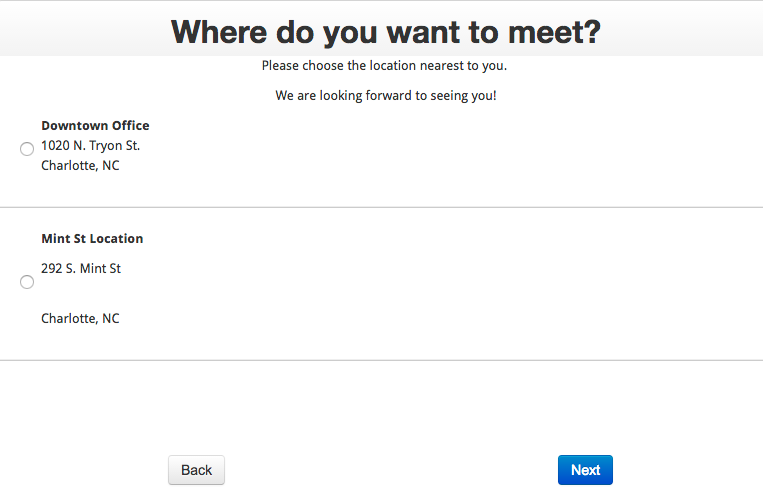
If you have upgraded to a TimeTap Professional account, then you You have the option to change your scheduler's flow so that clients can select which location they want to book at when they are setting their appointment. If you have changed your scheduler's flow so that the location panel is included, then you have a few options as to what you can add to this panel when clients are making their appointment. You can:
...
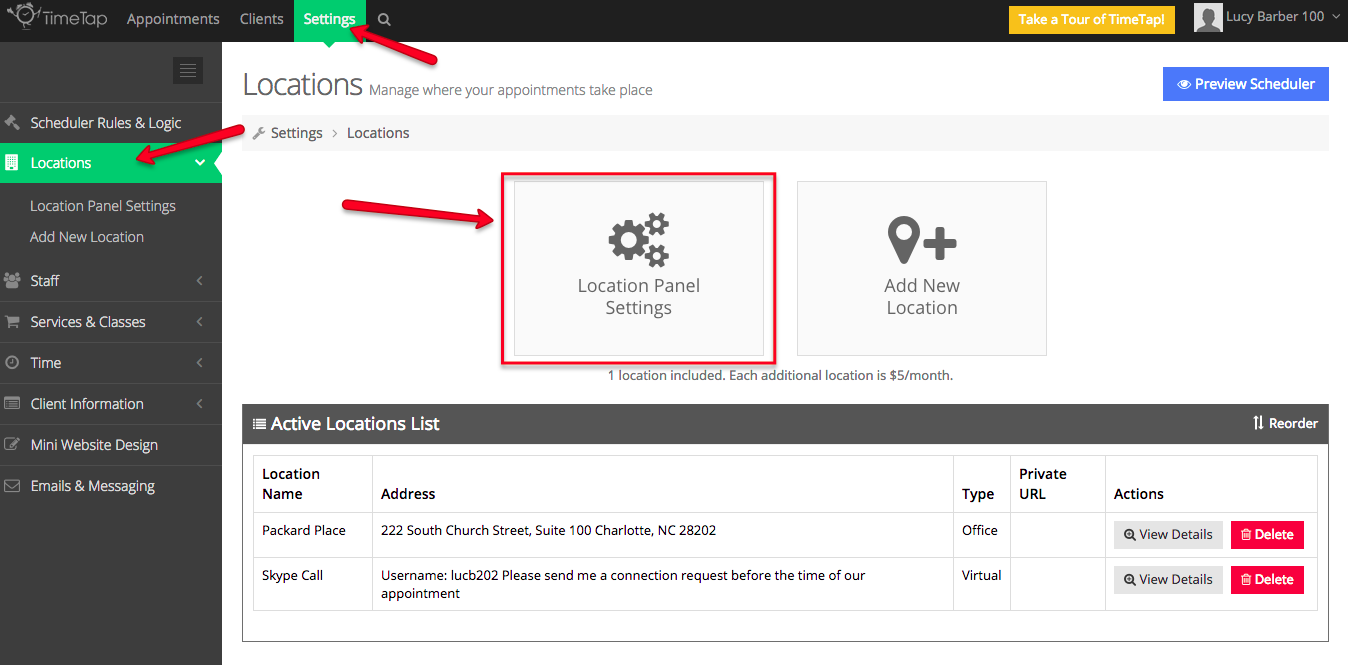
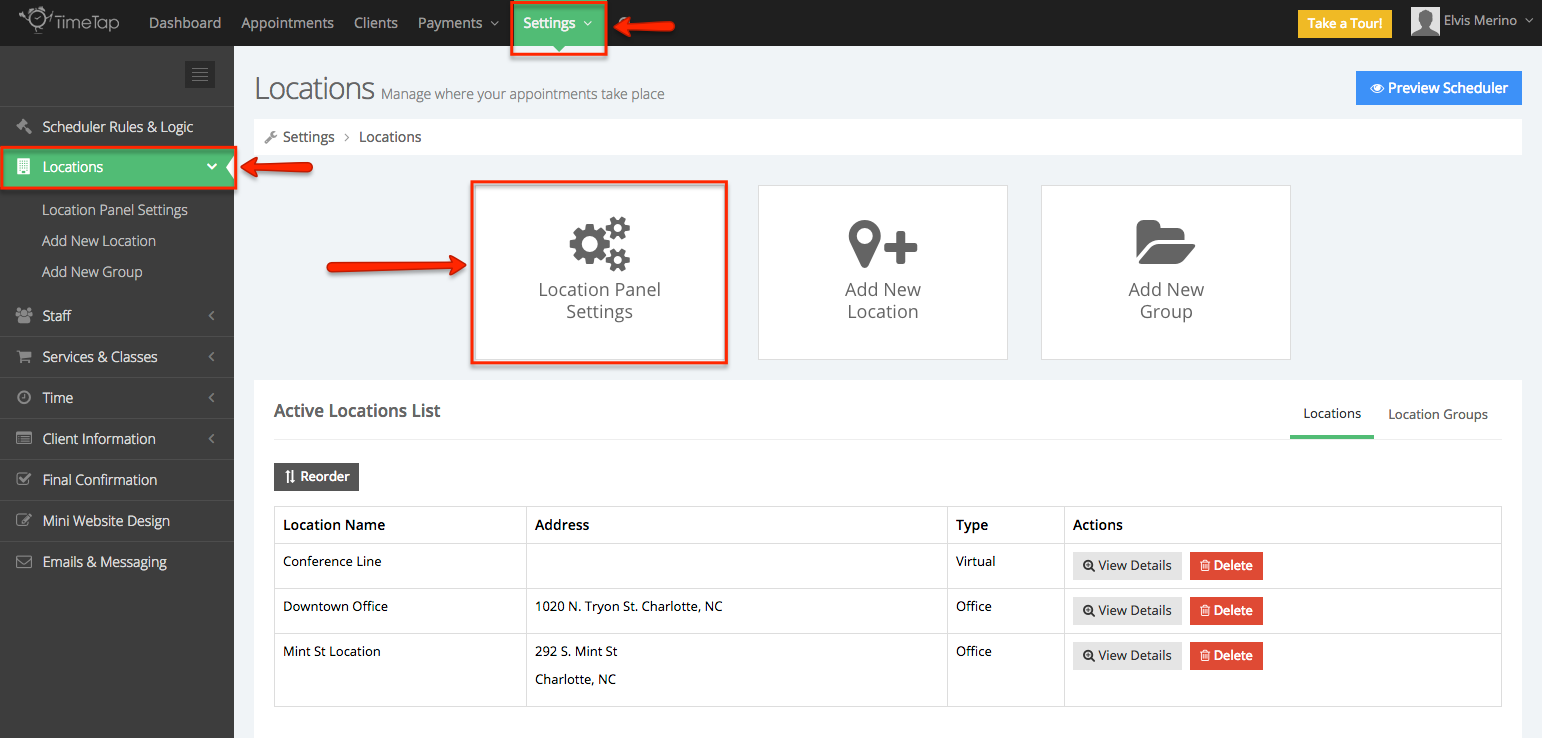
To get to your Location Panel Settings options, go to Settings → Locations and click on the button for "Location Panel Settings":
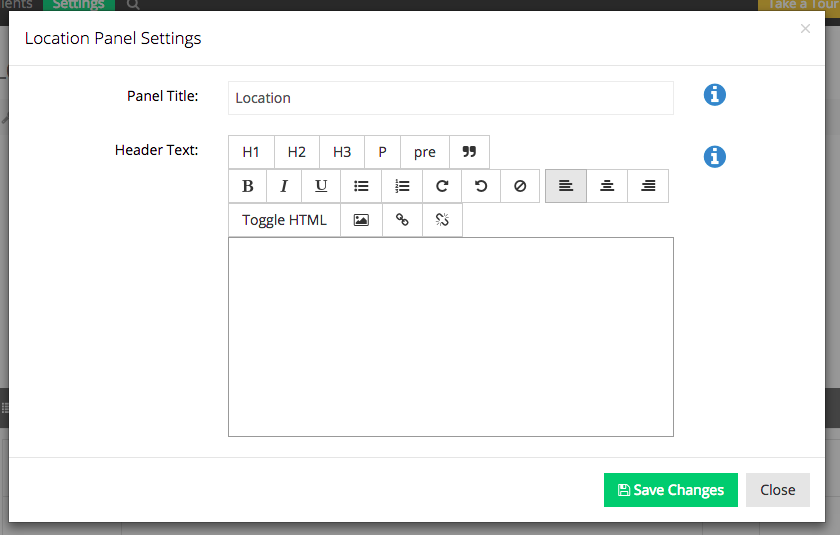
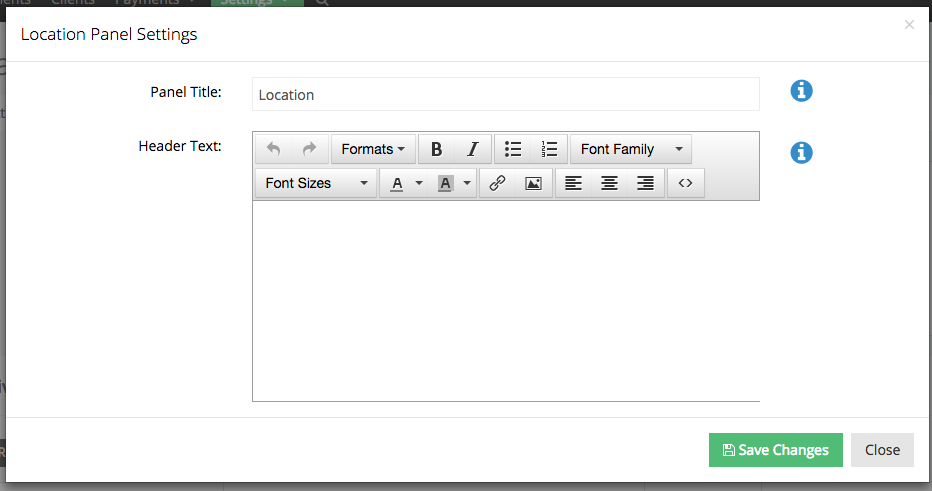
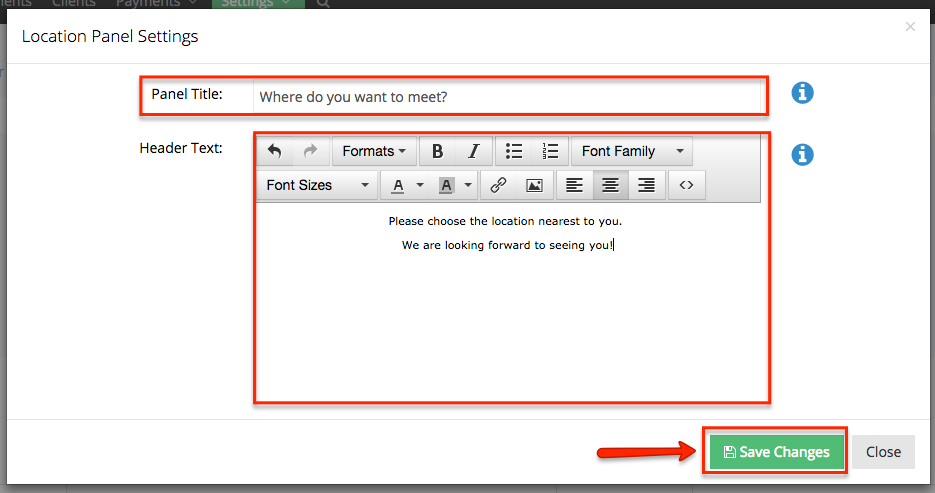
Once you've clicked the Location Panel Settings button, you'll see the Location Panel Settings window appear:
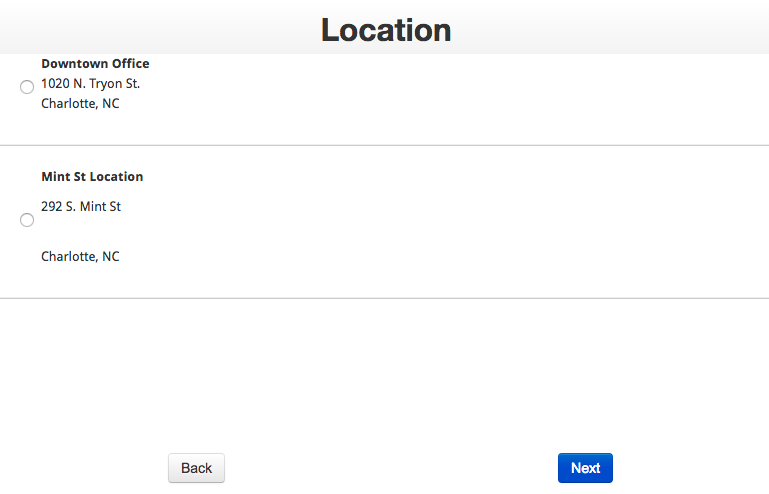
The default panel settings shown in the image above create a nice but generic look to your location panel when clients are booking as you'll see in the image below:
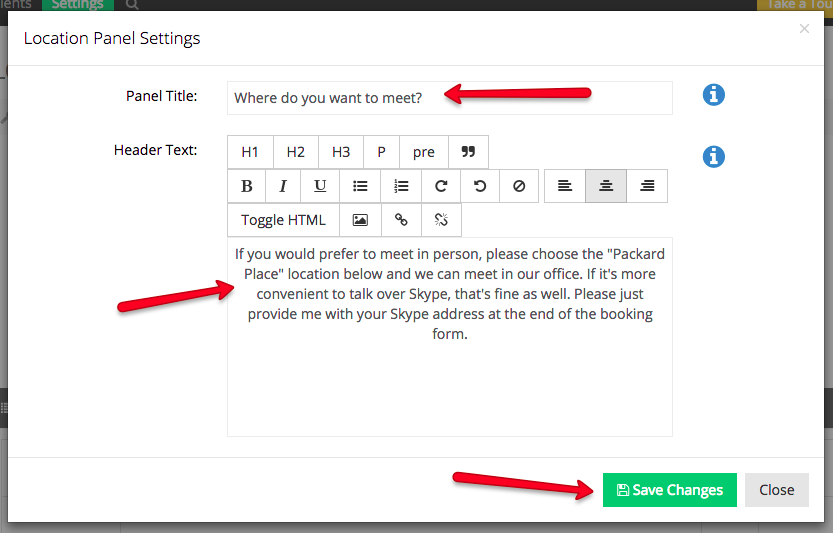
Let's say you make a few changes to your Location Panel Settings so that the Panel Title now reads "Where do you want to meet?" and you have added a bit of explainer text to the top of the screen:
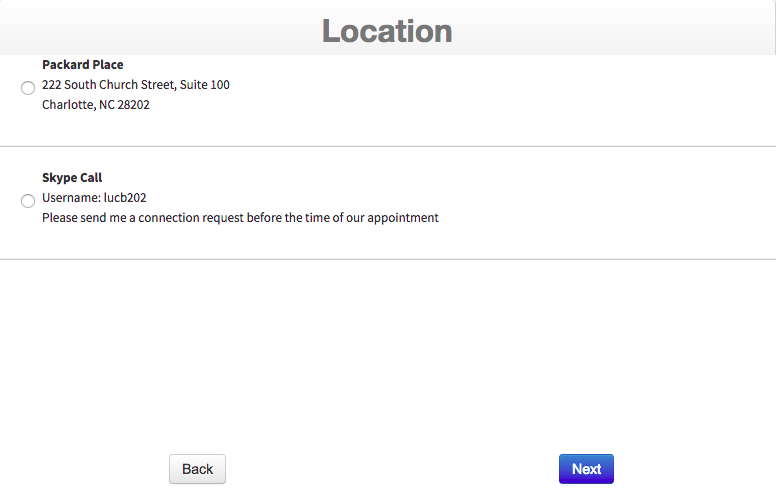
After saving your changes in the Location Panel Settings window, here's how those changes would appear on the client facing scheduler:
As you can see, there's nothing that drastic that you're changing here, but you can make it so it fits your business better.
...
