| Anchor |
|---|
|
File Library is located under
the Messaging tab and it allows you to add files and folders to your account that you can
use in your email templates through TimeTap.
This
help docs covers:
| Table of Contents | ||||||||||
|---|---|---|---|---|---|---|---|---|---|---|
|
How to Add a New
File to YourFile
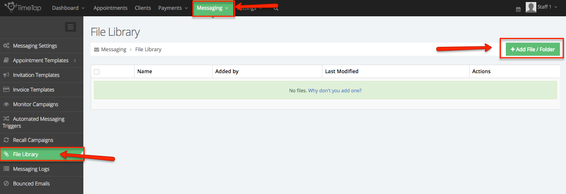
LibraryGo to the Messaging tab and
select File Library
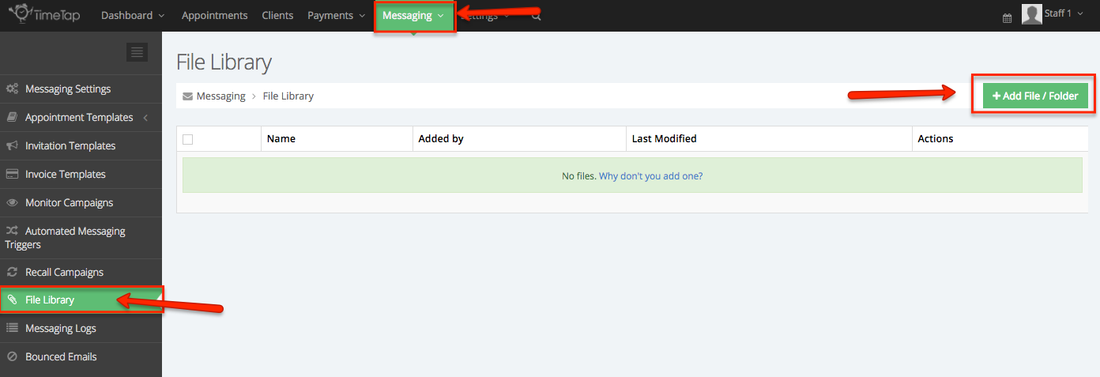
from the dropdown menu. Select the Add File/Folder button
.
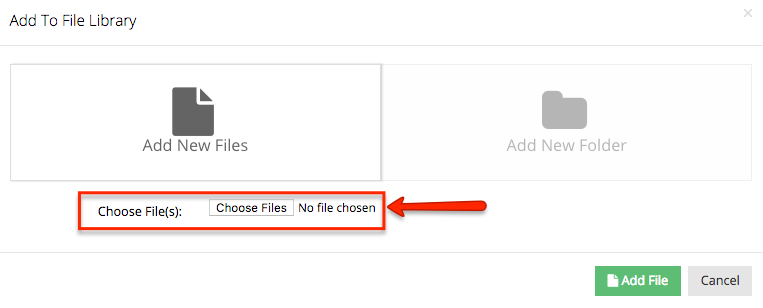
A window will
appear where you can choose the file(s)
you wish to upload. Use the Choose Files button to browse your computer and select the file(s) you are wanting to add to your File Library.

Once you have chosen the files you want to add to library
, you are also given the option to
Make Files Public. Selecting the Makes Files Public checkbox will create a link to each file that you can use in your email templates and other documents. If you only want the file(s) to be available for
Backoffice, then leave the Makes Files Public setting unchecked.
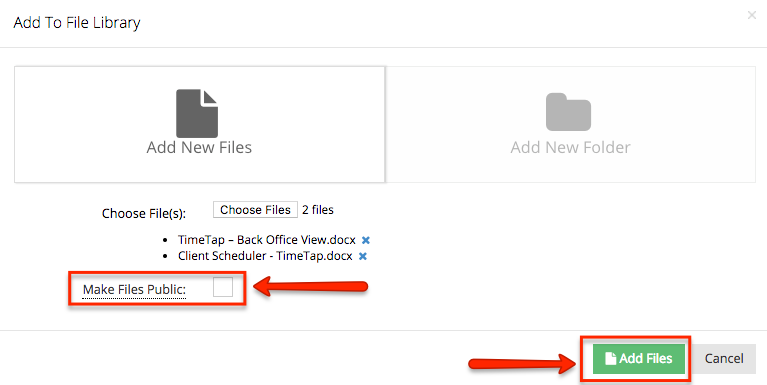

When you are done selecting the file(s) from your computer
, use the green Add
Files button to
complete the upload process.

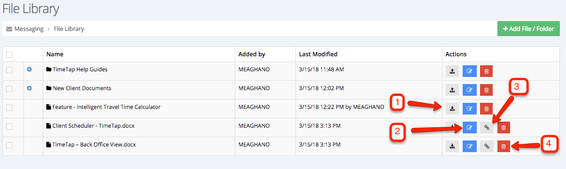
Once you have added files to your Library
, the following Actions are available beside each file:
Download
- downloads a copy of the file to your computer
Edit File Name - updates the current file name
Copy Link - copies the public link for that file so that you can then paste it in an appointment template, invitation template or an email to a client
The link icon will show next to the file(s) that you made public when you added them to the library.
If this icon is missing, then you’ll need to delete and re-upload that file with the Make Files Public checkbox selected.
Delete - removes that file permanently from your File Library
How to Add a New Folder
to Your File LibraryMuch like adding folders on your computer, adding a folder to your
File Library is a way to organize and group together multiple files into one space. Similar to how
you added a file,
you can add a new folder
by selecting the green Add File/Folder button and
then selecting on the
Add New Folder box. From there you will be prompted to

add a name for that folder.
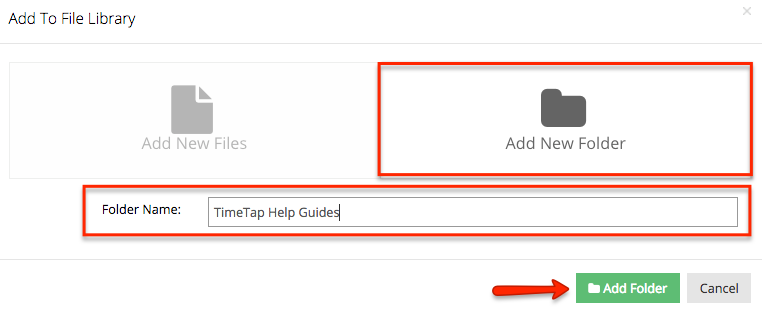
Once you click the
Add Folder button, you will
see the name of your folder listed in the File Library table with a folder icon next to it.
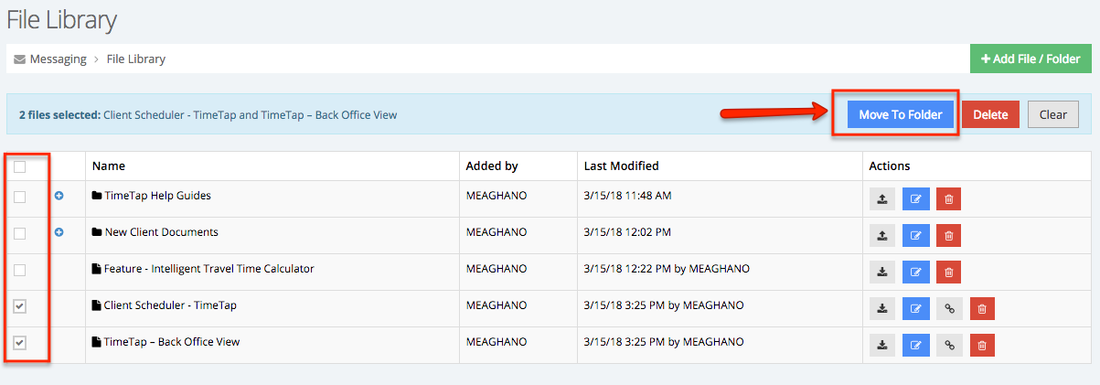
Organizing Files and Folders
By checking the boxes to the left of the file names
, you will be prompted with additional actions to Move to Folder, Delete (file or folder) or
Clear (unselects the boxes checked).
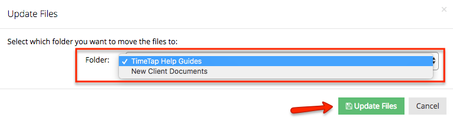
The blue Move to Folder button will
initiate a pop-up window asking which folder you would like to move the files into.

The
Update Files
window will display your created folder to choose from.
Choose the desired folder and select Update Files.
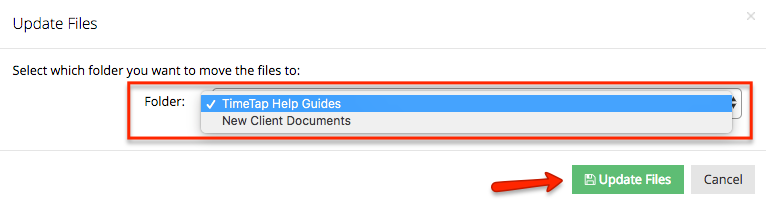
Those files will then be placed inside the selected folders, as shown below.
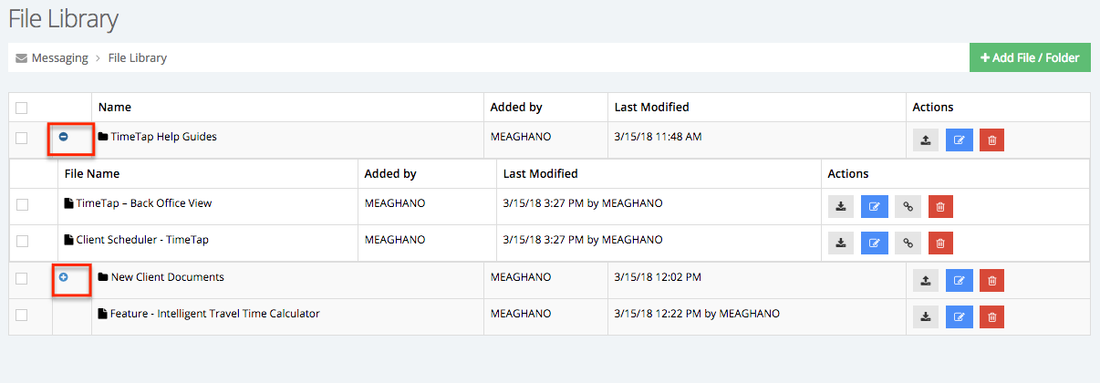

You can hide or show the contents of each folder by clicking the blue minus sign ( - ) or the plus sign ( + )
How to Add a File to an
AppointmentMessaging Template
For
files that
were marked "Make File Public"
, you are able to copy the link created and paste it within any of our appointment templates or email templates.
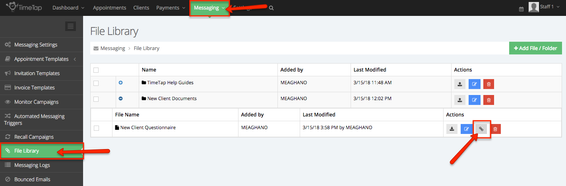
To get the public link for that file, to go to Messaging > File Library
> click the link icon 
. Once you see "Linked Copied!", you’re ready to paste that into your Appointment Templates.

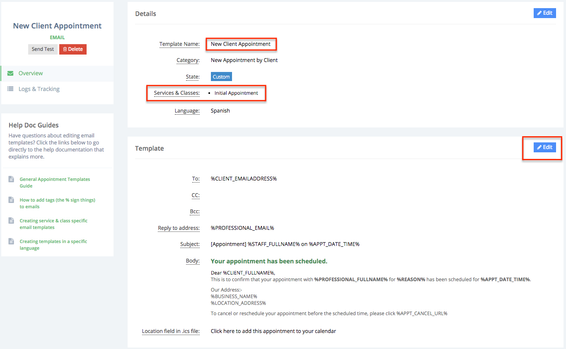
To include this in one of your messaging templates, go to Messaging > Appointment Templates >
View (next to the
template category you wish to edit). The example below uses a custom template in the New Appointment by Client
category which is tailored specifically for the
Initial Appointment service, but the following instructions can be used to paste this link into any of your other appointment or invitation messaging templates.
| Info |
|---|
Click here for a |
refresher on how to clone appointment templates |
. |
To add the copied link to the template
, first select the Edit button in the
Template section of the template profile:

Then paste the copied link in the
proper section of the Body of the template. In this example
, the file’s URL is hyperlinked to the text "clicking here".
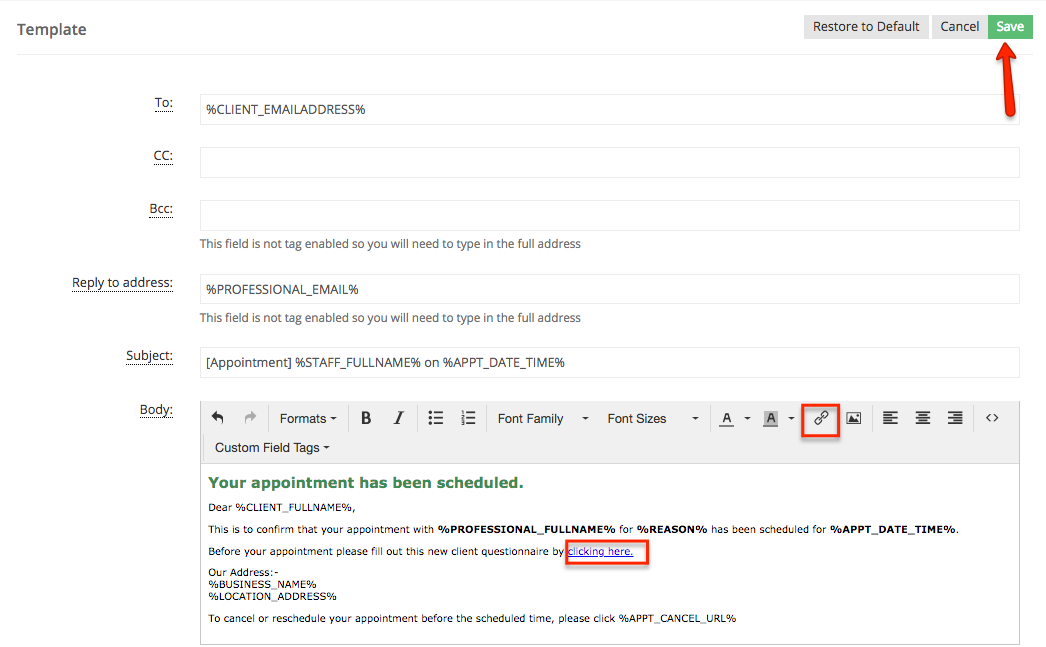

Once you are done
editing the template, select Save to confirm those changes. Once it is saved, all clients who
receive that messaging template going forward will have access to that file through the link that you’ve added to that message.