If you created your site on Wix, you can add the scheduler to your site with the HHTML iFrame/Embed app from the Wix App MarketHTML code widget.
To do this, login to your Wix account and access the Wix App Market click the Add button (+) icon on the left hand side of the page you want to place your scheduler on:

In the search bar for the marketplace, type in "HTML" and press search:

From the search results, select the "Add to Site" button next to the iFrame Embed app option that shows up:

Once you click the add to site button, expand 
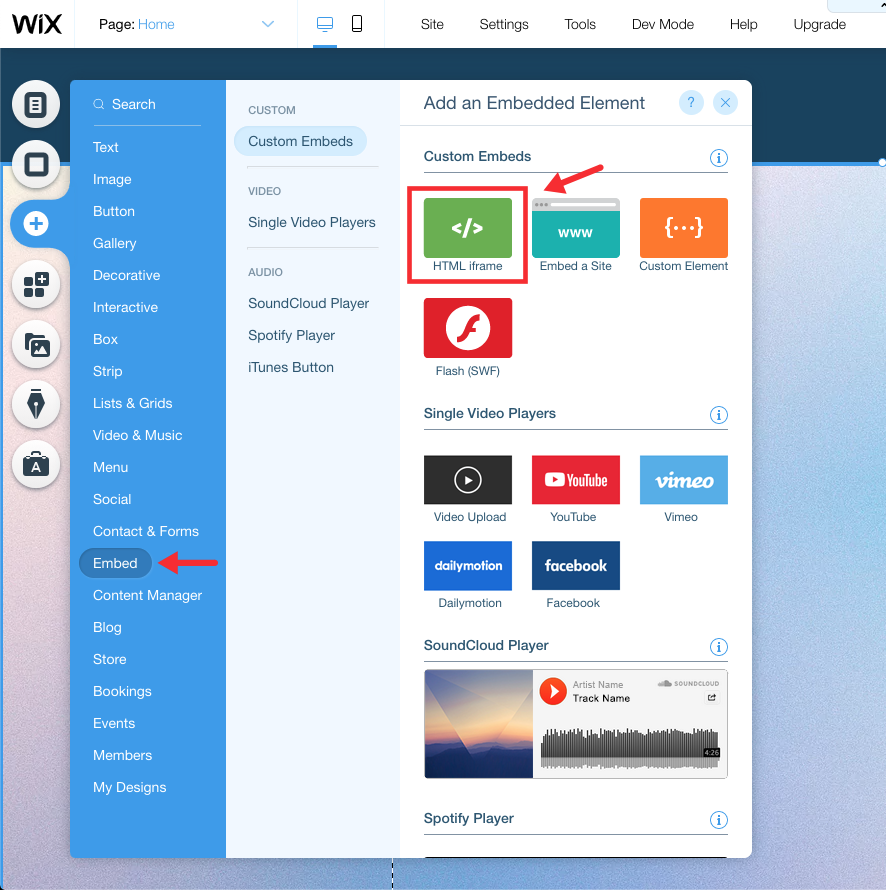
Move your cursor over "Embed" and select the HTML iframe option:
A new window will appear, expand the resulting box to the dimensions you want the scheduler (we recommend a minimum size of 840x500px) to take up then click Enter Code:
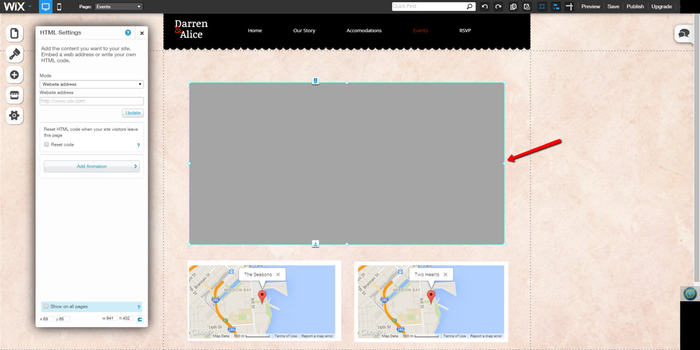
In the "HTML Settings" box on the left, go ahead and select from the dropdown that you want to paste in HTML code:

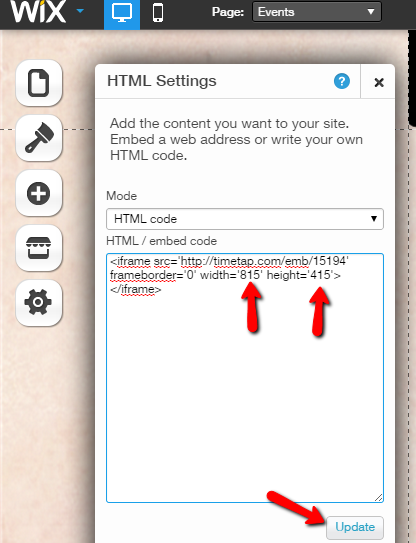
Now, an HTML editor box will appear underneath that dropdown in your HTML settings and you can paste in your scheduler code and press update:

After pressing "Update
After you click the Enter Code button another window will appear, make sure "Code" is selected and then paste the embed code in the corresponding section, then click Apply:

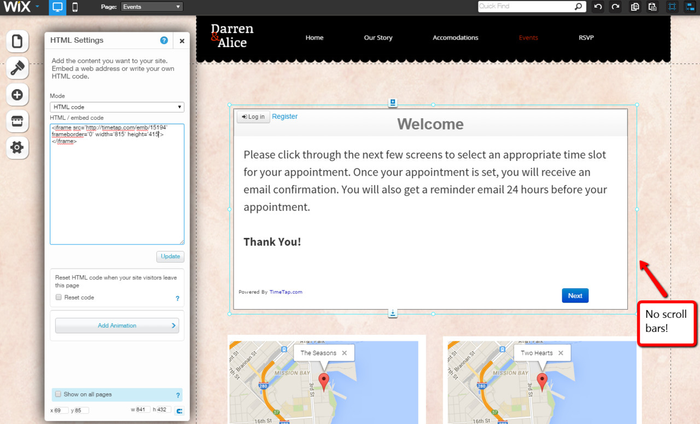
After pressing "Apply" you'll see the scheduler fill in on the main portion of the screen:


To get rid of the scroll bars or empty spaces around the scheduler, simply customize the width and height numbers in the embed code to match the dimensions of the box you drew or set the width and height to 100%:

Now you just have to save your site as normal so that the scheduler appears on the page you embedded it on!