| Anchor | ||||
|---|---|---|---|---|
|
We will cover:
- How to create a resource
- How to assign a resource to an appointment in the back office
- How to edit appointments with resources
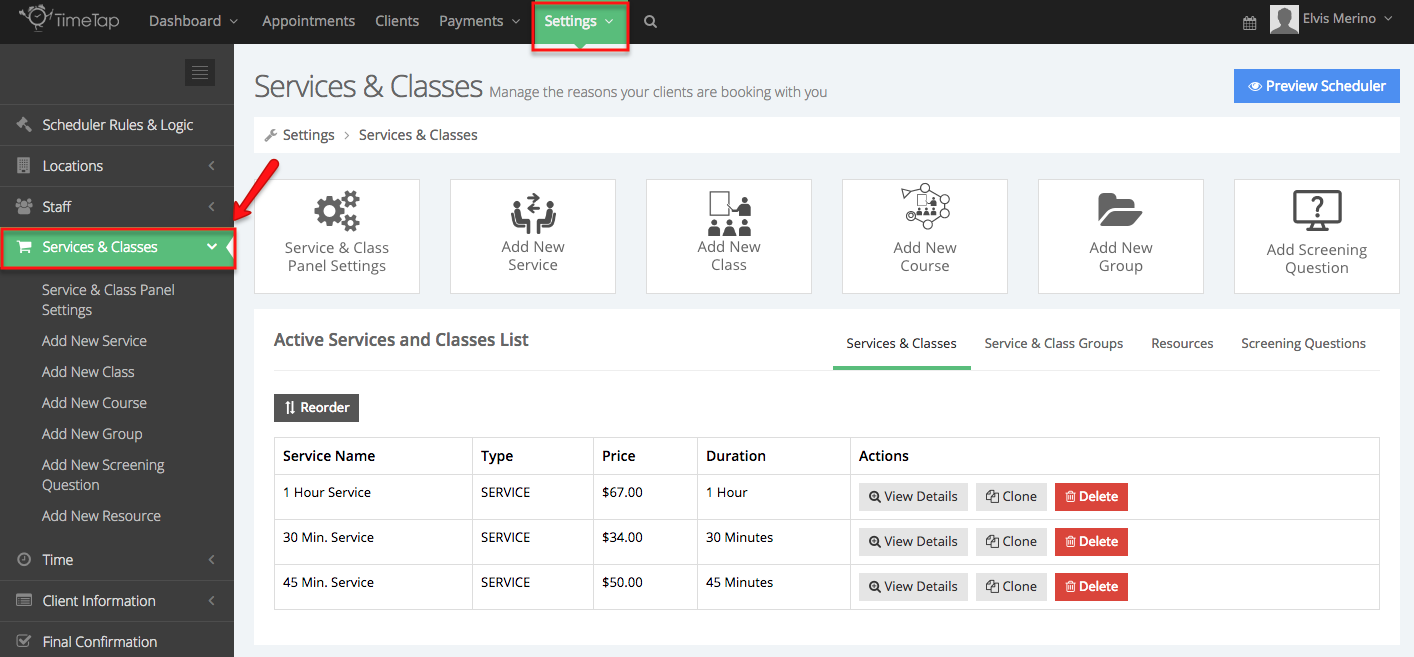
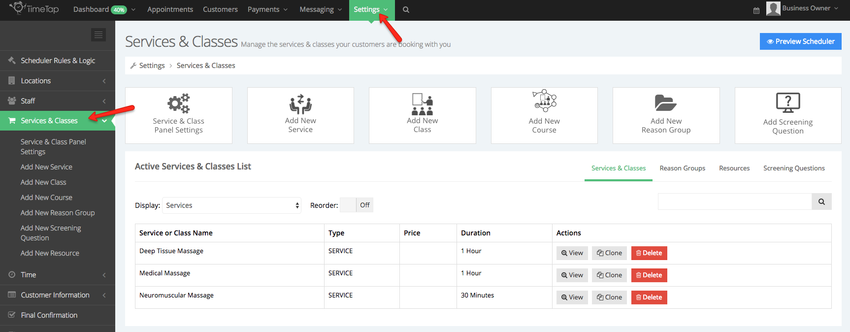
First, select go to Settings and Services & Classes:
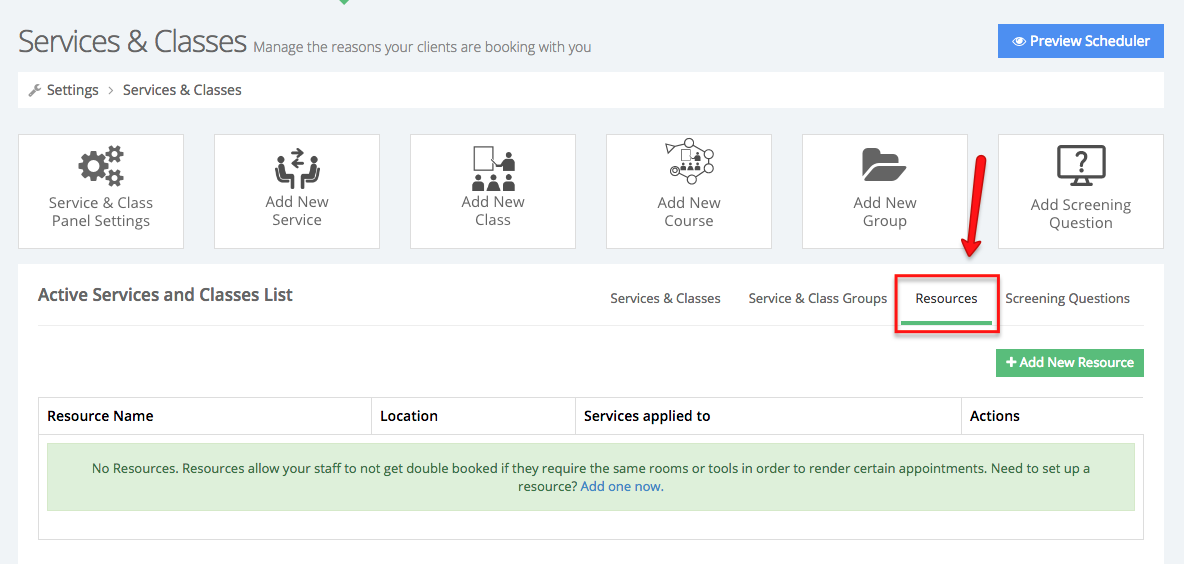
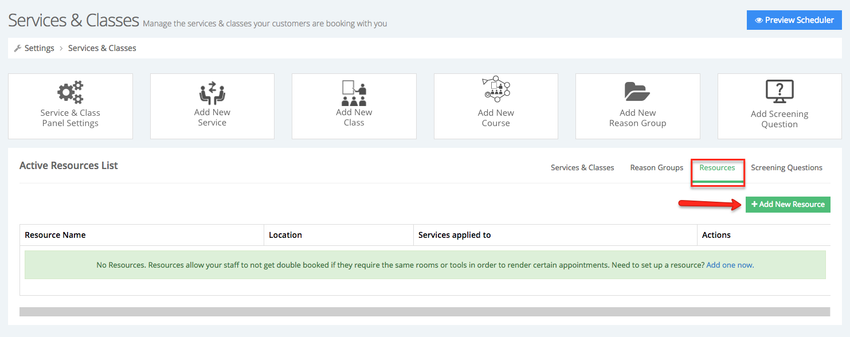
Once in the Service & Classes screen, select the "Resources" tab:
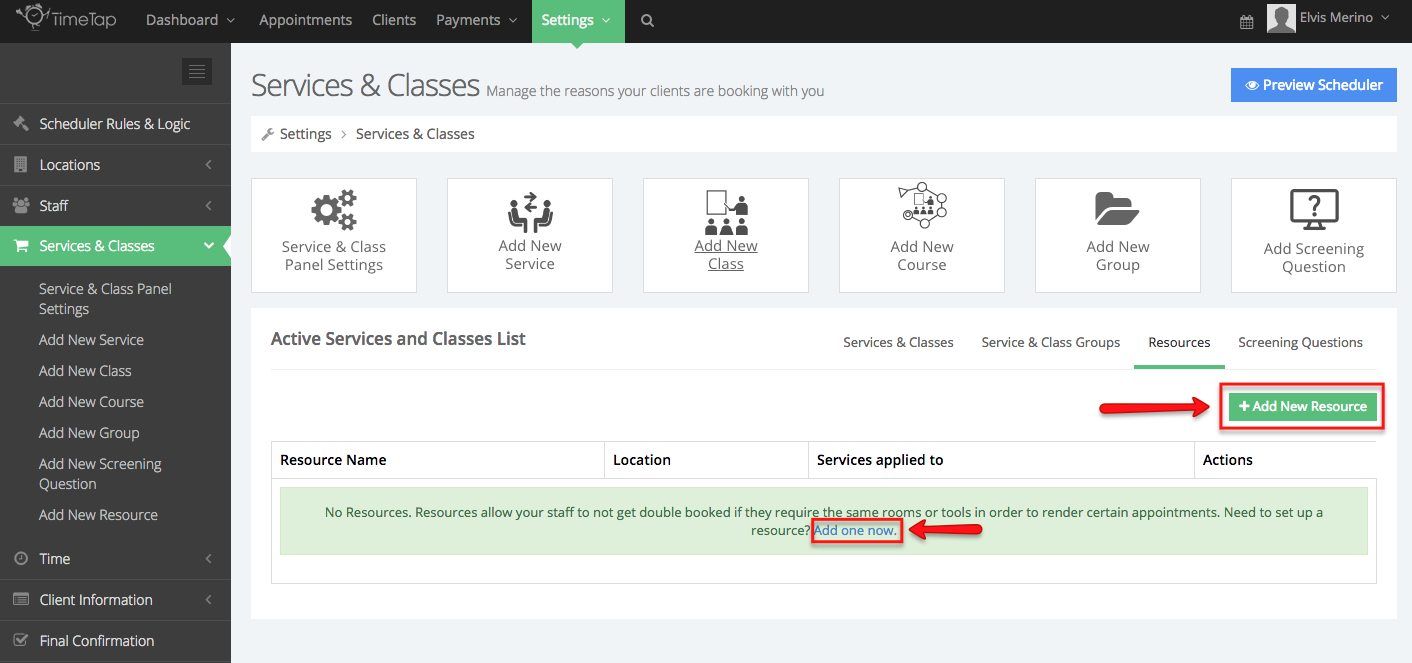
You will then have two options to create a new resource, you can , then click the "Add New Resource" button or click the "Add one now" hyperlink:
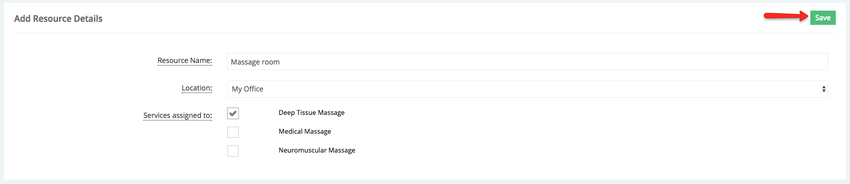
After selecting one of the options to add a resource you will have have to fill out the resource name, location, and services assigned to this resource:
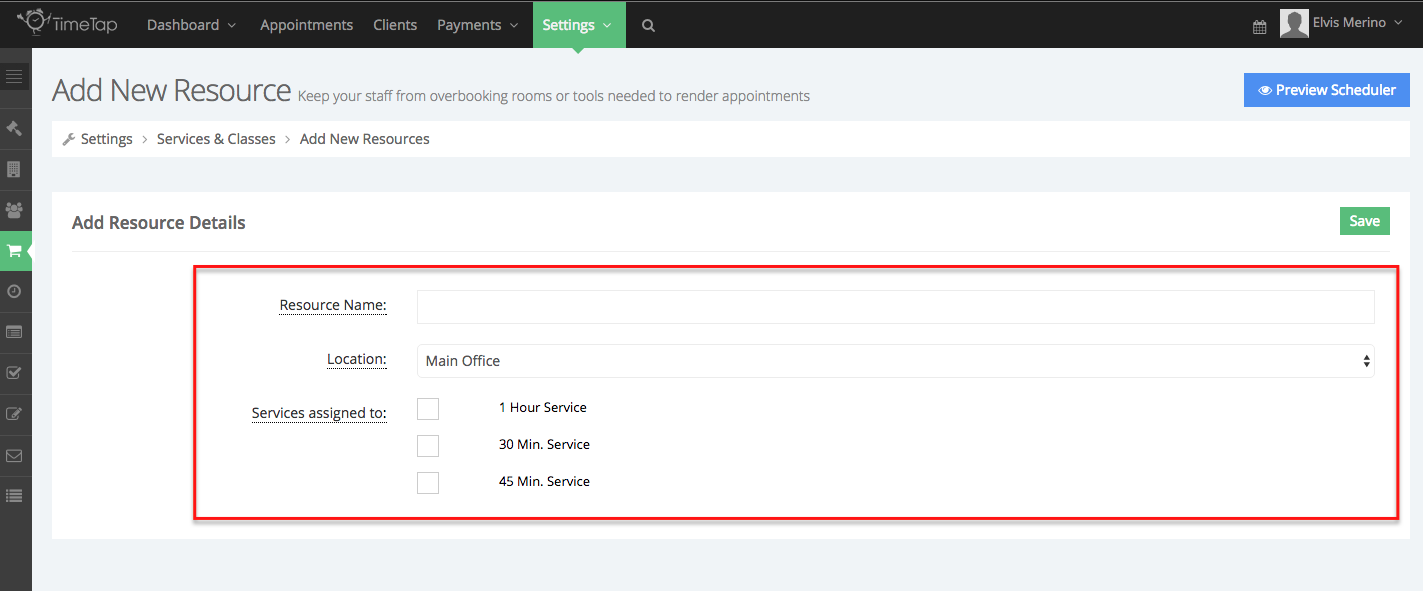
- Resource Name: The name is what you and your staff will see in the appointment details record as what was assigned to the appointment. This information will not be shown to your clients.
- Locations: This is the location where the resources is available
- Services assigned to: Select which services require this resource in order to be rendered
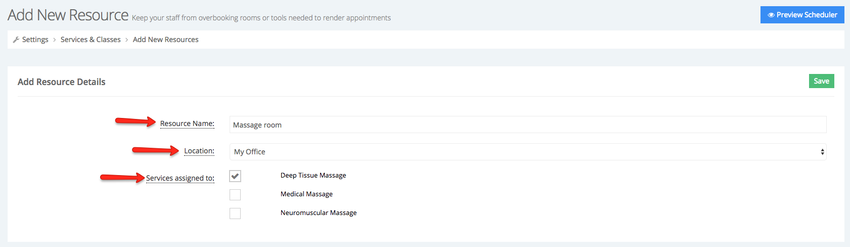
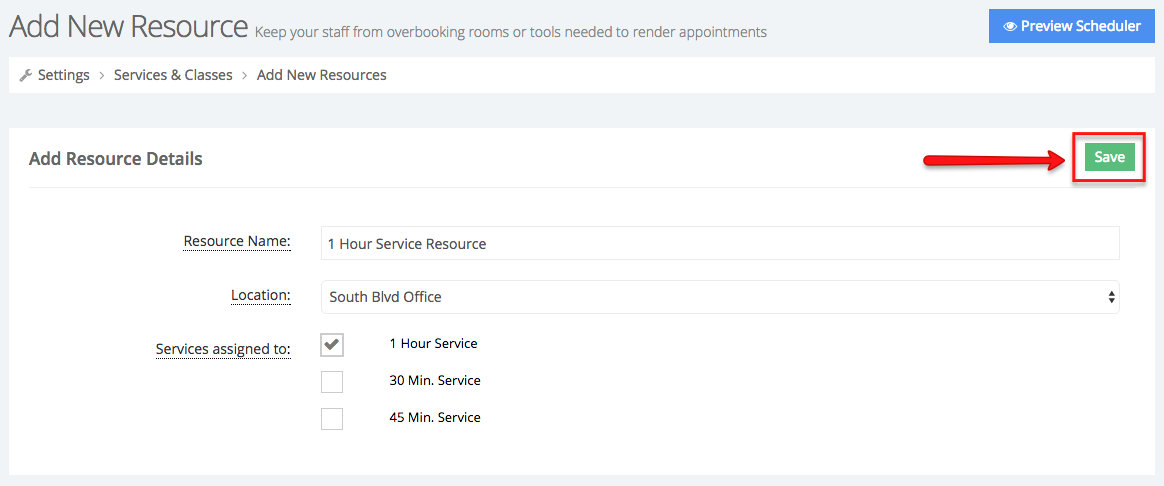
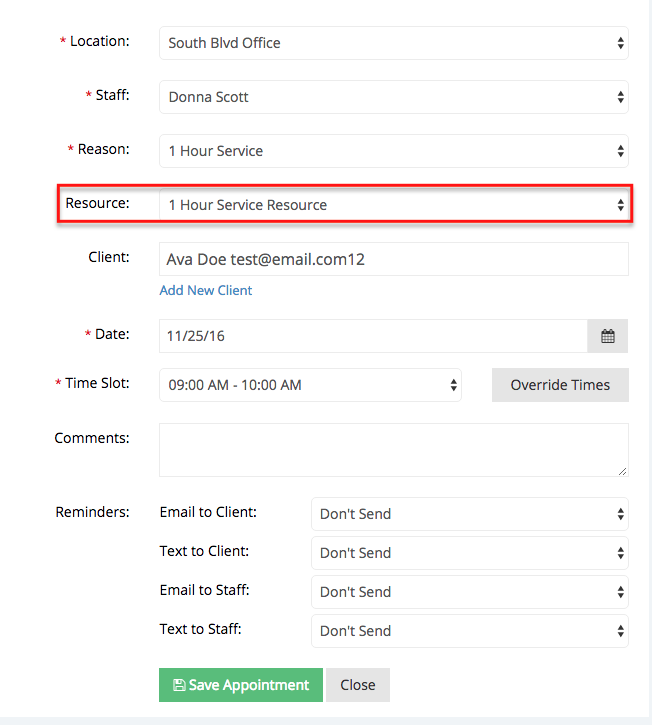
In the example below, I created a resource and named it "1 Hour Service ResourceMassage Room", this resource is in the South Blvd "My Office" and only the 1 Hour service Deep Tissue Massage serviec will be offered in this resource. Click Save once you've entered the resource details:
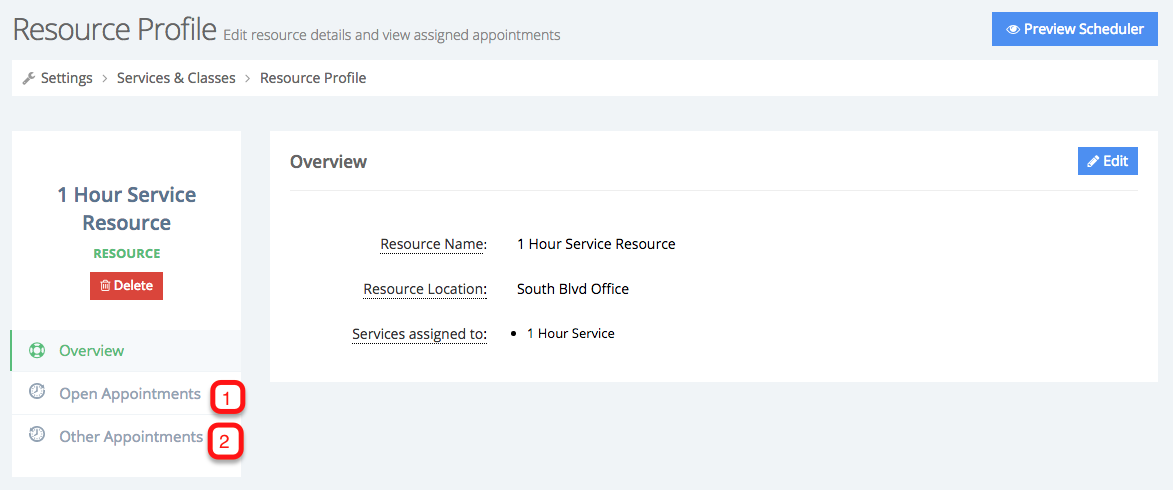
Once you've clicked the Save button you will then be taken to the Resource Profile screen. Here you can make changes to the resources details, see any open appointments taking place in this resource (1), or see any cancelled, no show, and completed appointments in this resource (2):

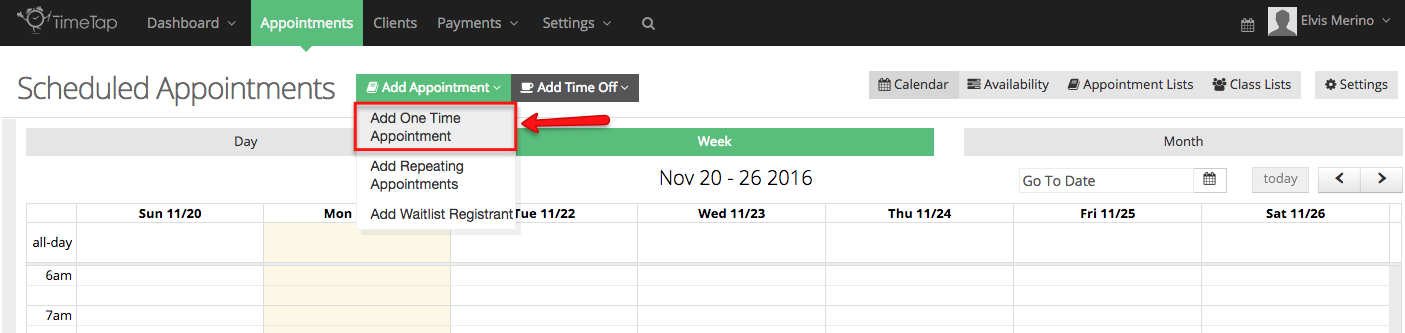
Now we'll cover how to assign a resource to an appointment as you're adding it in TimeTap's back office. The resource can be assigned to one time appointments or repeating appointments.
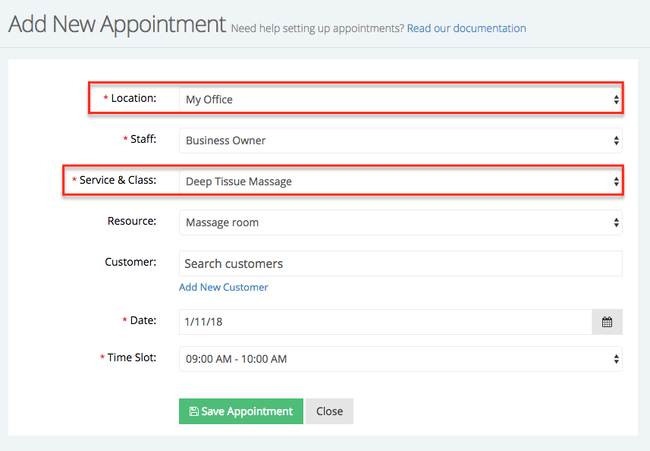
First, begin by going to Appointments → Add appointment → Add one time appointment or click anywhere in the calendar to bring up the Quick Add Pop up window:

After selecting to add a one time appointment, you'll notice that first I selected the location where the resource is located, and also the service that requires this service:
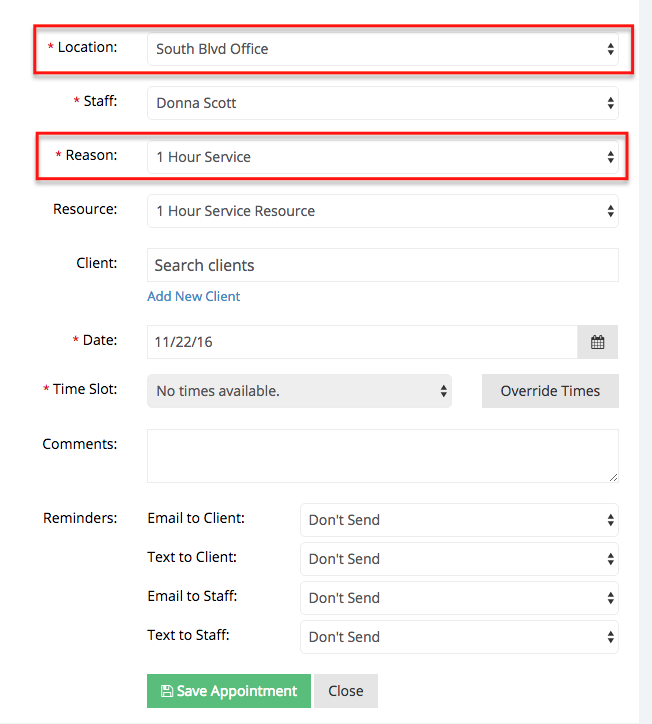
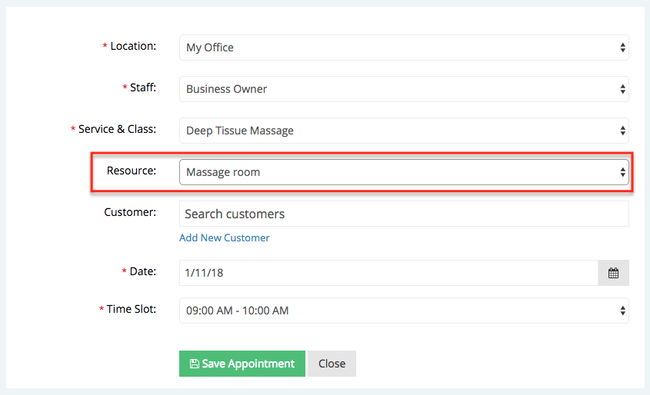
You will then have the option to select or not select the resource for this specific appointment. If you choose to select the resource then no other appointment for this service can be booked at the same time and at the same location. If you decide to book this appointment without applying the resource then that means that this appointment does not require you to use this resource for this specific appointment and other appointments for this service can be booked for the time selected for this appointment and at this location. In the example I chose to apply the resource:
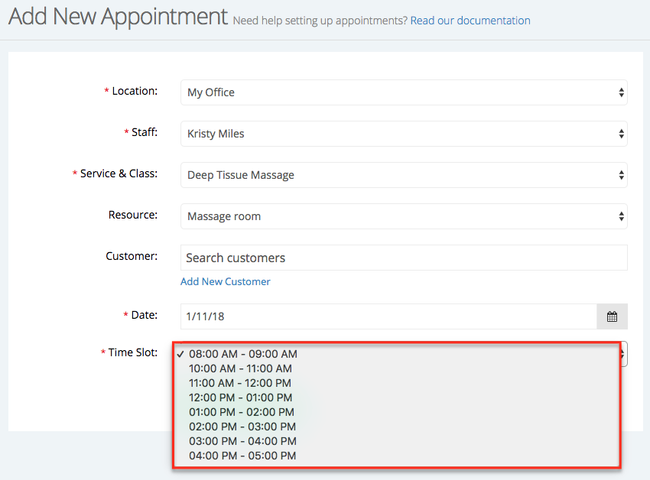
After saving this appointment, if I try to book an appointment for a different staff and for the service that uses the resource at this location, you'll notice that the time I selected a in my previous appointment is not available anymore.

First begin by going to the appointment details screen. First, we will cover how to edit a resource on a one time appointment.
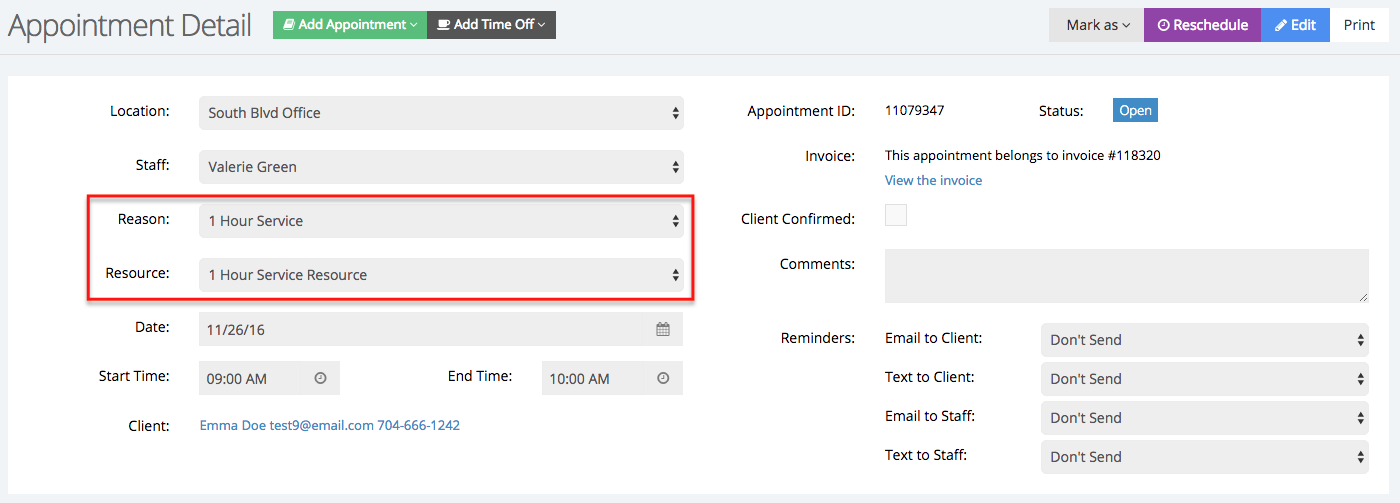
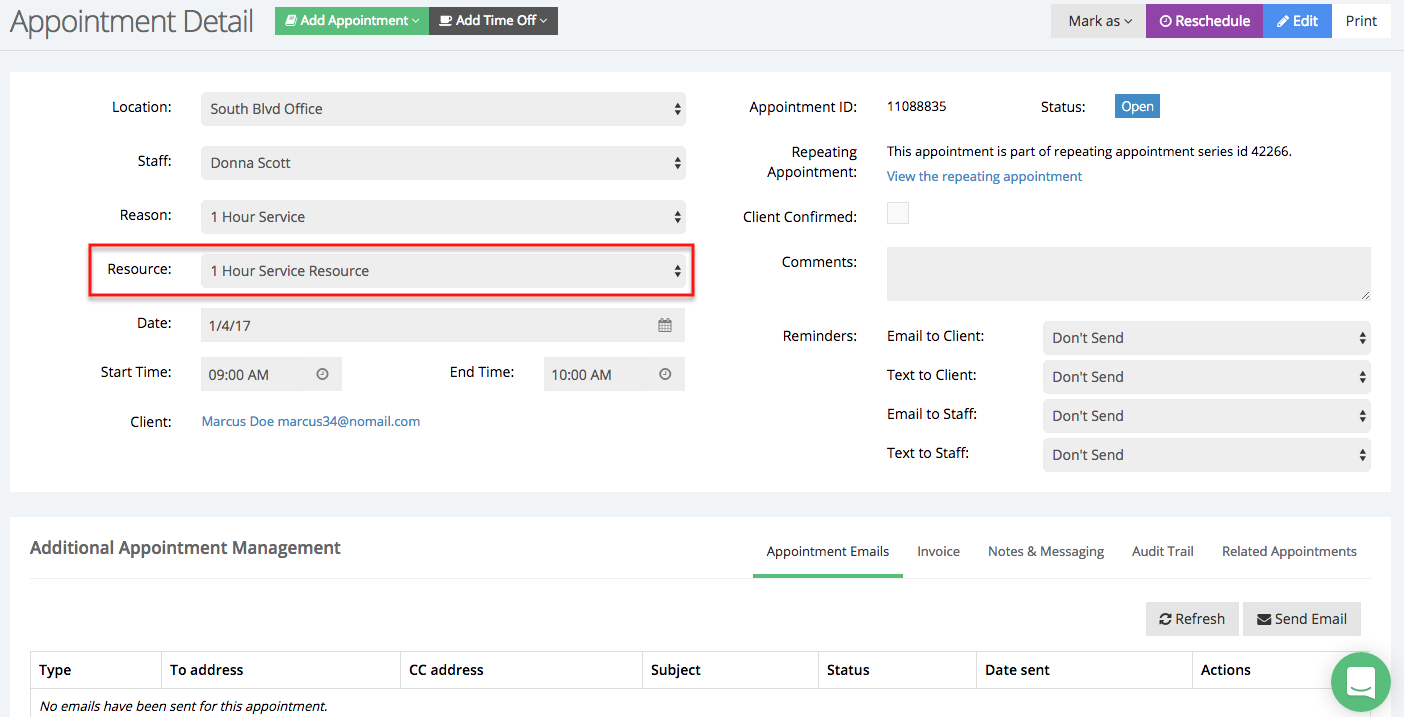
First begin by going to the appointment details screen. When a client books an appointment trough the scheduler for a service that requires a resource, the resource will automatically be added to the appointment if the appointment is taking place at the location where the resource is located:
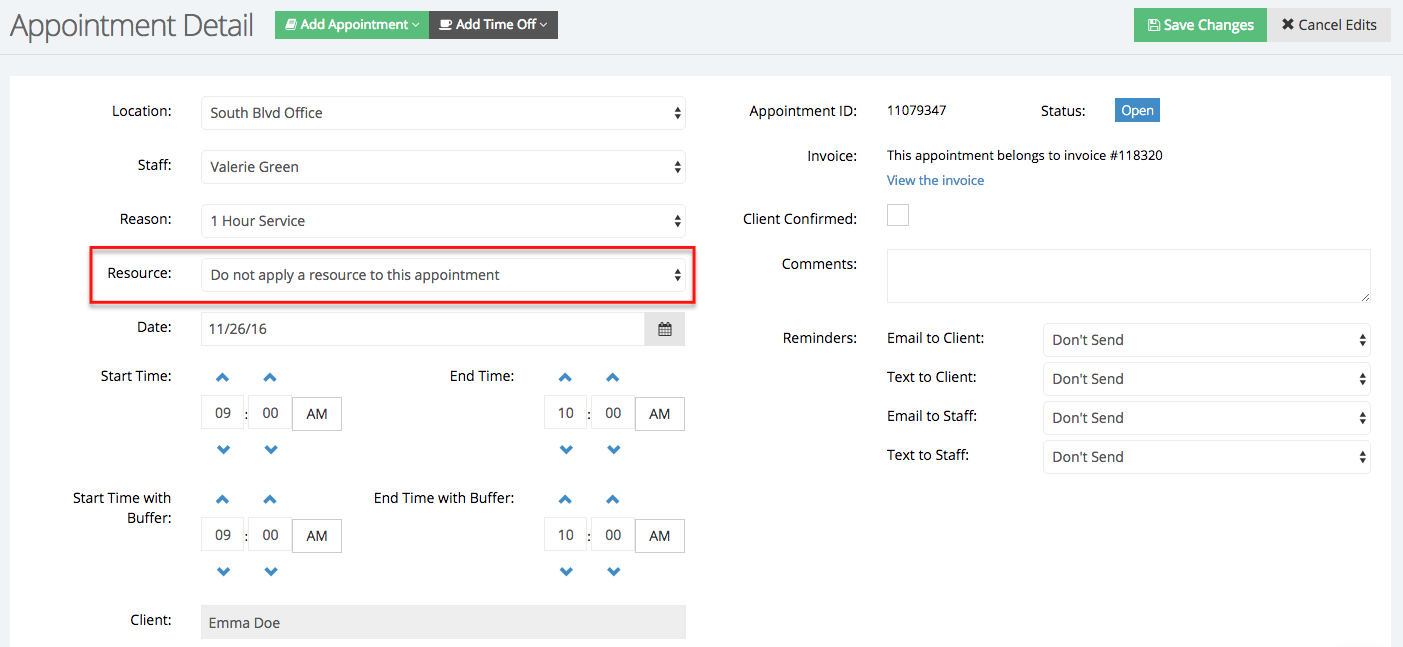
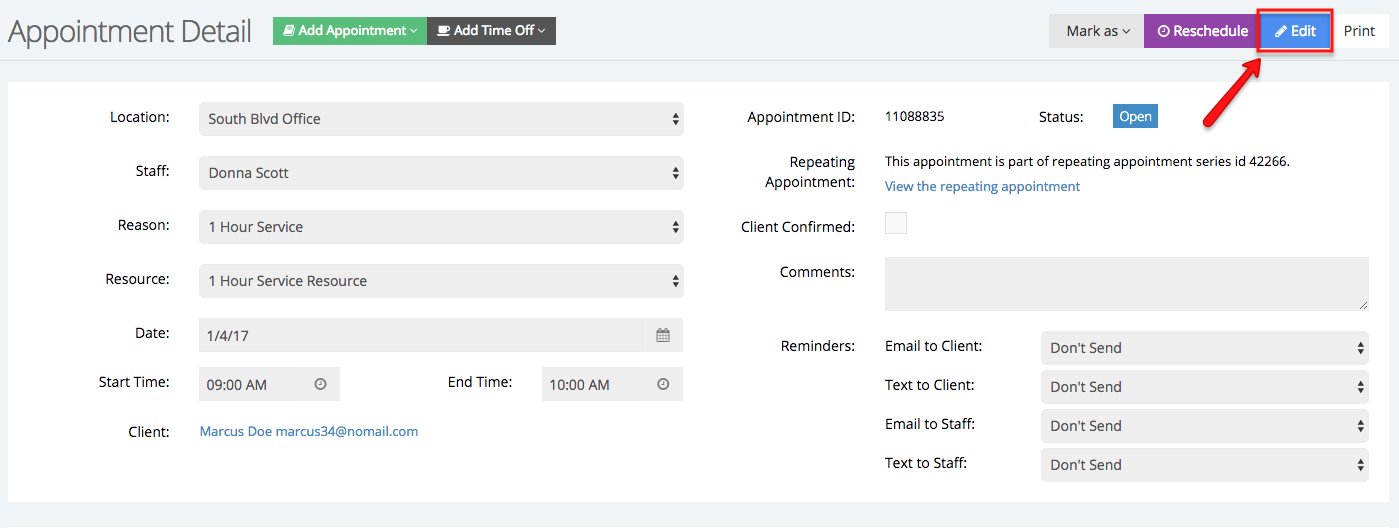
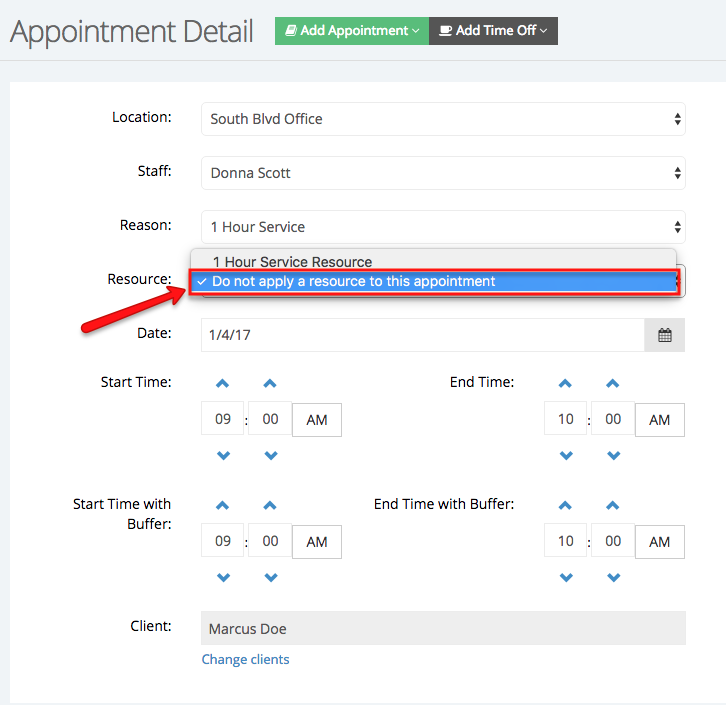
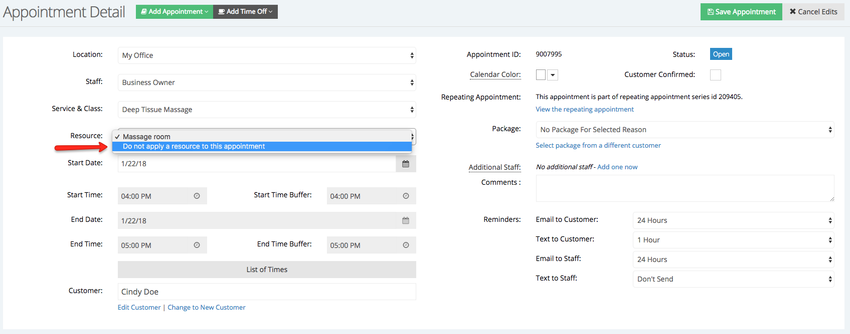
In the Appointment Detail screen you'll have the option to make changes to the appointment details including the resource, you can select to not apply the resource to this specific appointment. First, click the Edit button on the right corner of the screen and select "Do not apply a resource to this appointment":
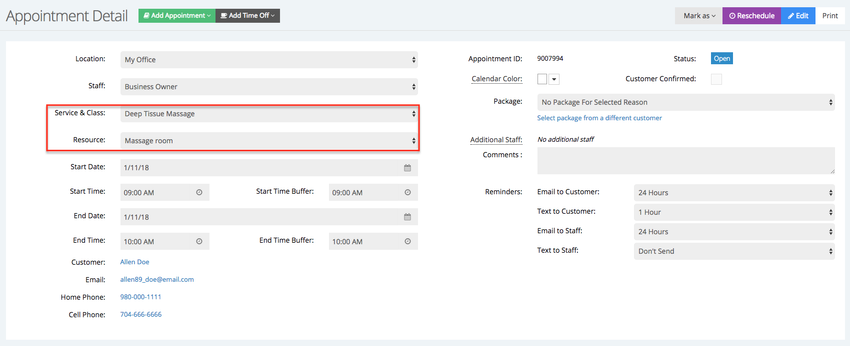
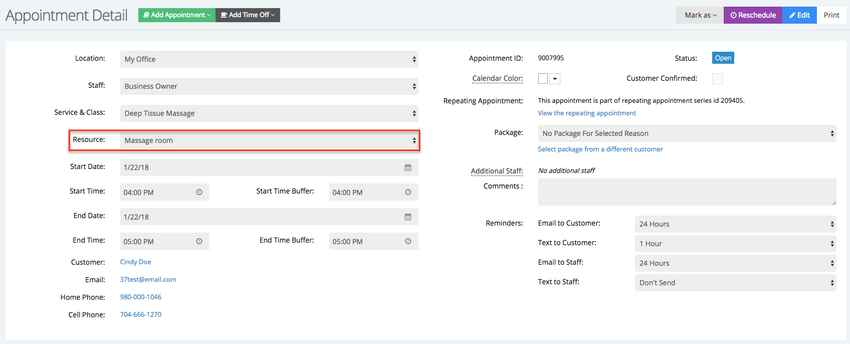
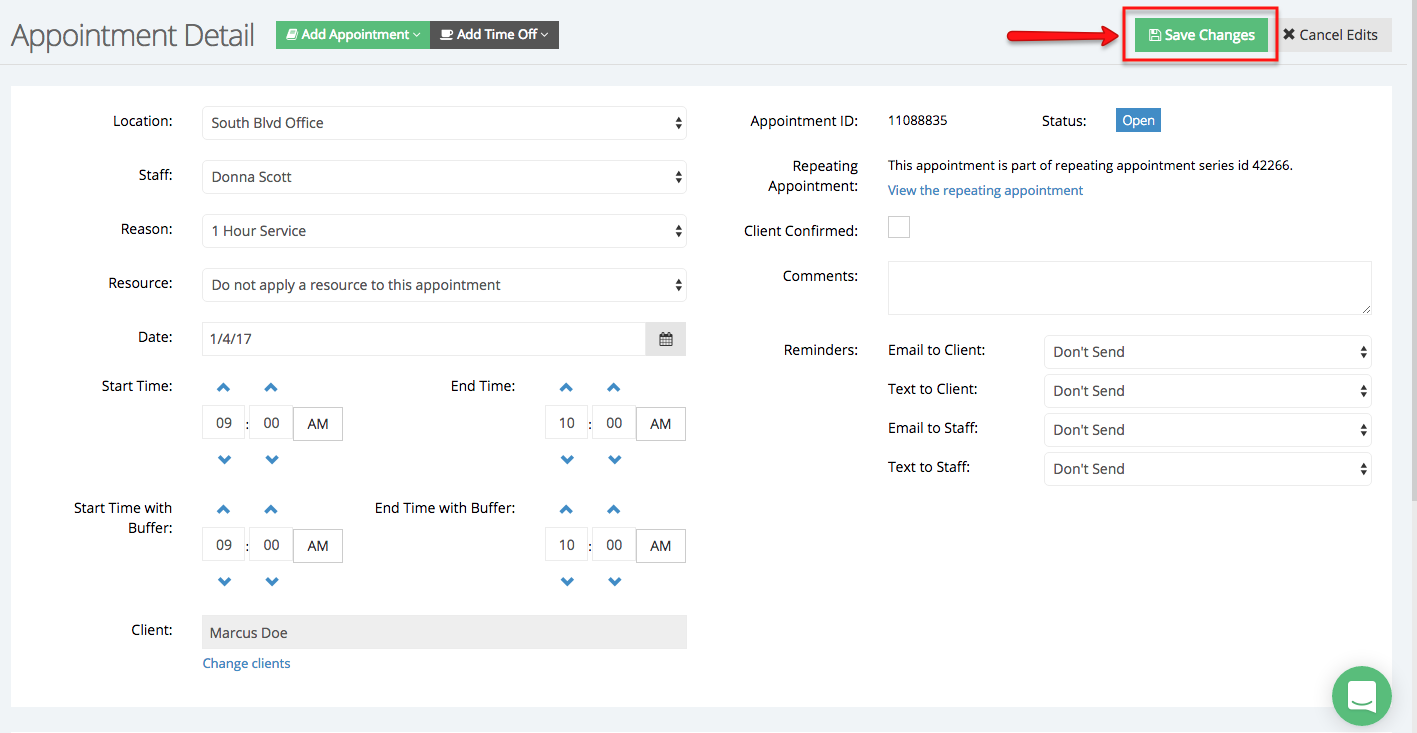
In the example below I'm looking at an appointment that is part of a repeating appointment series, you'll notice that this appointment has a resource assigned to it:
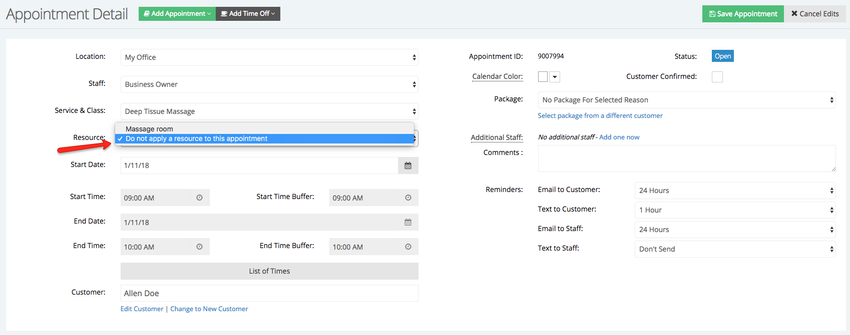
And just like in the previous you can select to not apply the resource to this specific appointment or to the entire repeating appointment series. To make changes to this appointment click the edit button:

Then select "Do not apply a resource to this appointment" from the dropdown menu next to Resource :
Now and click the Save Changes button:
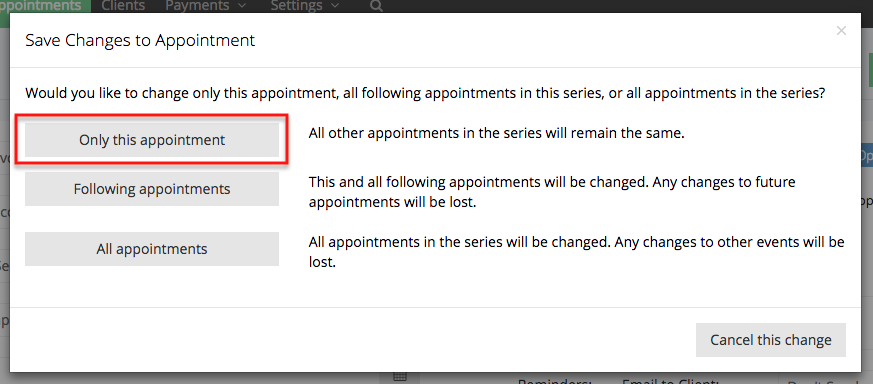
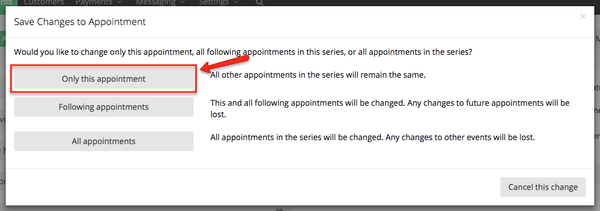
You will then have the option to apply the changes to "Only this appointment", "Following appointments", and "All Appointments", see below for more information on what each option means. In this case I will only apply the changes to only this appointment:
If you decide to not apply the resource for this specific appointment then the resource will be available to take another appointment for the services that requires this resource, if you decide to not apply the resource to the entire repeating appointment series then you will free up the resource for it to be used by other appointments.
- Only this appointment: All other appointments in the series will remain the same, the change you're making only applies to this specific appointment
- Following appointments: This and all following appointments will be changed. Any changes to future appointments will be lost
- All appointments: All appointments in the series will be changed Any changes to other event will be lost