For each business you can request a list of locations. Once the list of locations is requested then a list of staff or services that are rendered at that location can be requested. When the staff or service list is requested, passing the locationId as a parameter filters only the staff or services at that location.
If a particular staff is selected then list of services can be called with parameters locationId and staffId. This fill filter services that are only for that staff and rendered at that given location.
Authentication
For authenticating to our API, you can use the API Key authorization process described below to make an initial call to the "/sessionToken" endpoint shown below, and receive a session token. You can then send this session token with each request as an Authorization header.
API Key Setup
As part of the setup you will be given 2 keys
- apiKey: This is unique key for the business. Should be sent with each request
- private Key: This key is only used to generate the hashed signature. This should never be sent in with the request.
How to generate your API key
The API key for your account is generated under Settings > Integrations > API Key - you should make sure that the allowAPIKeys flag is turned on for your account before you try to generate one. 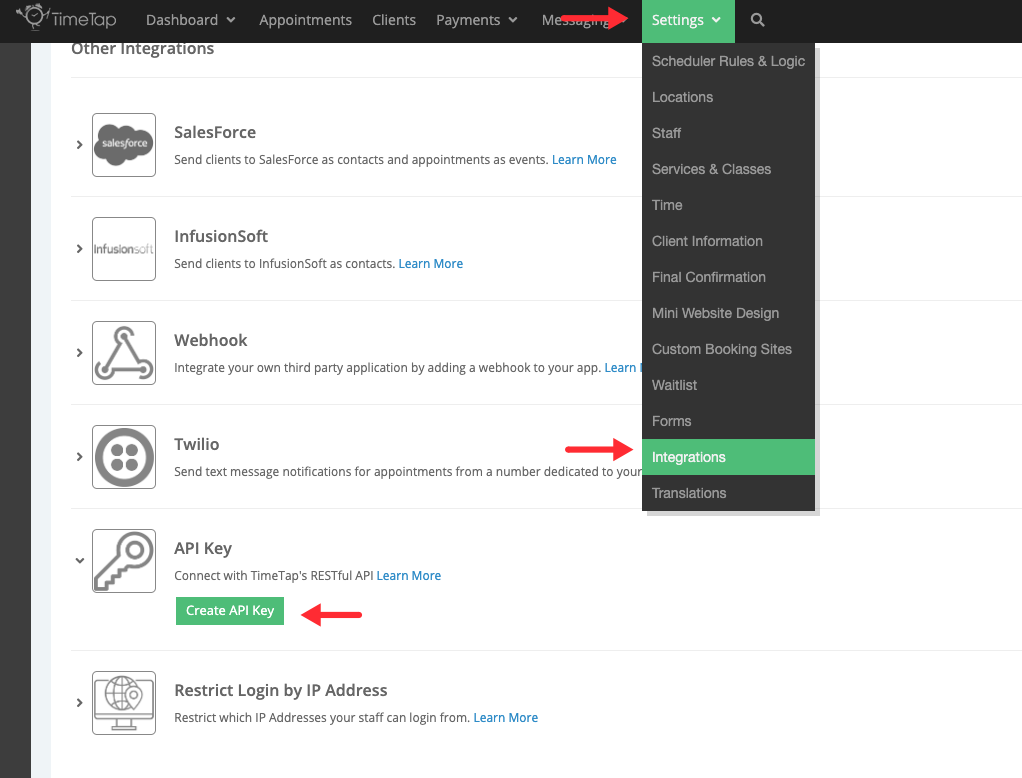
Computing the signature and making call for Session Token
With your initial request you'll need to compute your signature (examples shown below) and send the following three parameters
- apiKey: provided during setup
- timestamp : timestamp is time in seconds. It is the difference in seconds between the current time and Midnight, Jan 1, 1970 UTC
- signature : signature is a hash generated by concatenating the following values and generating their MD5 hex value apiKey, privateKey, timestamp and url
Session Token Endpoint
| Endpoint | Description |
|---|---|
| GET /sessionToken | Returns a session token that you can pass as an Authorization header for making RESTful API calls. Ex: st:api:api:0164ebb6d9c74d87b4b6edd9544166ec |
import java.util.Calendar;
import org.apache.commons.codec.digest.DigestUtils;

public class Main {

    private final static int API_KEY = <apiKey>;
    private final static String PRIVATE_KEY = "<privateKey>";
    private final static String mURL = "sessionToken";

    public static void main(String[] args) {

        // Compute Signature
        long timestamp = Calendar.getInstance().getTimeInMillis() / 1000L;

        String signature = DigestUtils.md5Hex(API_KEY+PRIVATE_KEY);

        System.out.println("TimeStamp: " + timestamp);
        System.out.println("Signature: " + signature);
    }
}
$apikey='<changeme>';
$privatekey='<changeme>';
$url= 'sessionToken';
//no. of seconds
$ts=time();
//generate MD5 hash
$signature=md5($apikey.$privatekey);
Once we have our timestamp and signature, we'll make our GET request to the "/sessionToken" endpoint, passing our apiKey, timestamp, and signature.
Example: https://api.timetap.com/test/sessionToken?apiKey={apiKey}×tamp={timestamp}&signature={signature}
(Hint: you can paste the link above directly in your web browser address bar, replacing the "{apiKey}", "{timestamp}", & "{signature}" with your values, and your session token will be returned).
Authenticating with Session Token
To authenticate with your new session token, prepare an Authorization header, and set the value to the following: Bearer {sessionToken}
Example: Authorization: Bearer st:api:api:0164ebb6d9c74d87b4b6edd9544166ec
Note: Your session token will timeout after a period of inactivity. After your token times out, you will receive a 401 Authentication error. At that point, you can simply repeat the process outlined above to receive a new token.