The Dashboard menu
...
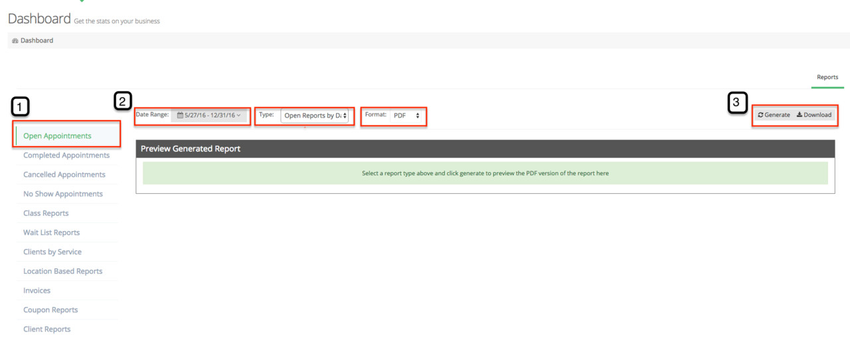
Select the staff members, locations or customers you would like to see and choose a date range for your selected report.
...
...
Report Name
...
What it Shows
...
How can it be
generated
...
- Date
- Date/Staff
- Staff
- Location
- Location/Date
- Custom Fields
- Created Date
- w/ Personal Reasons
...
- Date
- Staff
...
- Date
- Staff
...
- Date
- Staff
...
The Class Summary report gives high level details of all of your classes' schedules during a given time range
The Class Attendees report gives a print out of all attendees on a class-by-class basis during a given time range
...
- Class Summary
- Class Attendees
...
- Location
- Service
...
- Client
- Staff
- Service Count
...
- Open Reports by Date
- Wait List
...
- Invoice Report
- Invoice Item Report
...
- Oppen appts w/Coupon
- Class Attendees w/Coupon
- Coupon by Clients
...
- Client List
- Client List by Location
...
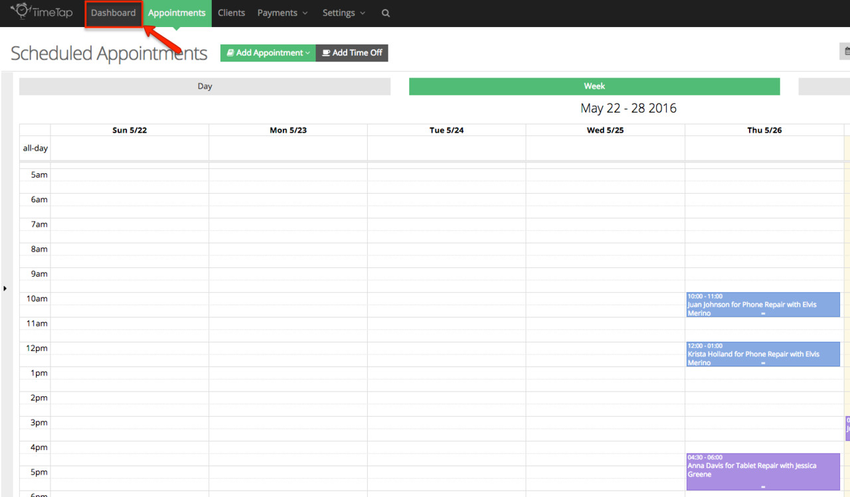
To generate a report, first go to the Dashboard Menu:
Once in the Dashboard screen, select the report you would like to run. Define the date range, type, and format in which you like to see this report. After you've chosen the parameneter for your report click Generate or Download:
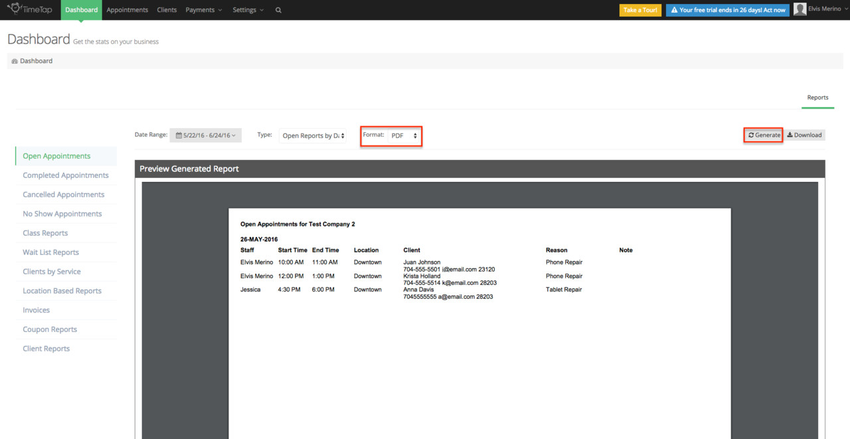
If you selected PDF as the format for your report, then the report will report in this format within the Dashboard - you also have the option to download this PDF report if you click Download:
If you selected XLS as the format for your report then it can only be downloaded. Clicking generate will automatically download the report.
...
gives you access to some tools to help use TimeTap, along with other ways to report on the information found throughout your account.
You can access the following pages in the Dashboard menu:
Setup Guide:provides a list of recommended tasks to help guide you through the initial setup of your account
Gadgets: allows you to a view to monitor different aspects of your business's daily or weekly traffic at a location or popularity of services over a given time period
Reports: find different pre-made reports that provide an in depth look at the information in your account that matters most to your business
Check In Screen: a page that you can put an in-office kiosk that allows client’s to check themselves in and move their appointment from “Open” to a “Checked In” status