How to add time off for a day or less
Now that you've learned how to add time off reason, we'll cover how to add a time off for a day or less.
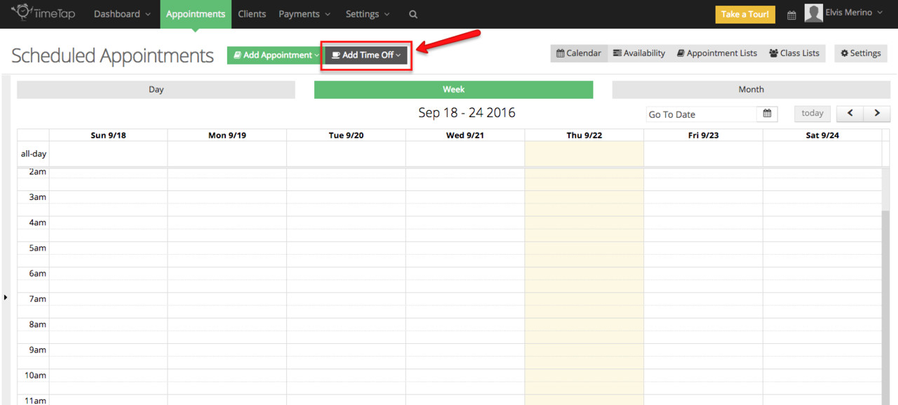
In order to add Time Off for less than a day, go to Appointments and click on the "Add Time Off" button:
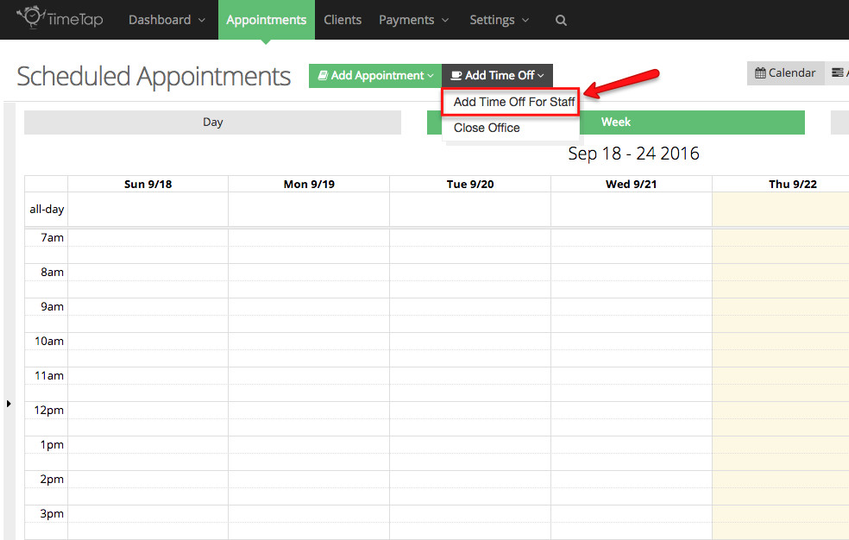
After clicking Add Time Off select Add Time Off for Staff, we will cover the Close Office option later:
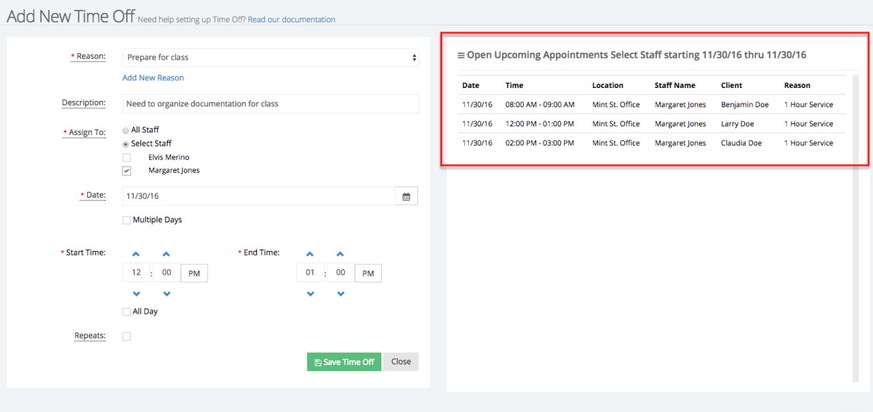
In the Add Time Off screen, first select a reason or click Add New Reason to create a new one:
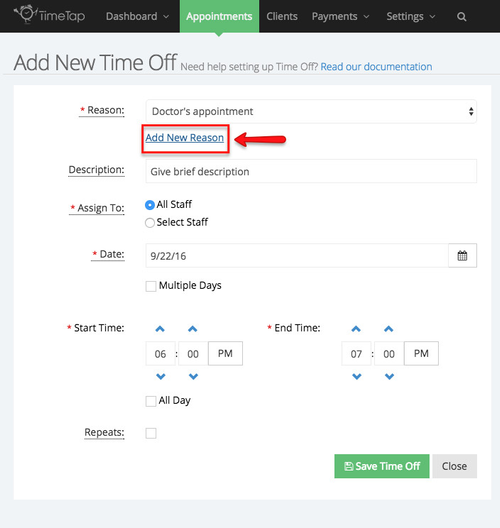
Once you've entered a new reason click the Save Button:

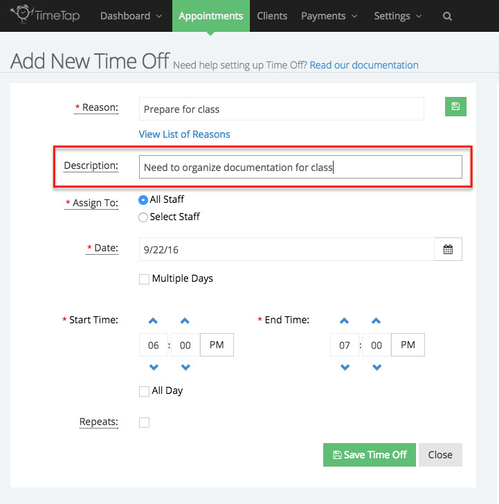
After you've selected the time off reason you can enter a little bit more details about your time off in the Description field:
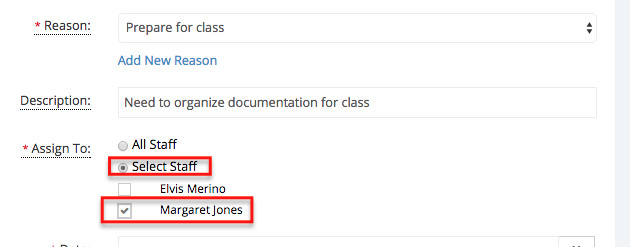
Next, you'll have the option to add this time off for all your staff, or only staff you select. If you choose the option "Select Staff" you'll notice that the name of all your staff will appear, check the name of the staff for whom you would like to add this time off:
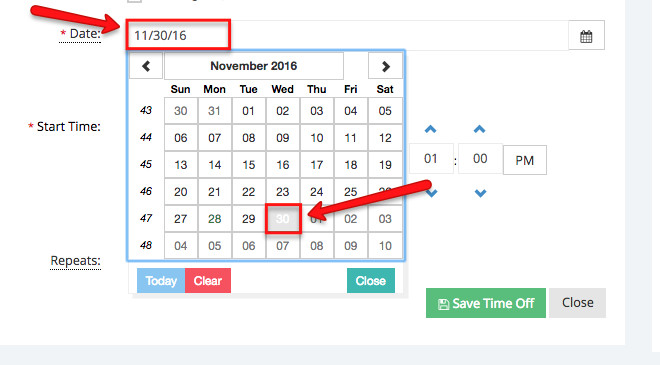
Enter the date that your time off is going to be set for:
You'll see as soon as you select the date that the Open Upcoming Appointments list updates with any appointments you already have set for that day so you can make sure you aren't adding time off when you have clients coming in for appointments:
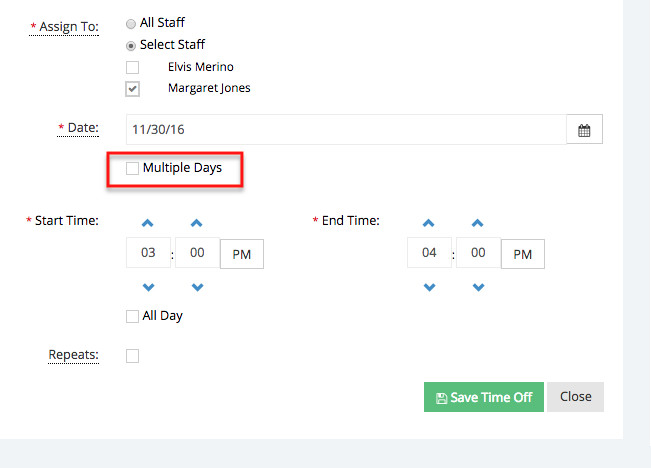
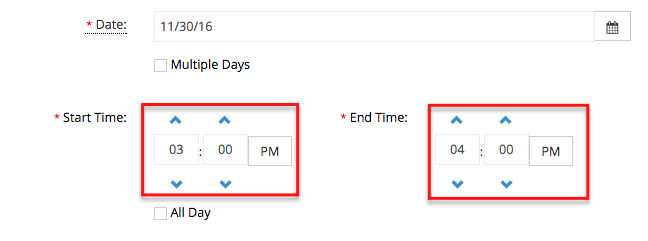
You'll then want to customize the start time and end time for your time off:
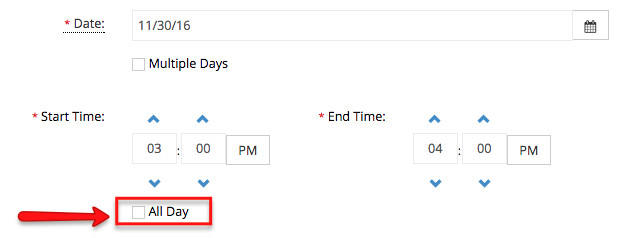
If you are taking off for the full day, you can go ahead and select the "All Day" checkbox:
This will make the start and end time fields disappear as they will be filled in automatically with 12:00am to Midnight of the date you've selected:
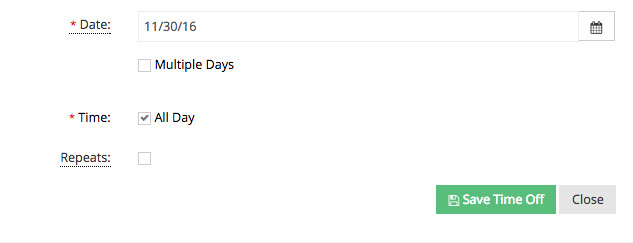
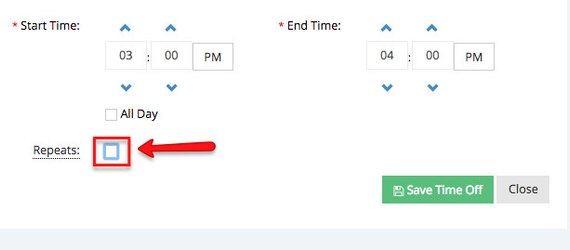
After select the time and date of your time off, you'll then have the option to set this time off as a repeating event, all you have to do is click the box next to Repeats:
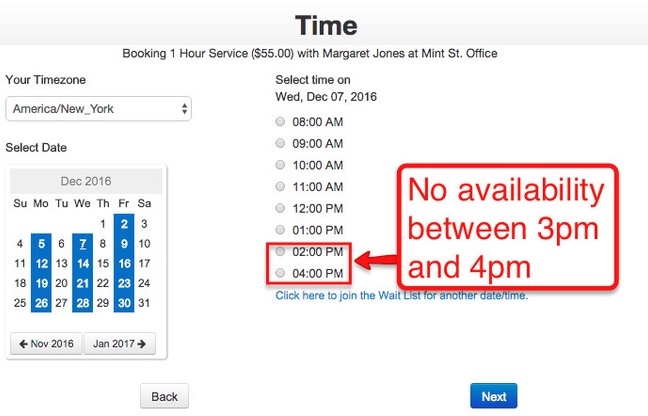
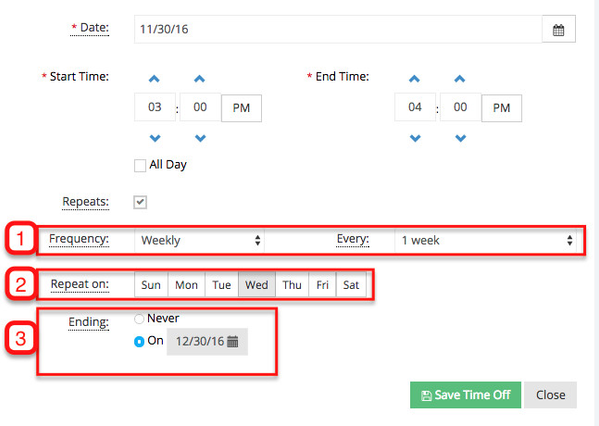
With the box checked a new set of option will appear, here you will determine the frequency of this time off (1), the days of the week when this occurs (2), and when the last day when the time off occurs (3). In the example below I've chose to add a time off from 3pm to 4pm that repeats every week, it takes place every Wednesday until December 30th, 2016:
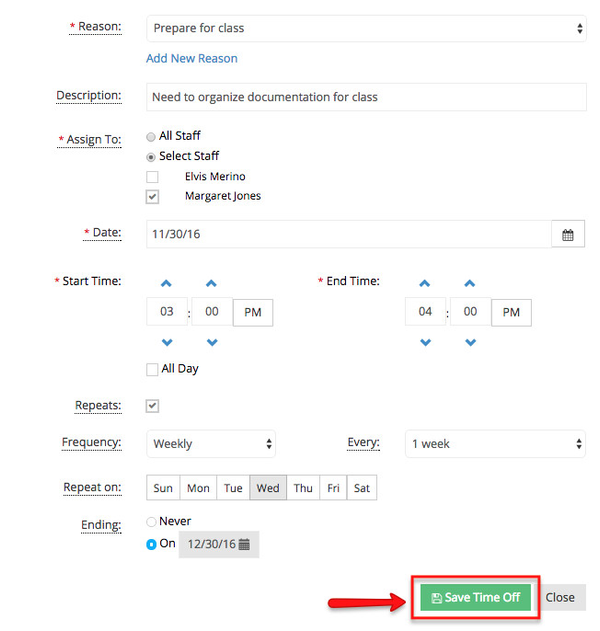
Click Save to save your changes:
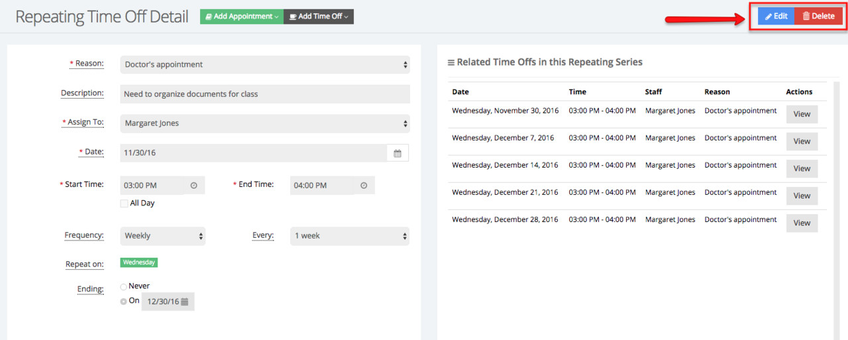
Now that the repeating time off has been added your screen will enter into view only mode, here you'll be able to see the time off details you entered on the left side of the screen:
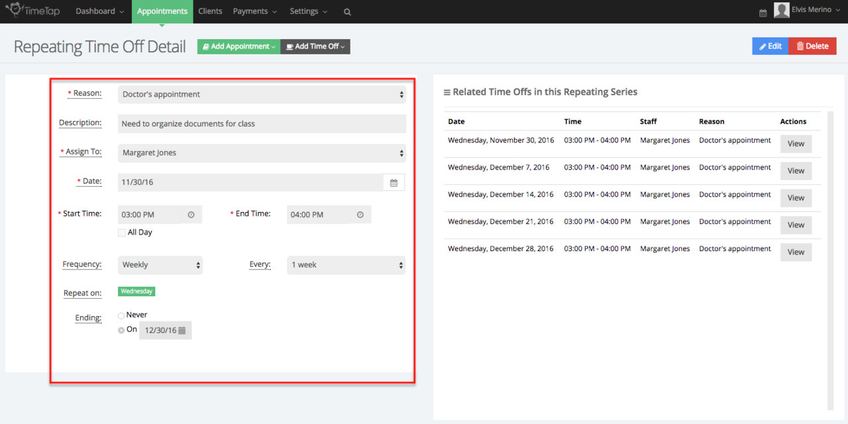
To make changes to these details click the Edit button on the top right corner, or click Delete to remove this time off and all the instances it created:
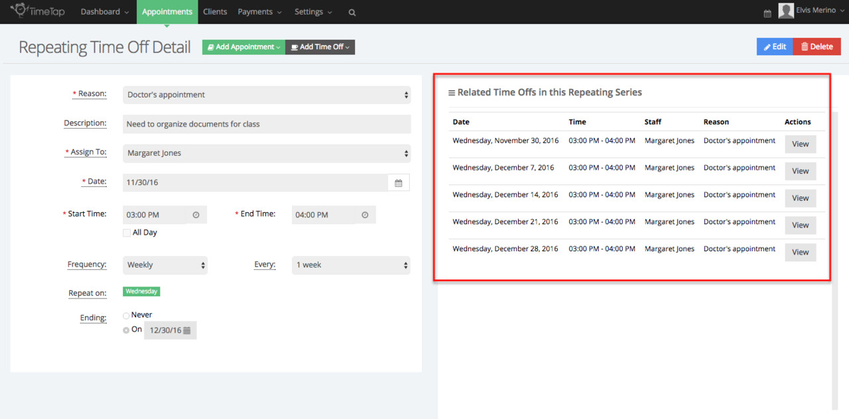
While still in the time off screen, on the right side of the screen, you'll see all the time off's that were created because of the details entered on the left:
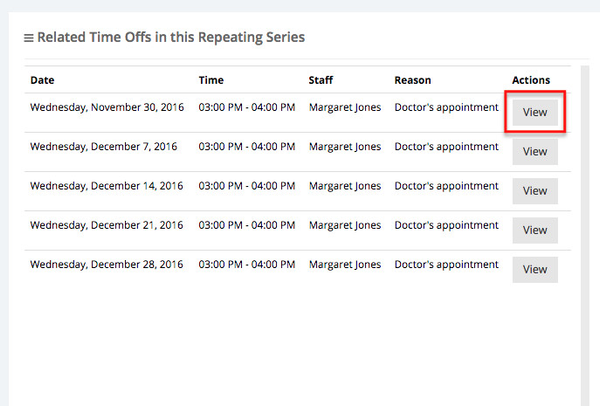
To view a specific time off created by the details entered initially, click the view button:
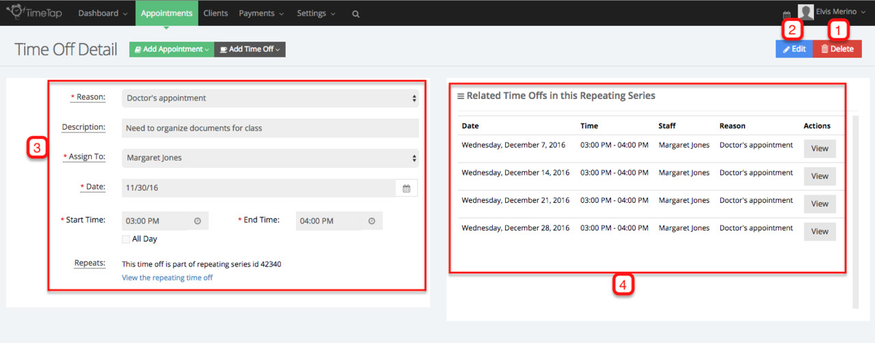
You will then be taken to the Time Off details screen for this specific time off instance, you will have the option to delete only this time off instance (1), make changes (2), view specific details about this time off (3), and view any related time off created in the series of time off (4):
Now, go to your calendar view to see the time off added to your calendar:
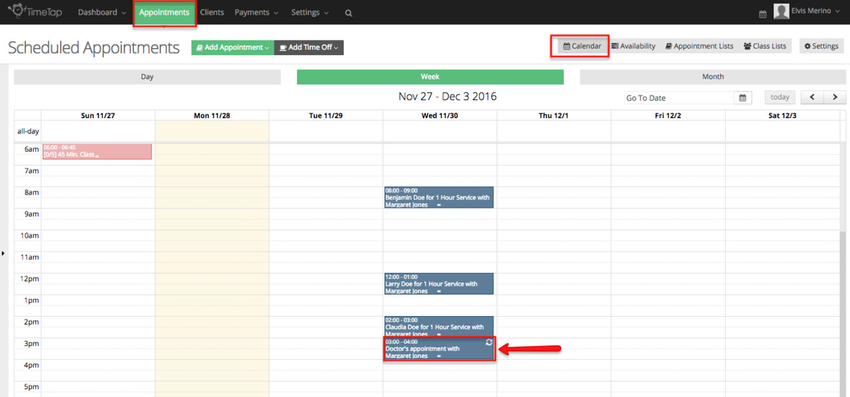
Clicking on the time off will take you to the time off detail screen we covered above.
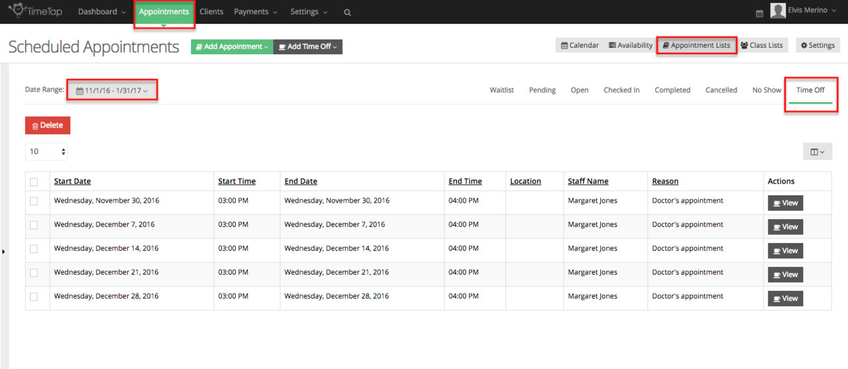
You can also see your time off's in a list form, click Appointment Lists > Time Off and select a date range from the Date Range section:
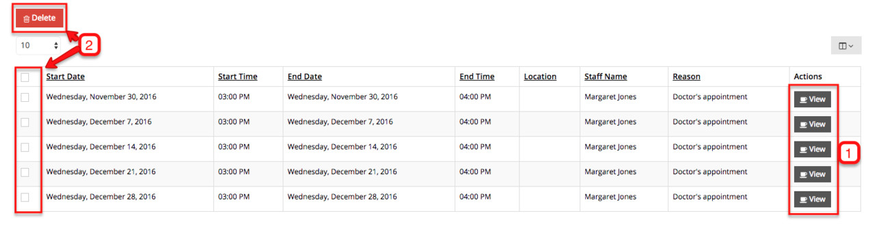
Here you're able to click View to see the details for each individual time off (1), or select any time off and delete it (2):
Finally, if you check out how your scheduling looks on the client facing scheduler, you'll see that no appointment times will display for the hours on the date(s) that you just entered: