Sometimes things come up, and you may need to email all of your clients who have appointments within a certain date range. You can filter these several ways, depending on the particular need this email is intended to address. As a note, this feature is available upon request only, so please contact support@timetap.com in order to have this option turned on for your account.
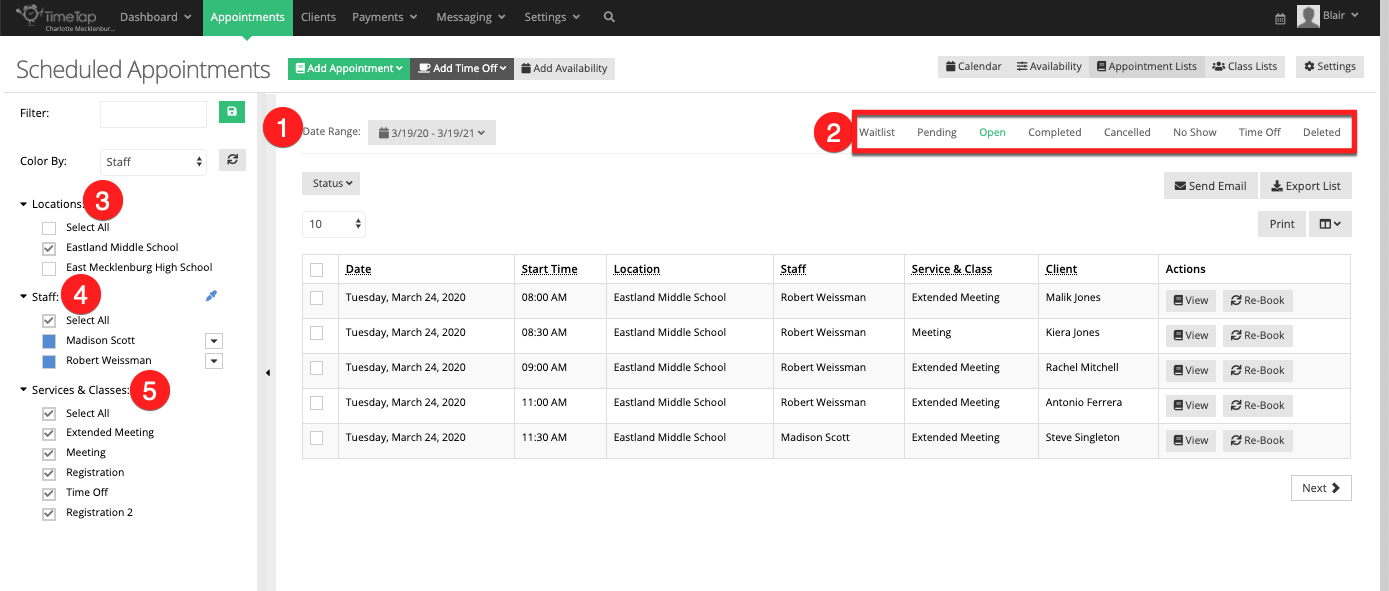
From your Appointment List page, there are several options for narrowing down which clients receive the email:
Date Range--this is the option to limit the date range of appointments that show in the list
Status--you can toggle between the different tabs of lists from Pending appointments, to Open, Completed, Cancelled, No Show, Time Off entries, or Deleted appointments
Locations--if you’d like to only see appointments at a certain location, you can filter some out, or include all
Staff--when you only need to view and email a certain staff member’s clients, you would filter some staff out
Services and Classes--filter to view some services but not others
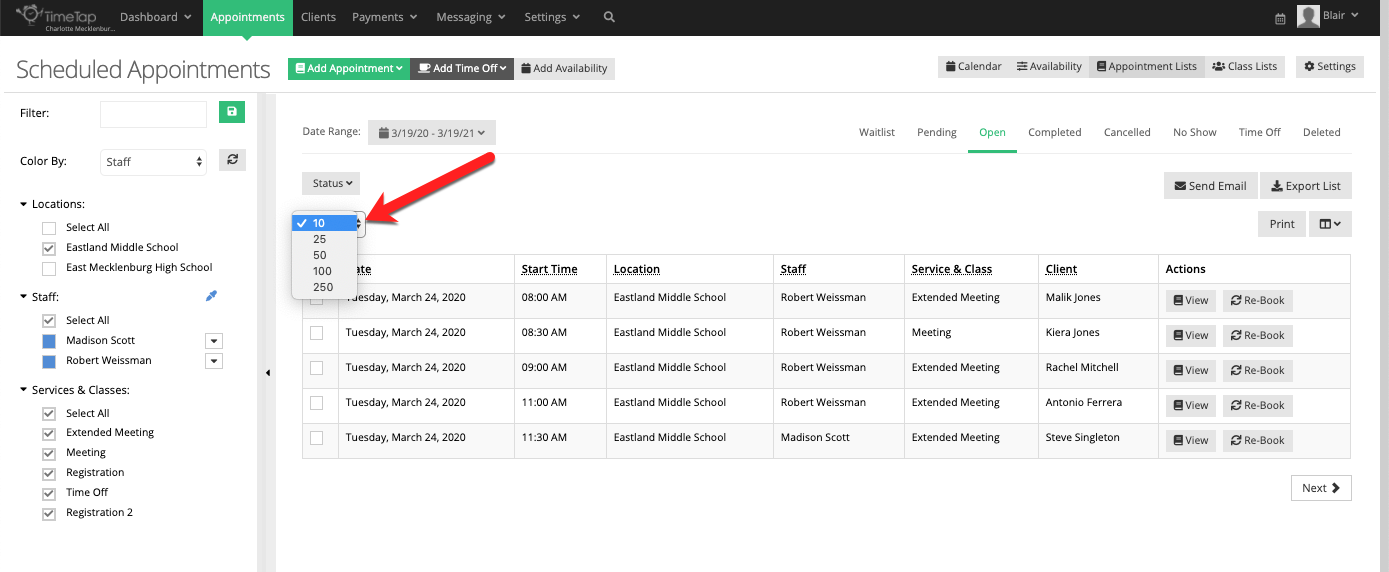
You can also opt to show more appointments at one time than the default of 10 by clicking the dropdown menu next to the number 10 to be able to view (and select) more appointments at a time.
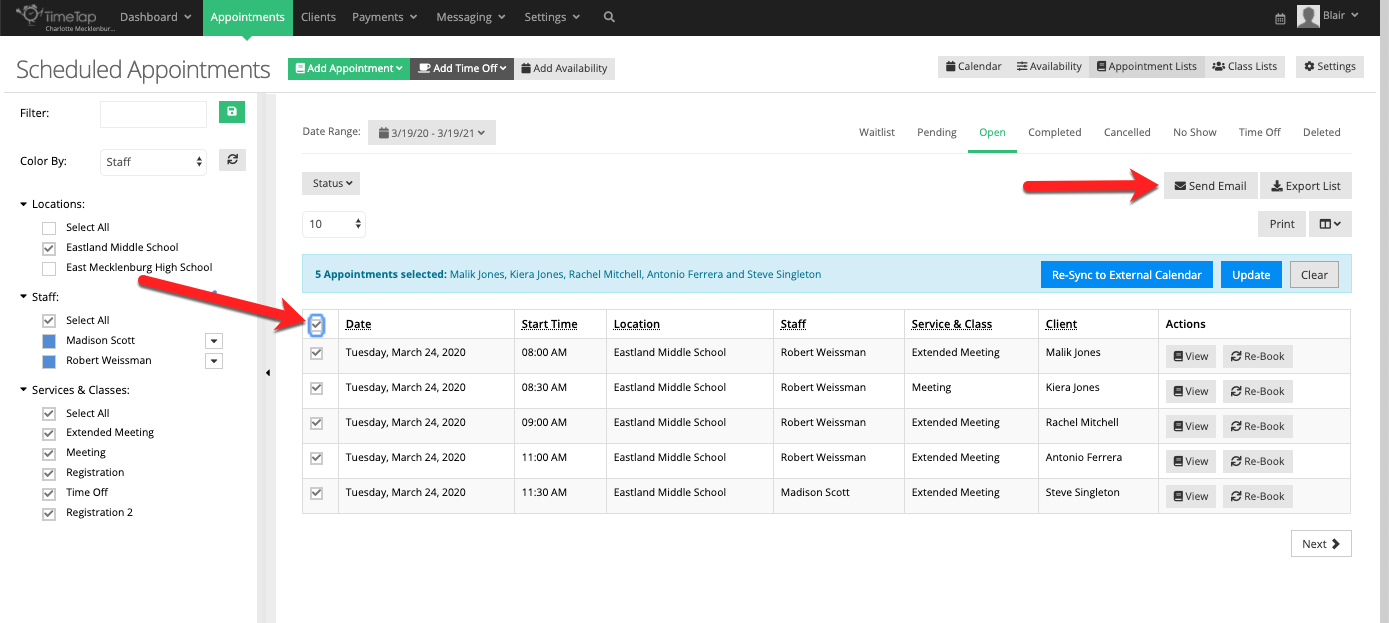
Once you’re viewing only the appointments that you need to see, click the topmost check box on the left side to select all appointments, or you can go through and individually select the ones you need to email. After selecting the appointments, click Send Email.
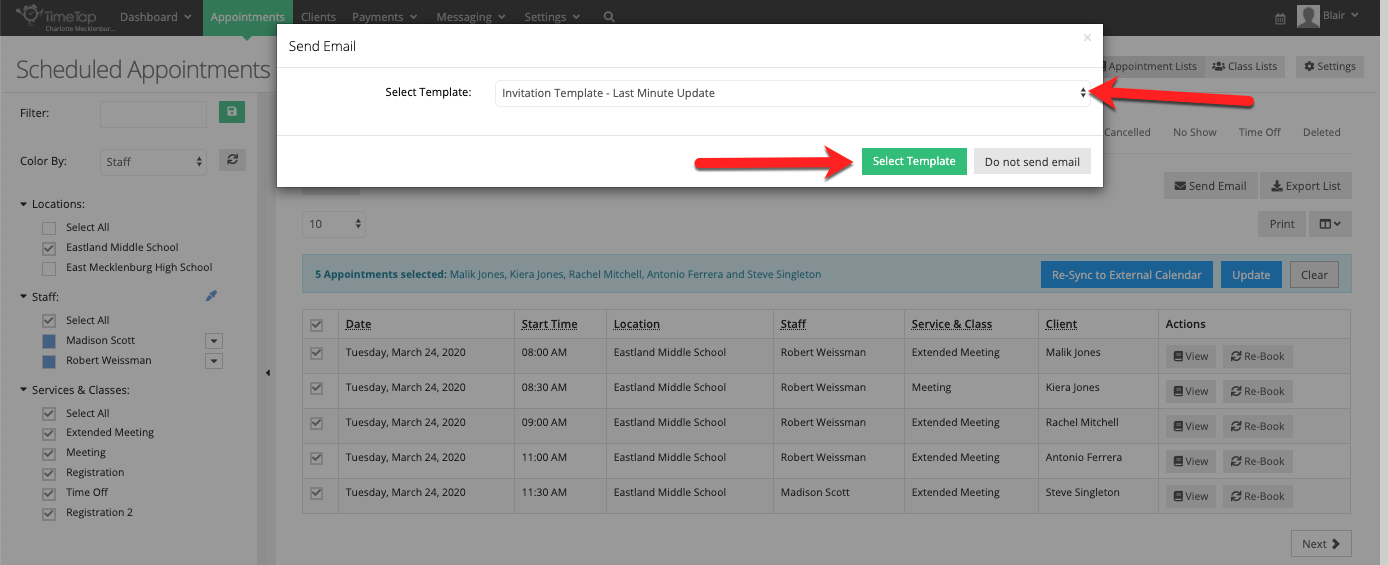
When you click Send Email, a box will pop up with a dropdown menu giving you the options of templates you can choose from. Click the dropdown menu to choose a template, then click Send Template.
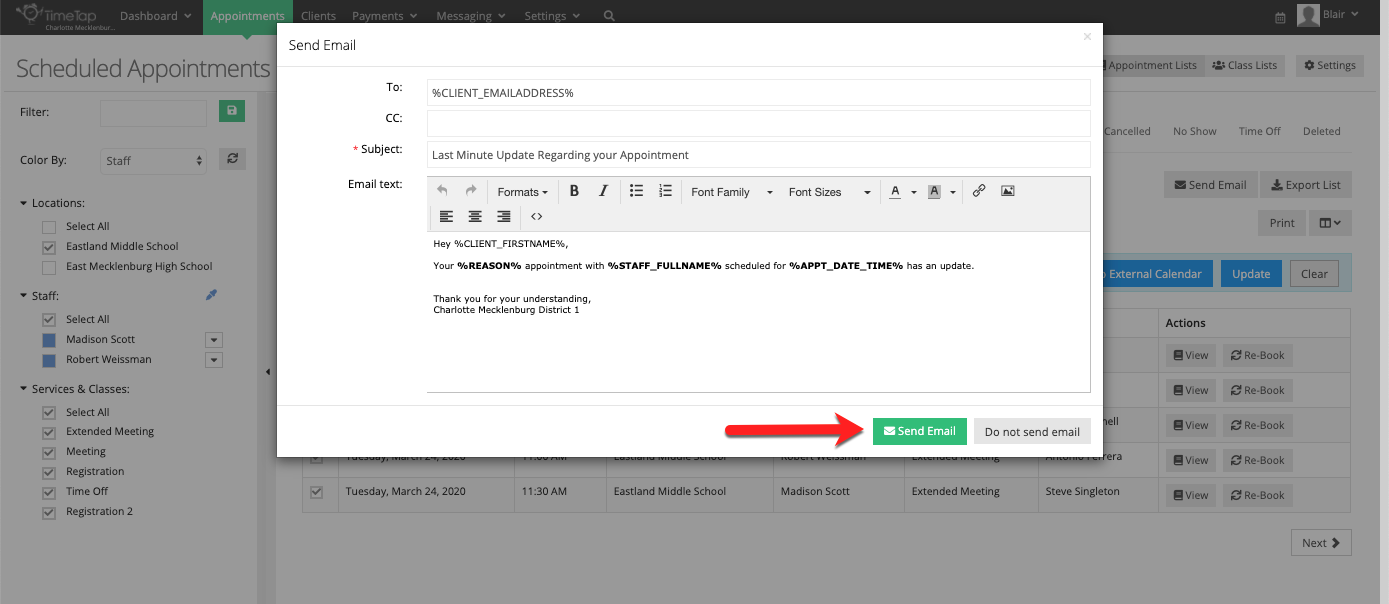
From here, you’ll have a last opportunity to make any changes necessary to the template before it goes out to the clients. Once you’re ready to send, click Send Email. You should see a note letting you know it has been done successfully.
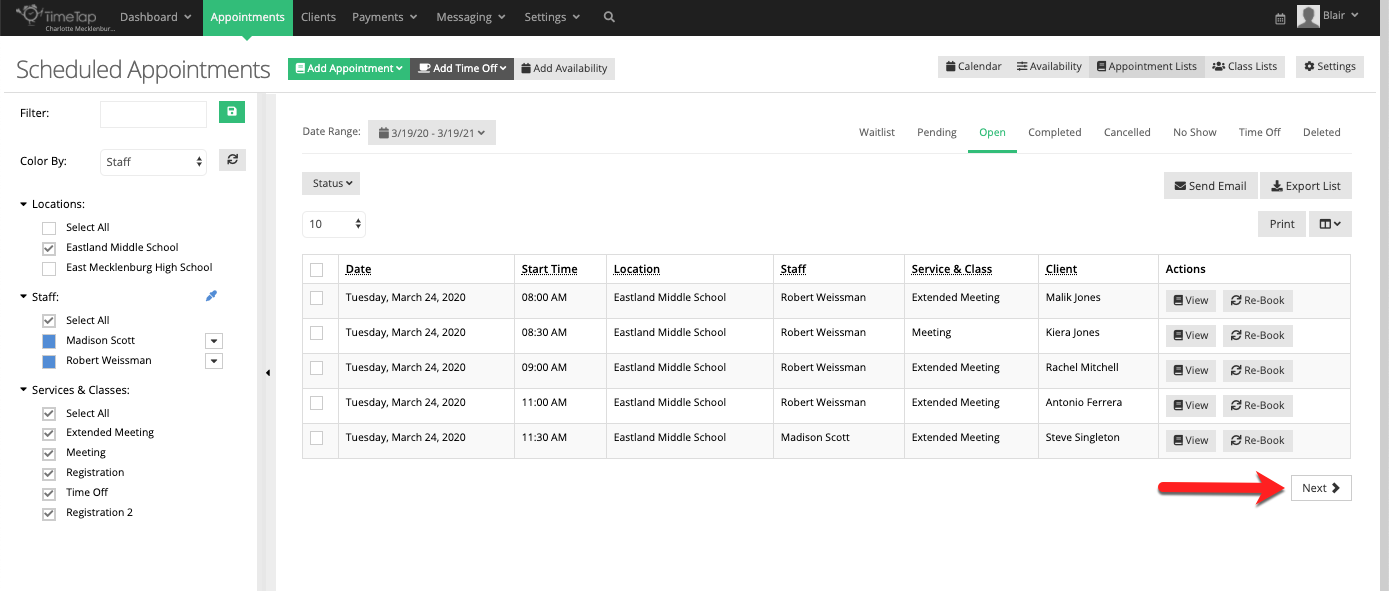
If you did have more appointments than the ones you were viewing on that first page, you’ll now want to click the Next button at the bottom of the screen to view and select the next page and repeat this process.