Under the Clients menu, you will see three buttons: Client Scheduling Settings, Full Client List, & Add New Client:
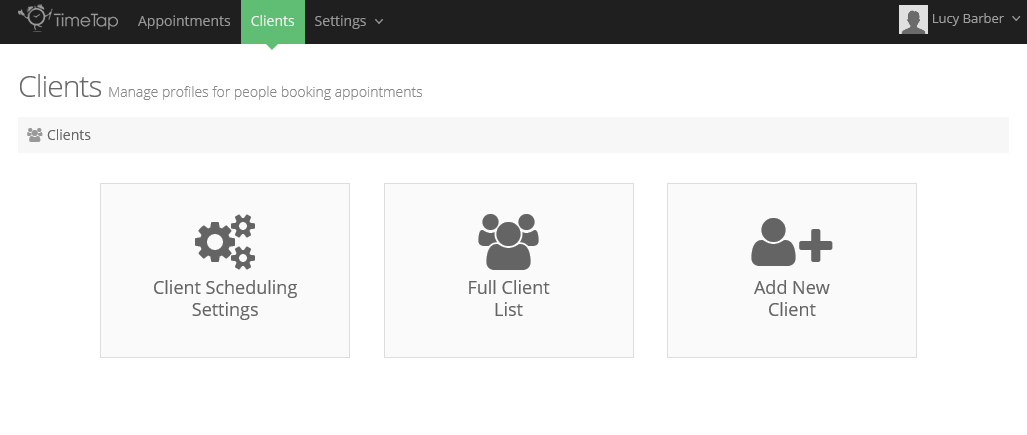
You'll be able to manage all aspects of your client records from here. Once clients are set up with the proper contact details, you can add appointments for them or provide them with their login details so that they can view and manage their own appointments.
When you click on the "Client Scheduling Settings" button underneath the Clients menu, you'll see that you have 2 settings you can configure: Client Login and Rescheduling/Cancellation Hours. 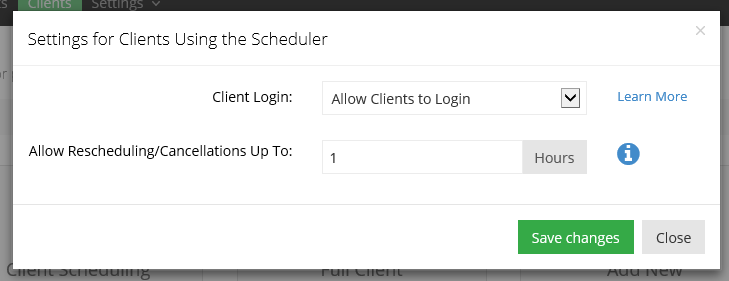
Setting Client Login essentially determines whether or not clients can login to your scheduler (or in some cases have to login to your scheduler) in order to make and manage their appointmetns.
The Rescheduling/Cancellation Hours sets how close to the start time of an existing appointment a client can cancel the appointment.
To read more about how to use this aspect of the Clients menu, read our documentation on Client Scheduling Settings.
Clicking on the button for "Full Client List" will take you to a table view of all of your clients:
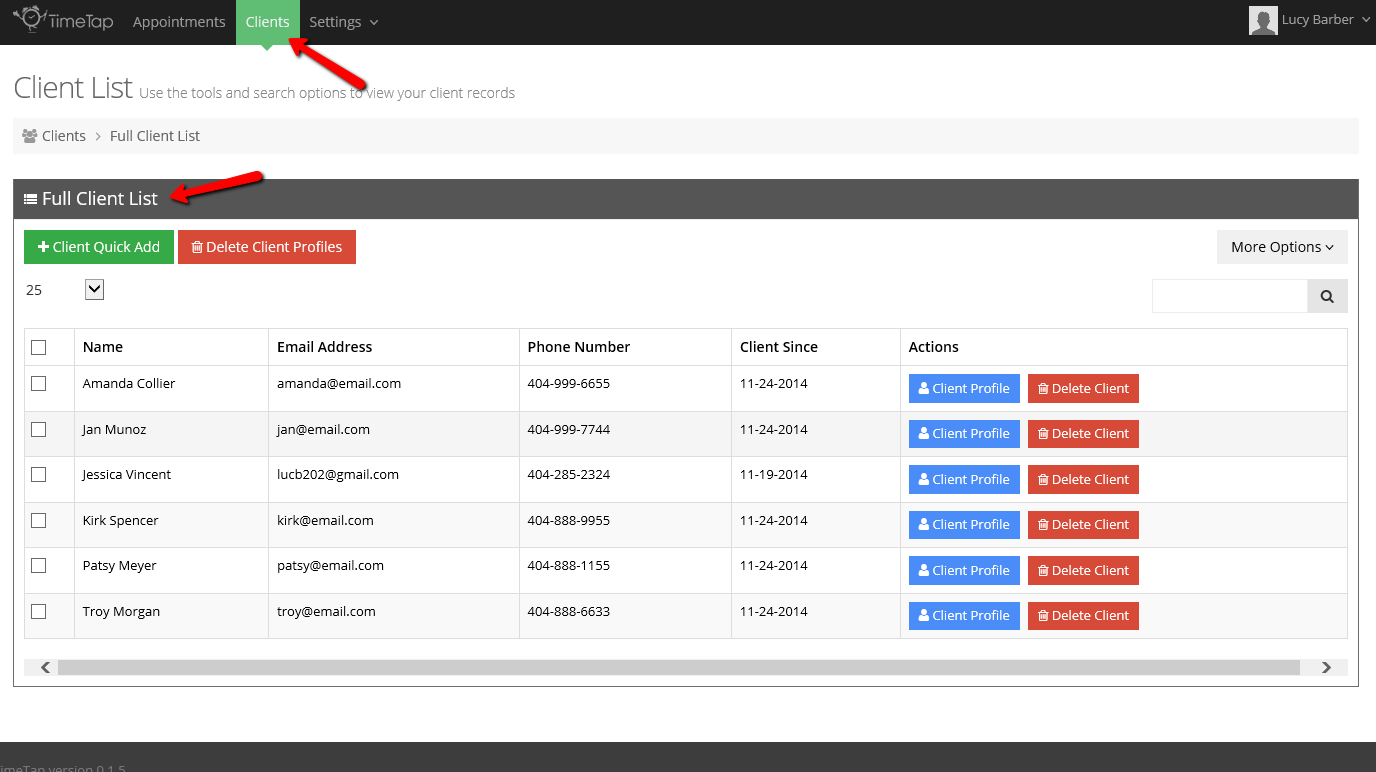
You can search for your clients by name or email, quickly add new clients, delete clients in bulk, or reset client passwords in bulk. This is also where you can navigate through to existing client's profiles.
To read more about how to use the Full Client List, read our documentation on Full Client List.
Every client that you add to your TimeTap account has a Client Profile. You can navigate to a Clients Profile from the Full Client List. The Client Profile consists of the clients contact details, any internal notes, and the client's appointments:
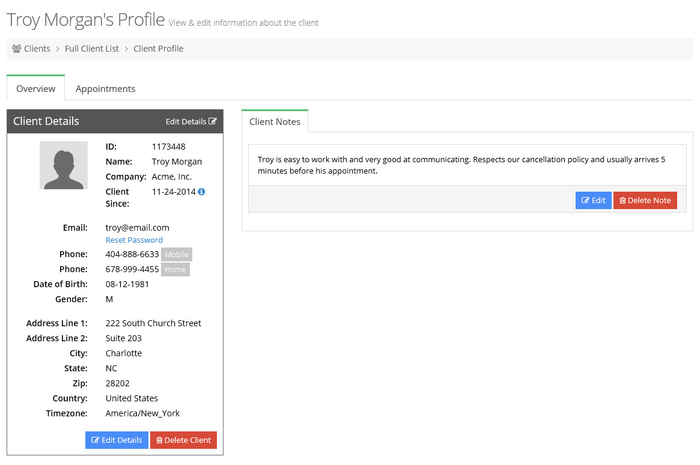
Once you navigate to a client's profile you can:
- Edit his/her client details
- Reset passwords to login to your scheduler
- Add notes that are only to be viewed internally
- View the client's specific appointments
- Delete the client from your account
To learn more about Client Profiles, read our documentation found here.
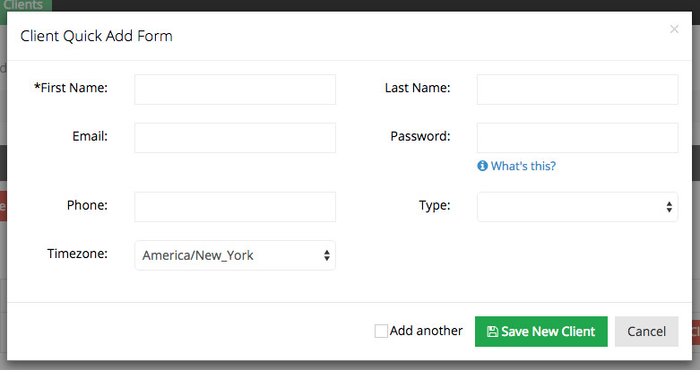
Clients can be added to your TimeTap account in four three different ways. If you click the "Client Quick Add New Client" button from the Clients menu, you will enter into the longform Add New Client flow: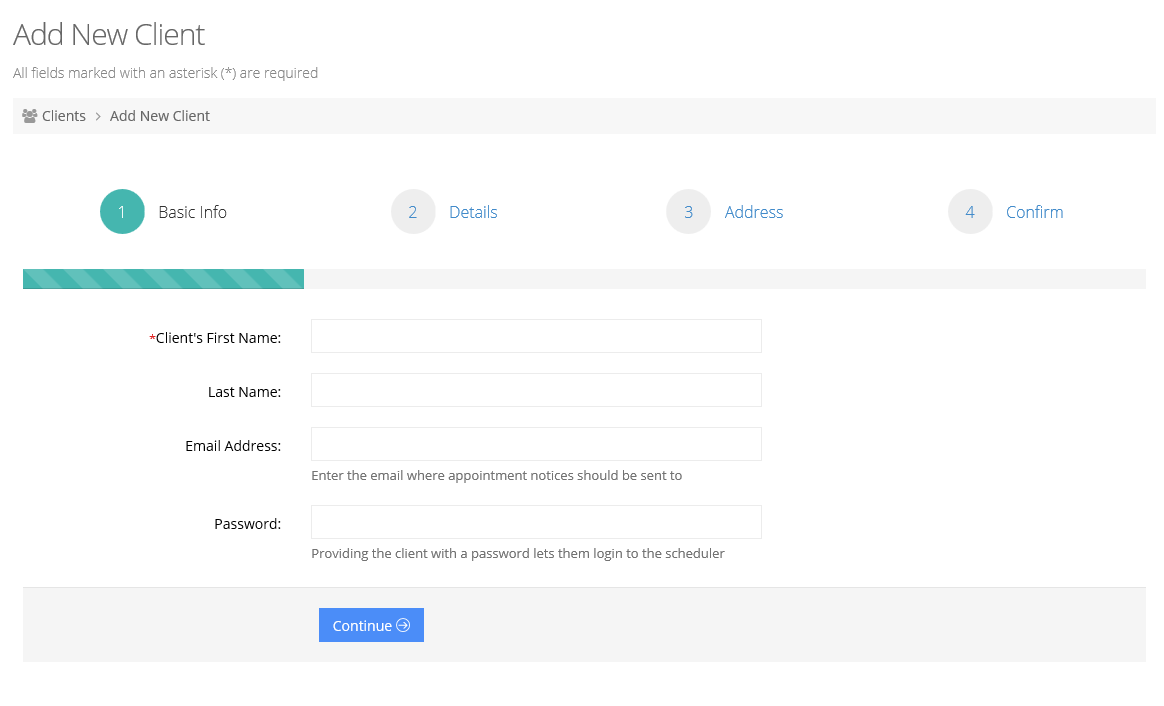 Full Client List you'll get a short form like this:
There are, however, some more efficient ways to add clients to your TimeTap account includingHere are links to full documentation on how you can add clients:
- Using Client Quick Add
- Adding the client while setting up the appointment
- Letting clients schedule themselves and thus create their own profile
To learn more on all the ways to add clients to your account, read our documentation on adding clients.