My Profile
- Lucy Barber (Deactivated)
- Elvis Merino (Unlicensed)
Your staff profile on TimeTap will allow you to adjust your staff details (like name, email, bio, signature, etc.), edit your availability for appointments, add a class schedule, view and edit your course sets, sync with an external calendar, and view all your appointments.
On this documentation we will go through:
- The different components of your Staff Profile
- How to Edit your Staff Profile
- Changing your Password
- Your Upcoming & Past Appointments
If you have any questions about making changes to your Staff Profile, please contact our support team and we'd be happy to answer them.
First off, to navigate to your staff profile go to your name dropdown in the top right and click the "My Profile" link:

In your staff profile you'll see 8 tabs: Overview, Service Availability, Class Recurring Schedule, Class Individual Schedule, Course Sets, Calendar Sync, Open Appointments & Other Appointments:
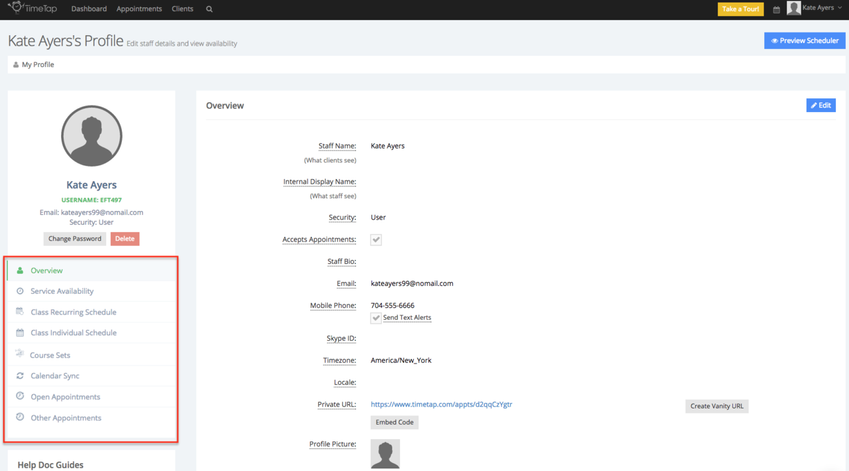
In your staff profile you'll see eight tabs: Overview, Service Availability, Class Recurring Schedule, Class Individual Schedule, Course Sets, Calendar Sync, Open Appointments & Other Appointments.
- In your Overview tab, you'll see your Staff Details such as email, mobile phone number, private URL, security level, etc.
- As mentioned in the intro to this documentation, we talk about viewing and managing your availability in a separate piece of documentation. Here we will just say that to find it, go to the "Service Availability" tab in your Staff Profile.
- The Class Recurring Schedule tab allows you to add repeating class sessions as long as a class has been added in your account
- The Class Individual Schedule tab allows you to add one class sessions at a time, this is useful is the sessions you want to add do not have a specific pattern or are for a one time only
- If your account has a course added in this tab you will be able to schedule sets for the course
- In your Calendar Sync tab, you'll be able to sync your TimeTap account with your Google Calendar, iCloud calendar, Office 365, Microsoft Exchange, and Outlook
- Open Appointments will show you a list a list of all your appointments in Open status
- The Other Appointments tab will show you a list of all your Completed, Pending, No Show, and Cancelled appointments
There is also the "Preview Scheduler" button in the top right. You can click on this to be directed to your mini website and give your scheduler a test drive. This is useful after making changes to your availability to test out and make sure that everything looks proper.
If you are an office assistant or have a similar role at a business and thus do not accept appointments, your staff profile will look like this:
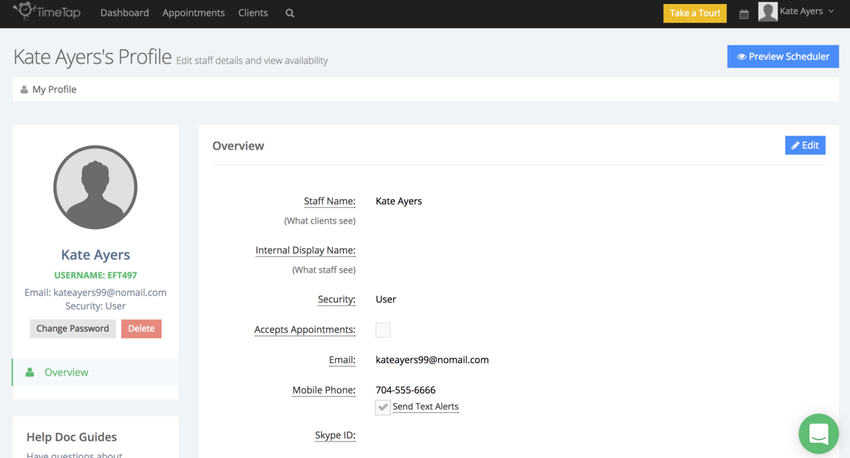
You'll notice that in the profile for staff who do not accept appointments, they will not have several options underneath the Staff Details (as those options are directly related to appointments) nor will they have the ability to add availability (again since you would only need to do this if you were accepting appointments) or sync with an external calendar.
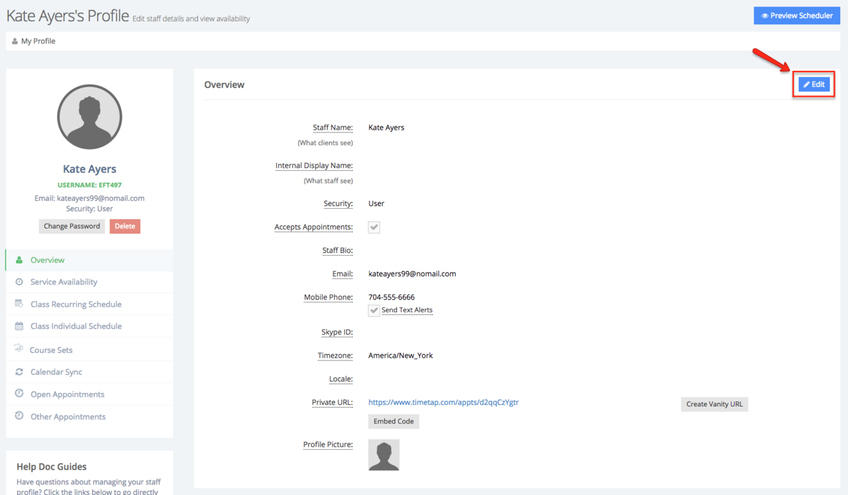
You can edit every part of your Staff Profile except for your username. To edit your Staff Details, simply click the Edit button in the overview section of your profile:
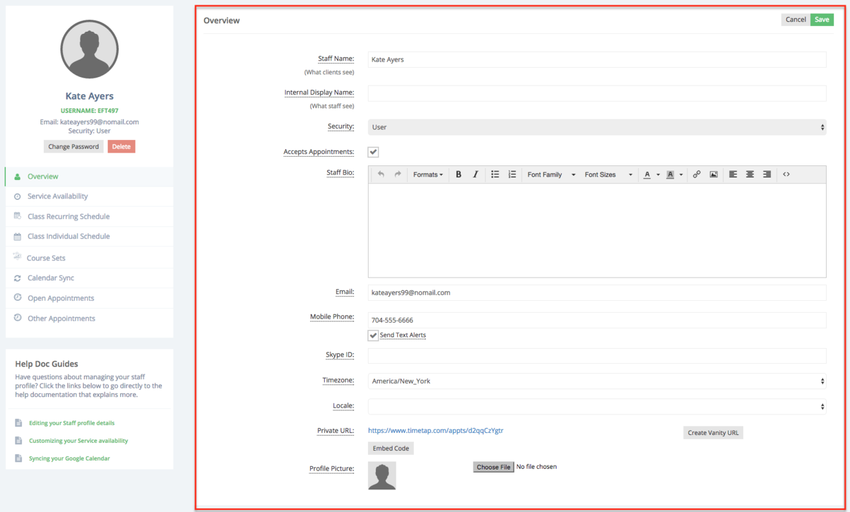
Once you click that button, the overview section will change to edit mode. In this section you'll be able to change the Staff Name, Internal Display name, your bio, email address, your mobile number, whether or not you want to receive text notifications, your Skype ID, your timezone, create a vanity URL (only available for Business users), and upload your photo . Since you don't have a security status of at least Administrator, you will not be able to turn on or off the "Accept Appointments" checkbox:
Under the "Email Setting" section within the Overview tab you can change whether you want to be excluded from receiving specific email templates, staff instructions, and the the email signature which appears in all the emails that are sent out for that specific staff's appointments:
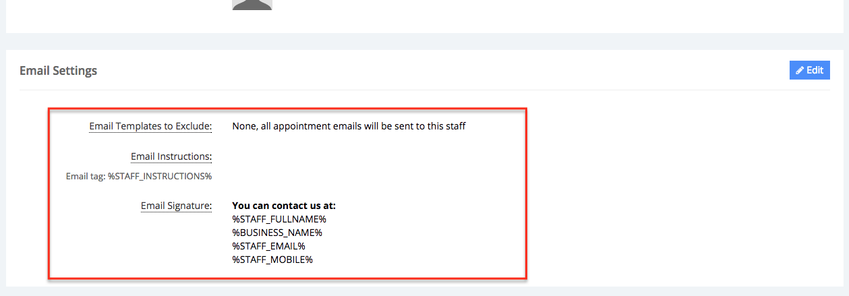
Please note: Your name, business' name, your phone number, & email address are, by default, included in the staff signature of the emails that are sent to your clients. You can also apply fields from within TimeTap to your staff signature by using tags.
Once you have finished changing your profile details, just press "Save Changes" and your changes will be committed. The new staff name, phone number, email address, and staff signature will display to clients.
Changing your Password
To change the password you use to login to your account, simply go to your Staff Profile and click the button "Change Password" underneath your email on the left side of the screen:

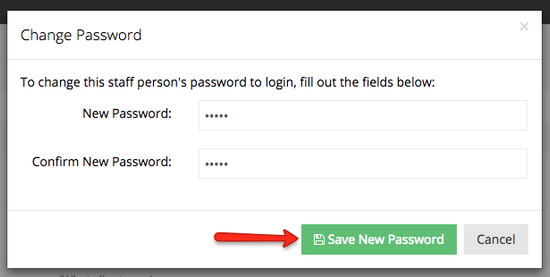
Once you click that button, you will get a small window that appears over your staff profile where you can type in a new password, confirm the password you just typed, and press "Save New Password":
Once you press "Save New Password" you will get a confirmation message. You'll then start using that new password you created the next time you login to the application:

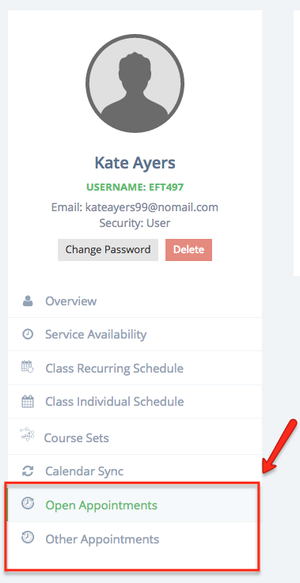
On the left hand side of your Staff Profile, you'll see two tabs Open and Other Appointments:
To view your upcoming appointments click the Open Appointments tab:
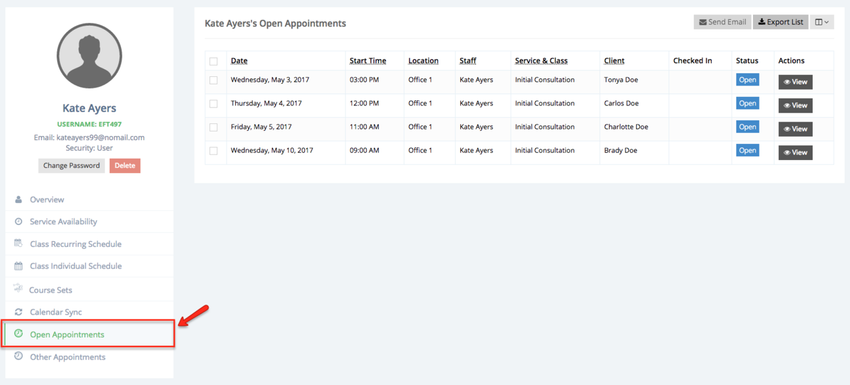
Once in this tab you can send an email to the clients in your upcoming appointments (1), export a list of your upcoming appointments (2), select more information to display about your appointments (3):

If you want to see your past appointments click the Other Appointments tab on the left side of the screen:
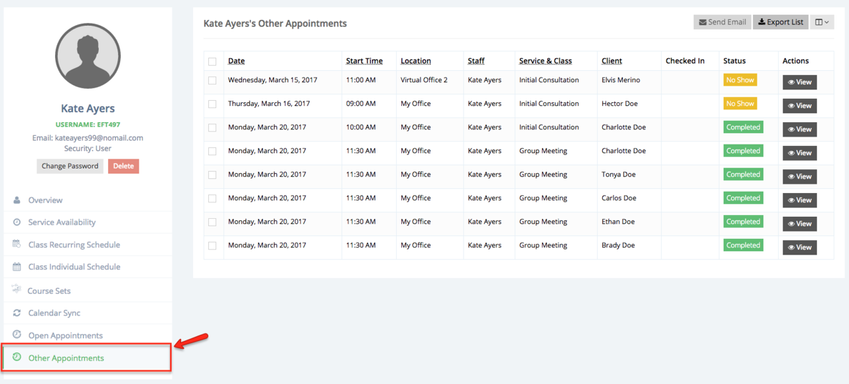
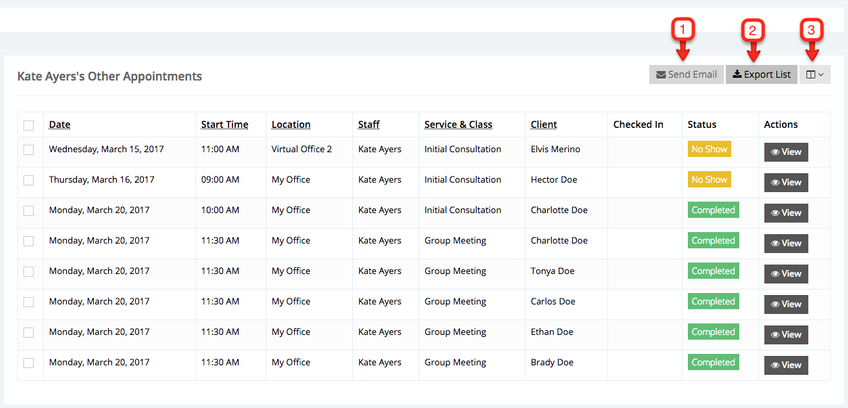
Once in this tab you can send an email to the clients in your past appointments (1), export a list of your past appointments (2), select more information to display about your appointments (3):
Note: The appointments that will display in your Upcoming Appointments page are all of your appointments in Open status and Checked In status appointments. All of the appointments that display in your Past Appointments list are any appointments that have been marked as Completed, No Show, or Cancelled.