If you're an in home or traveling service provider, you'll need to set up your TimeTap scheduler so that you make sure to account for the following three points:
Point #1: Capturing the address upon booking
When you are an in-home service provider, it’s best practice to go ahead and get the address for the appointment at the same time that the client is booking. Waiting until later could mean not that you don’t get it in time to stay on schedule with your appointments for the day. Or, worse yet, it could mean that you can’t get in touch with the client and can’t confirm their appointment at all. So, this point is critical and below we’ll go through how to make sure this is turned on in your TimeTap account.
Point #2: Immediately confirming that you got their address
When clients are booking themselves, it gives them peace of mind to feel reassured that you have their correct information. A great opportunity to reassure them is on the final confirmation screen that clients see after setting their appointments. By default this screen in TimeTap just prints the location’s address, but since this is going to be the client’s address, we will have to do some swapping to some of the default settings. It gives clients a lot of comfort that their appointment was scheduled correctly if, after putting in their address & saving the appointment, the confirmation message reads, “We look forward to meeting you at the following address” and displays their address back to them.
Point #3: Including their address on email messages:
The last bit of reassurance you can give clients that they have entered their address properly is on the email message that goes out to confirm their appointment. When clients book online for the first time using TimeTap, some of them can be a little unnerved about how easy it is. Because scheduling is usually such a hassle, many are left thinking “really, that was it? I was sure I was going to get confused or messed up somewhere.” As such, they are looking for a reason to feel like something went wrong. By including the address for their location in your email template as well, they’ll just have to throw their arms up and declare that you’re the easiest business to book with in the world.
So, where and how do you make these changes within your TimeTap account? I’ve set up a demo account of a mock cleaning company that goes to people’s homes and/or offices to clean. We’ll dive into the nitty gritty next and go through just how you’ll make in-home bookings a piece of cake:
Step 1: Making sure that client address is turned on and is mandatory
To make sure we cover point #1 above, our first step is to go into our Settings menu and take a look at the Client Information panel. We’ll want to click the link to "Add or Remove Fields" from the Client Info Settings section:

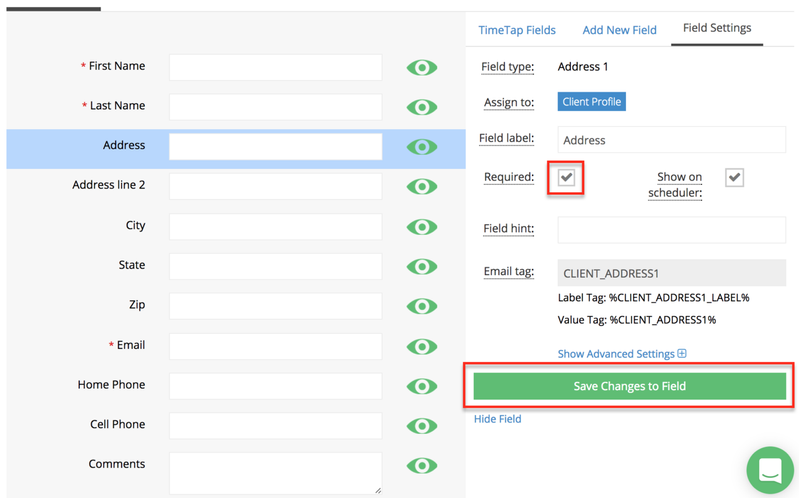
Go ahead and make the address fields mandatory, click on one of the fields and check the box next to Required then click Save Changes to Field:
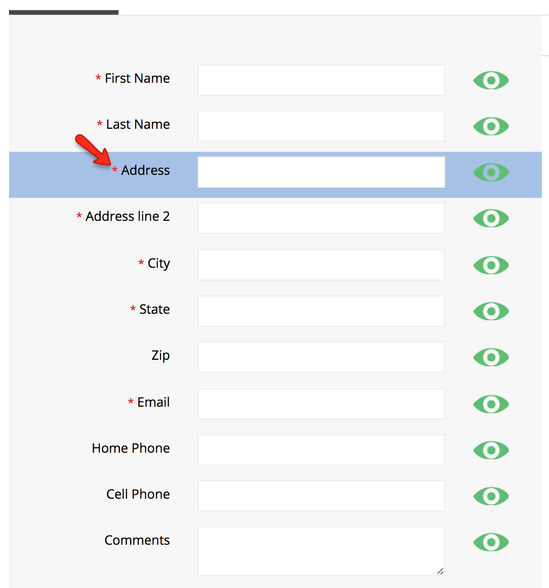
Notice that a red asterisk will appear to the left of the required fields:
Now, when clients of my demo cleaning company fill in their name and email address to confirm their cleaning appointment, they’ll also be prompted to fill in their address. This address will get stored on their client profile so if they login next time, they won’t have to fill in their address again.
Step 2: Put your client’s address in your confirmation message
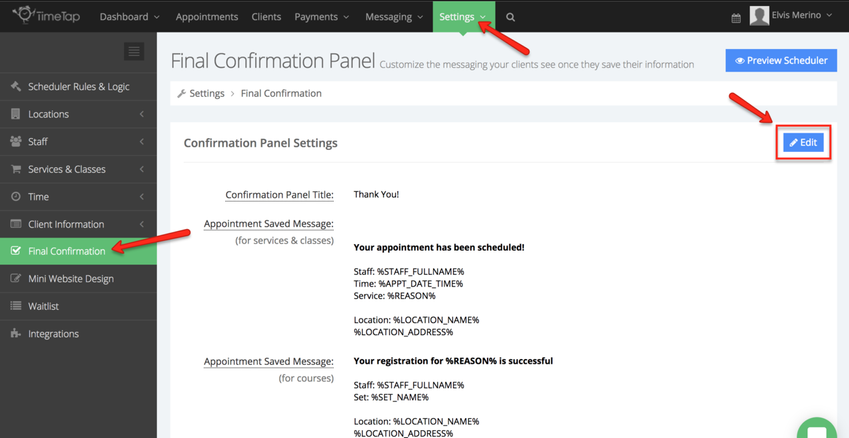
The next thing you’ll need to do is change the message that displays to clients immediately after their appointment is booked. Go to Settings → Final Confirmation and press the “Edit” button in the top right of the Confirmation Panel Settings:
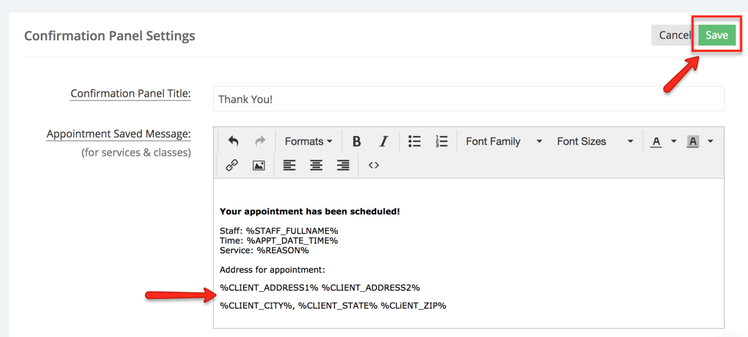
Once you’ve opened the pop up window, you’re going to edit the Appointment Saved Messag message to include the tags for address the client put in. Those tags will be:
Client Address line 1: %CLIENT_ADDRESS1%
Client Address line 2: %CLIENT_ADDRESS2%
Client city: %CLIENT_CITY%
Client state: %CLIENT_STATE%
Client zip: %CLIENT_ZIP%
What tags will do is go into the appointment record, identify which client the appointment is with, look at the client’s record, and pull out the client’s address. All you need to do is paste those tags with the percentage signs into the appointment saved success message box and press “Save” after you finish:
Test out your booking process now and you’ll see that the success message prints out the address that the client puts in on the Your Info page:
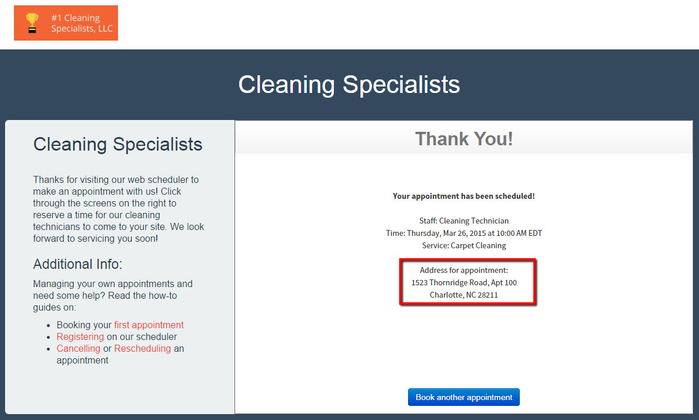
Step 3: Change your location’s address to include tags for your client’s address
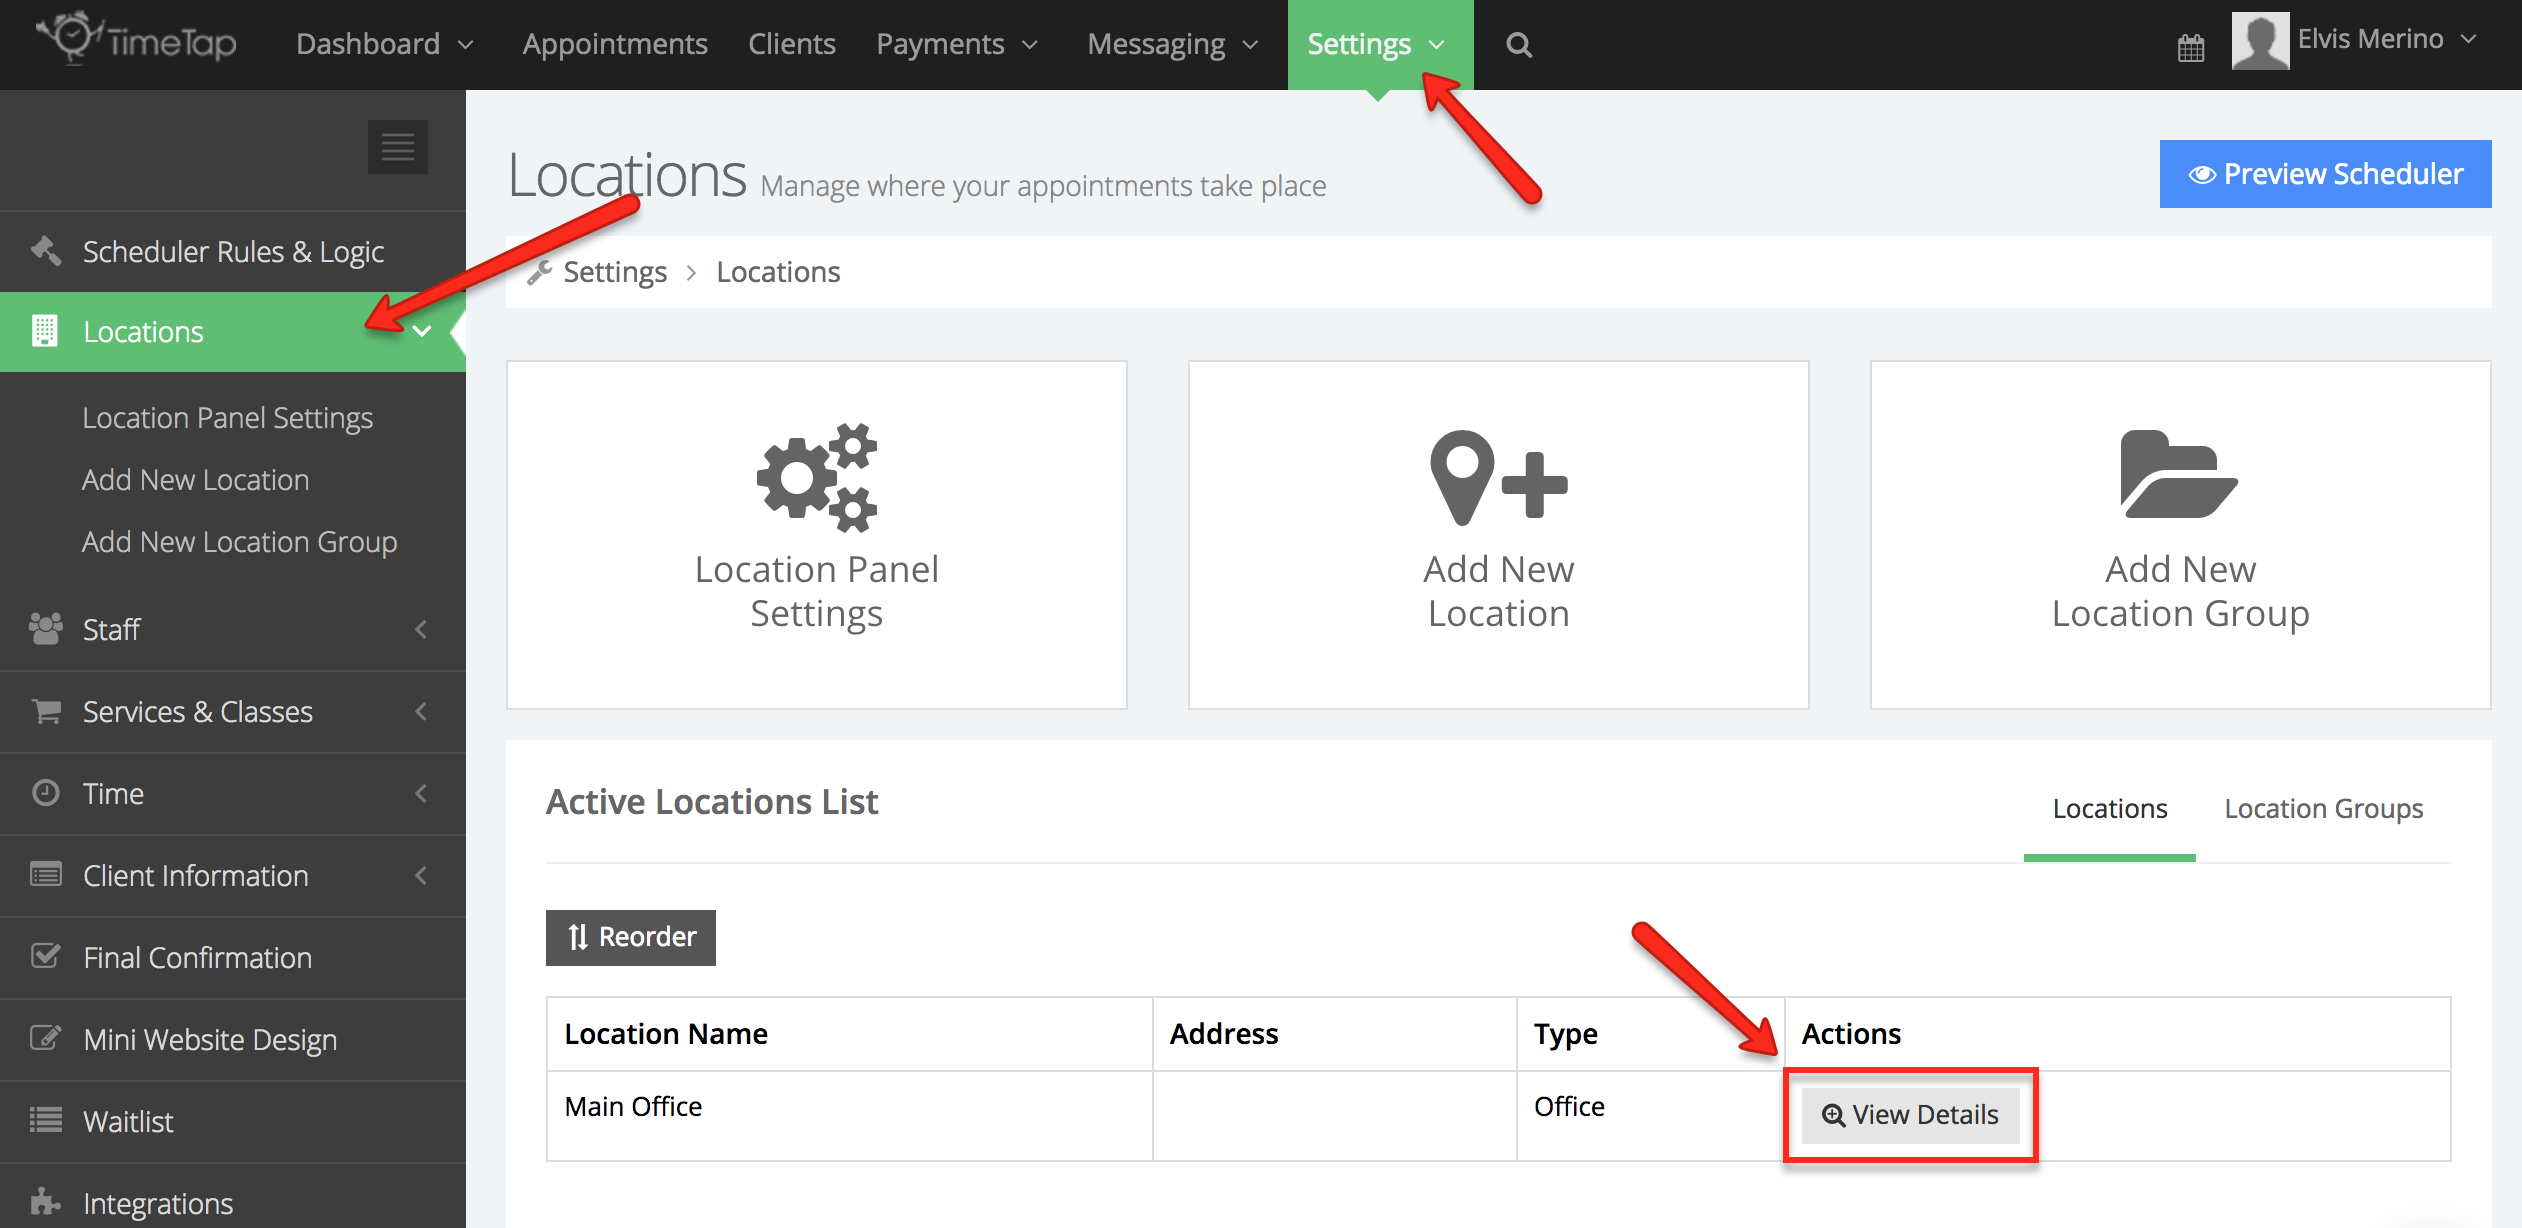
The last step is to go into your location’s profile and change the location name and address so that when clients get the email confirmation, the address that prints out for the appointment is the address the put in. To do this, go to your Settings menu on your TimeTap account and click Locations. Once you are in the location profile, click on the “View Details” button to the left of the location:
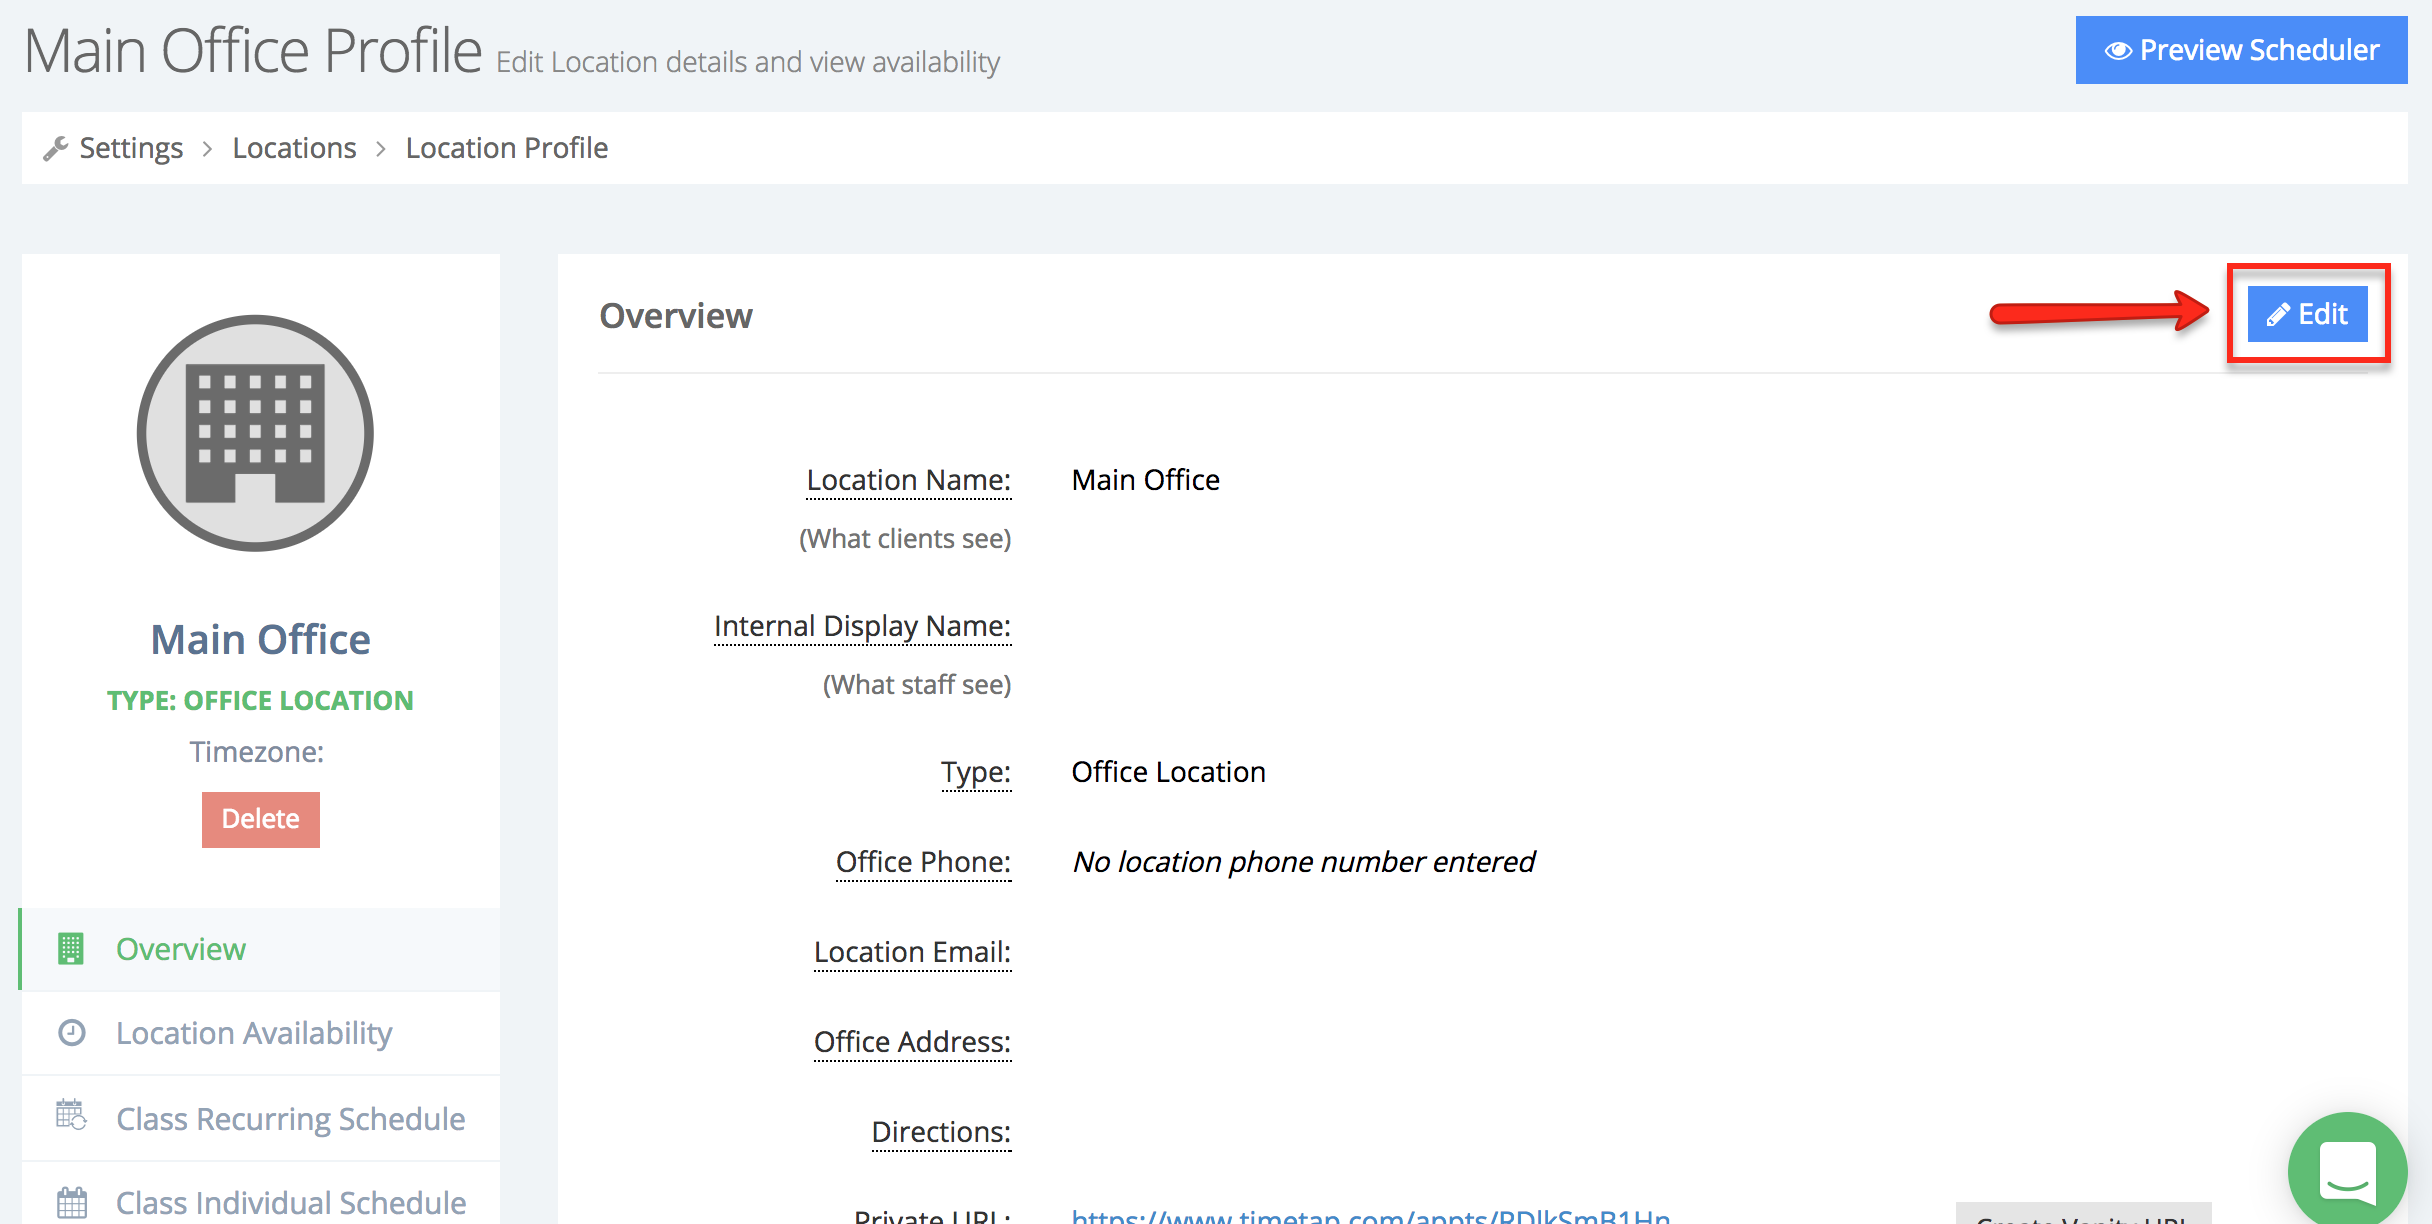
Once in the Location's profile click Edit right side of the screen to make changes:
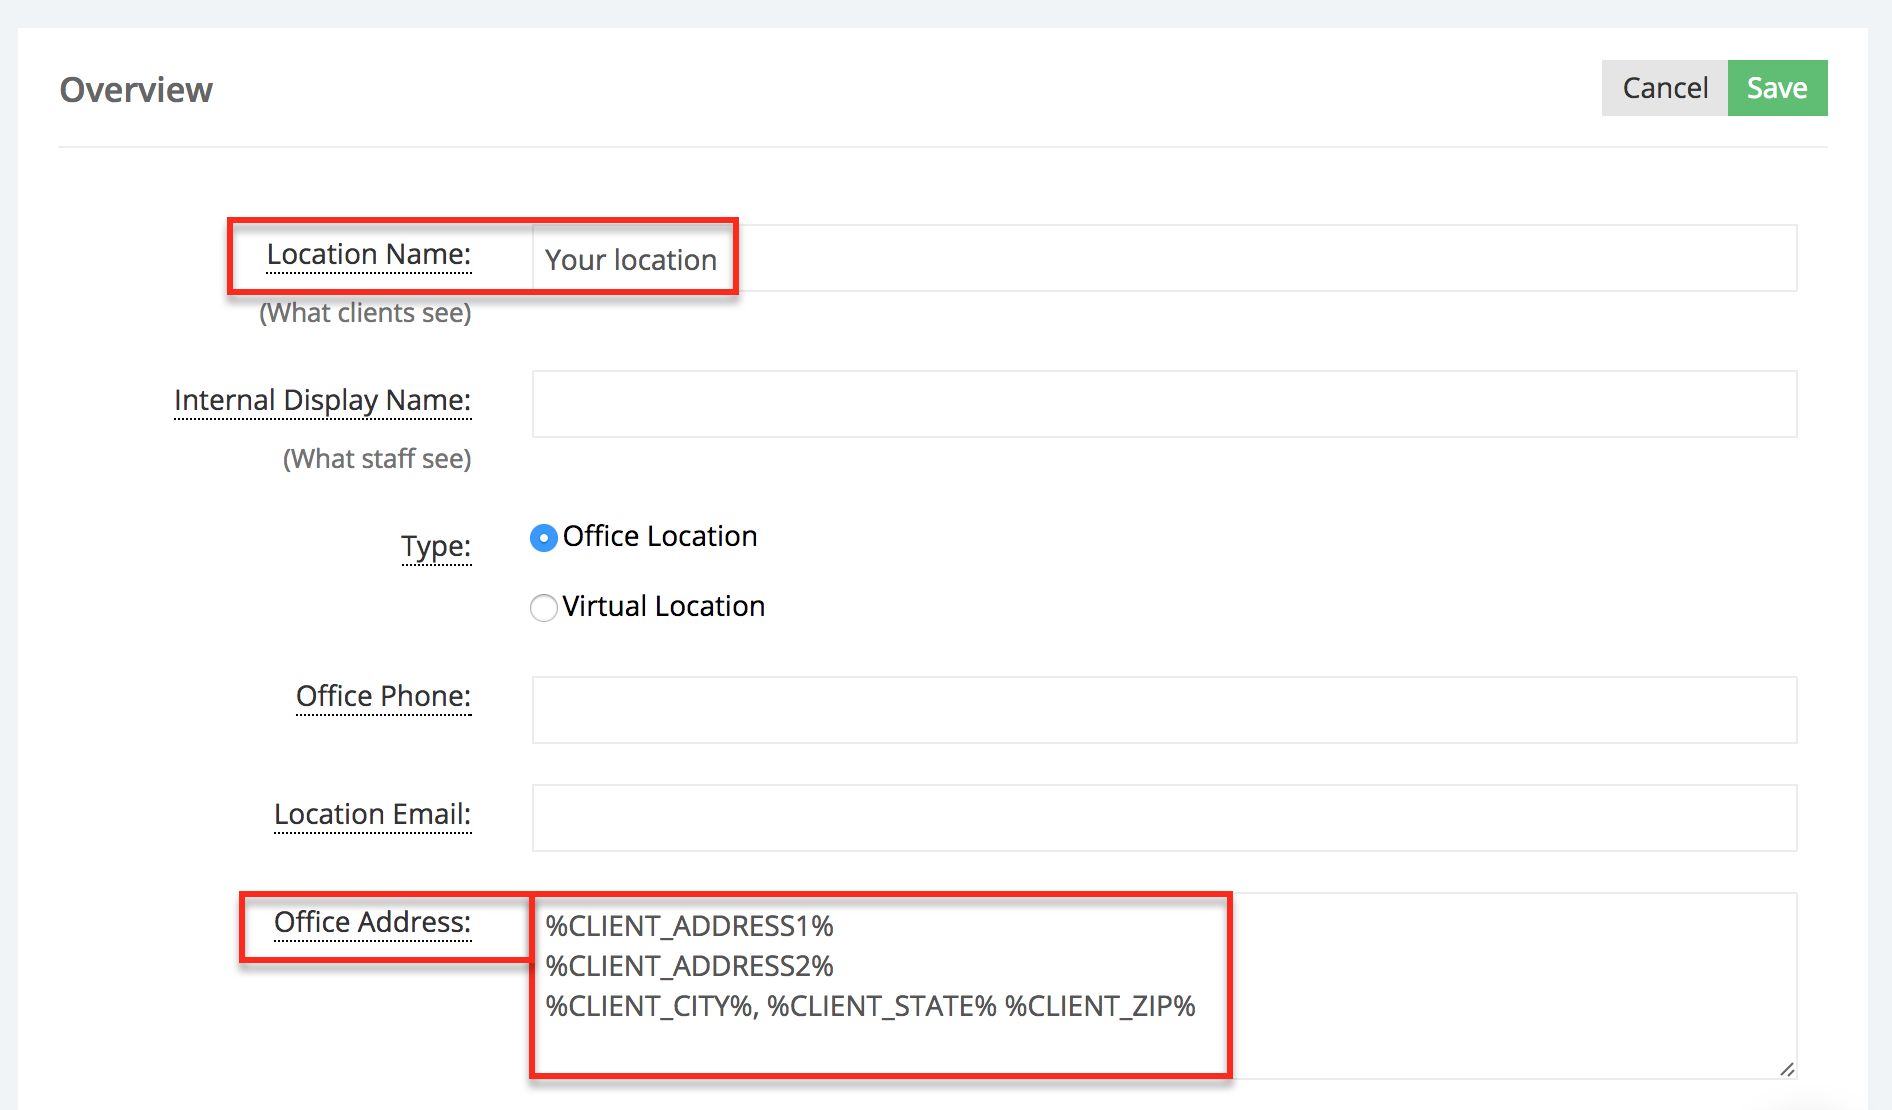
It’s best to go ahead and name it “Your location” or something similar. In the address fields, go ahead and embed the same tags that we listed above so that the address that gets printed on the email is the client’s address, not the business’s.
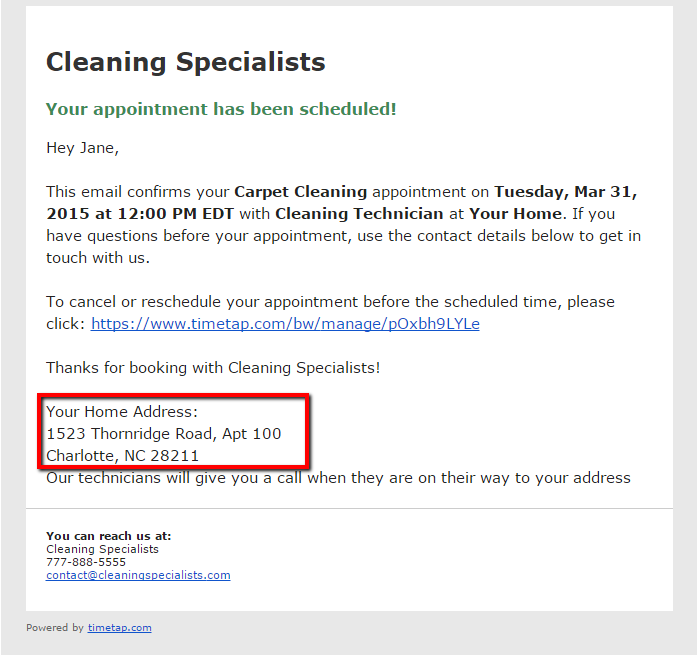
Now when your confirmation emails go out to clients, they will have the client's address on them:
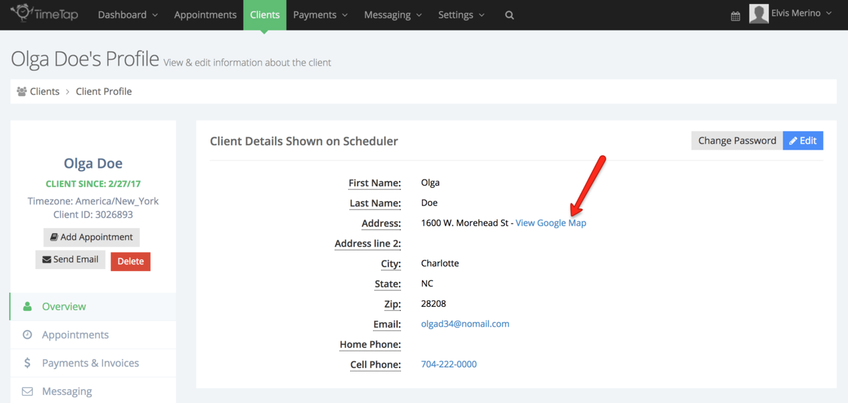
Once the appointment has been booked you can go to the client's profile to view their location and click "View Google Map" to see the address that was entered in Google Maps and even get direction to it:
If you think we've missed anything here, please feel free to contact our support team and we'll get back to you as soon as we can with an answer.