Once you've navigated to the Add New Appointment screen through either the Add New Appointment button or by clicking on the Calendar for the date and time you'd like to have the appointment, you are ready to actually set up the appointment itself.
In this documentation, we will cover how to set up a One Time Appointment as a staff person. You're also able to add appointments that happen on a repeating or recurring basis, but we are only covering adding one time appointments on this page. Clients are also able to add one time appointments for themselves using the scheduler that's on your mini website or that you embed on your own website.
Setting up a One Time Appointment:
In setting up a One Time Appointment, you'll first want to fill in all the required fields. If you only have 1 staff and 1 location, the staff and location fields will be pre-populated for you, but you can edit and change all the other fields. If you are on the TimeTap Professional version of TimeTap, you will also have to select which Staff the appointment is getting assigned to. Then, select the "Reason" (aka service or class) that you are going to be making the appointment for. I recommend selecting the Reason right after selecting the staff so that all the recommended dates and time slots (that are based on the availability you have added) show up with the proper start and end times:

Once you've selected the Reason, you can now look at the calendar drop down to see what dates you have available on your calendar for the selected service/class based on the selected staff person's availability:

Once you've selected a date from the calendar, you'll see the "Open Upcoming Appointments" panel on the right hand side update with any other appointments you have scheduled for that day. If you are setting up an appointment for a Service reason type, then the suggested dates and times will be based on what the staff you've selected has setup in his/her Service Availability. You can then either choose a time for the appointment based on the list of available times or you can press "Override Times" to enter in a custom time:

If you are setting up an appointment for a Class reason type, then the suggested dates and times will be based on when you have scheduled your class sessions for. Since your class session times are already set, you will not have the ability to "Override Times" when setting up an appointment for a class. In order to do that, you would need to edit the details for the scheduled class session and set the session to a different time:

Now that you have the reason, date, and time inserted in, you need to enter in which client this appointment is going to be with. If the client alright exists in your account then you can type in the first two letters of his/her first or last name and find them on the client search:

If it is a new client, you can press the "Add New Client" link beneath the client search field to quickly add in the client:

Once you press Add New Client, you'll be prompted to enter in whatever Client Information fields you have set up in your Settings > Client Information screen and set the client's time zone. Once you've entered in these details, press the "Add Client" button and the client will be added both to your account as well as to the appointment record:

Now that you've got the client attached to the appointment in the Add New Appointment screen, you are ready to save the One Time Appointment. Just make sure to fill out any of the custom appointment fields that you may have (like comments or anything else you've configured under Settings → Client Information → Define Field Labels) and to select the number hours before the appointment you'd like to send the reminders out:

After customizing those last few things, go ahead and press "Save Appointment":

You'll be asked whether you want to send an email to the client and/or to your staff about the new appointment. If you’re new to TimeTap, then the email checkboxes will be unselected; however, if you have made selections before, then TimeTap remembers those selections and will pre-select the previously checked boxes. You'll also have room to enter in a new appointment note/message, which will be plugged into the email that goes out to your client. If you've elected to send an email out to your client, you'll also see you have the option to edit the email before sending; this checkbox will also be pre-selected if you have checked it before, as TimeTap remembers your last selected email options:

Please note: the Edit email before sending option is only available to TimeTap Professional users.
After pressing Save Appointment from that window, you'll then be presented with the window for editing the email that goes out to the client about the appointment. Once you are finished editing, press the "Send Email" button at the bottom of the window to send out the appointment confirmation email:

After sending the email, the screen will update and show that your appointment is now listed as being in Open status:
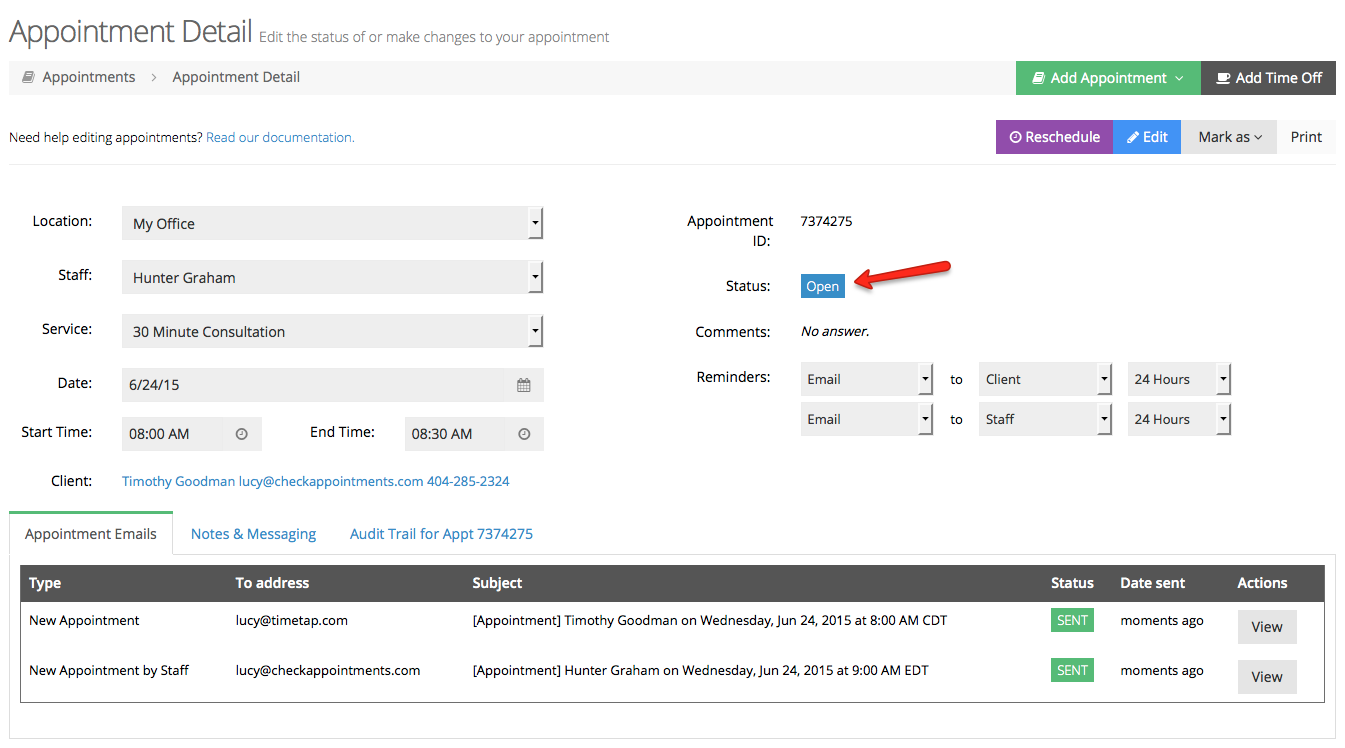
You can navigate away from your appointment at this time as it is successfully saved and added to your schedule. You can navigate to it again at any time by either using your calendar or your appointment lists.