Checking your scheduler's flow
You've got your availability added and you have the types of appointments you offer added in. Before you open the floodgates for your clients to come in and book themselves, you'll want to take a quick test run through your scheduler to make sure it looks proper based on what your clients would expect.
To do this, you can go to your mini website and click through the scheduler that sits there. Your mini website can be found in two different ways.
- You can go to your mini website design page and click on the link that sits there
- You can click on the "Preview Scheduler" button from many of the Settings pages
- You can go to the Quick Setup Guide and click on any of the links
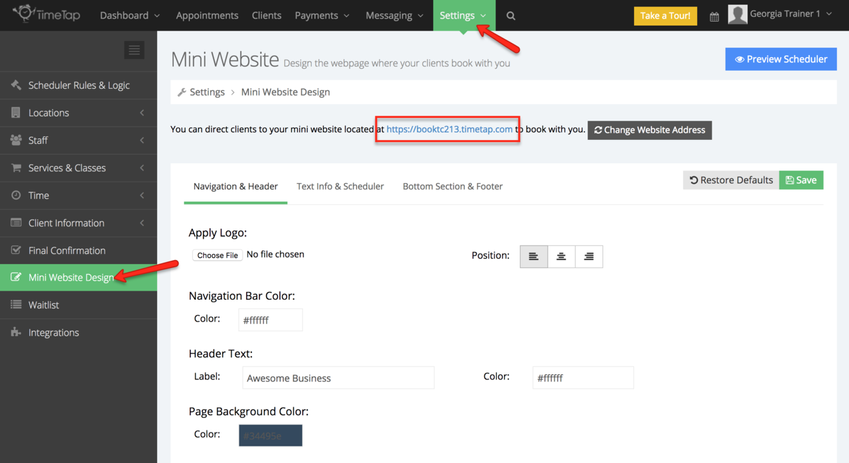
Finding the mini website link from the mini website design page
To navigate to your mini website from your mini website design pages, simply go to Settings > Mini Website Design and click on the link at the top of the page:
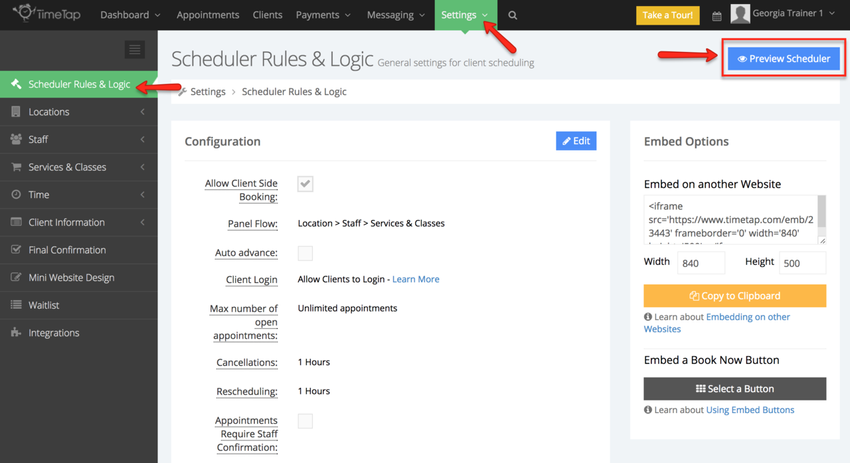
Finding the mini website using the preview scheduler button
To navigate to your mini website from the preview scheduler button, just be on the lookout for it on any of the Settings pages you're visiting:
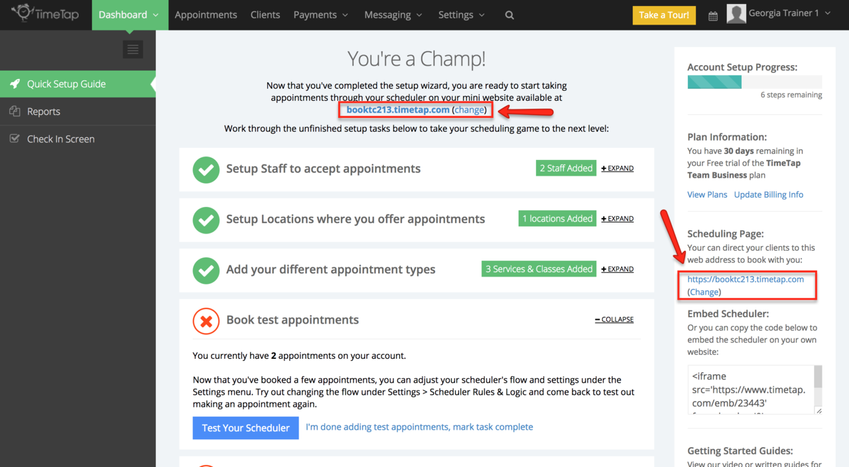
Finding the mini website link from the Quick Setup Guide page
To navigate to your mini website from your Quick Setup Design page, simply go to Dashboard > Quick Setup Guide and click on the link at the top of the page or to the right of the page:
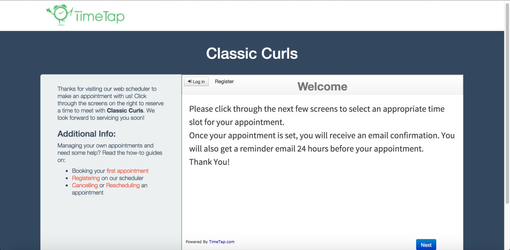
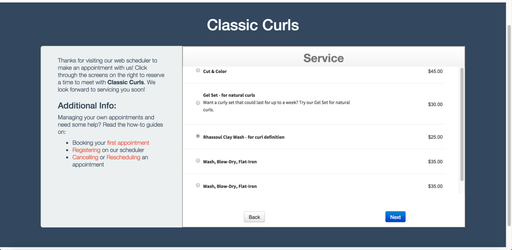
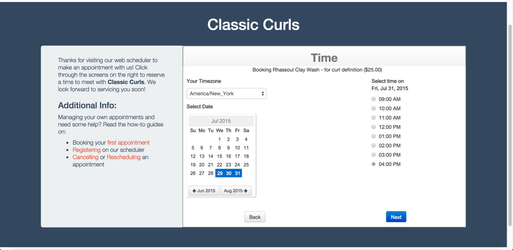
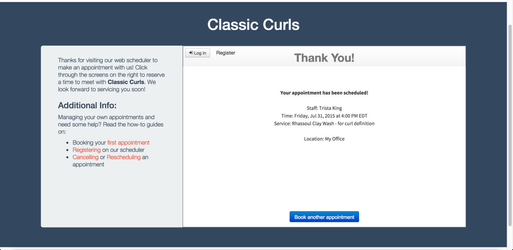
Testing your Scheduler's flow
Once you are on your mini website and looking at your scheduler, you can use the buttons to click through and make sure your services and appointment timeslots are displaying properly. You'll see the total flow of clicking through your scheduler to test it in the image gallery below:
Scheduler Flow |
||||
|---|---|---|---|---|
|
|
|

|
|
|
|
|
|
|
|
After testing it out, you may determine that you want to:
- Change the times you offer appointments
- Change the information you're requesting from clients
- Change how close to an appointment start time a client can book
- Change how far out in your schedule a client can reserve an appointment
If you want to tweak any of these things, simply visit the documentation links associated with them to learn how.