Filter View
- Elvis Merino (Unlicensed)
Your calendar view will show you everything that's on your schedule and blocking off your availability for booking. This includes your open, checked in, completed, and no show appointments as well as any time off periods you've added. You can find your calendar view under the Appointments Menu, you can then switch between Month, Week, & Day view. In this documentation we will cover how to filter booked appointments in your calendar.
Using the appointment filter feature will give you the ability to toggle between filters that contain common views that matter in your business. This will allow you to store different combinations of staff, locations, and reasons that you would like to see on your calendar or in your appointment lists views at a quick glance.
We've written more about this subject here. If you do have questions after reading through this documentation, reach out to our support team and we'd be happy to answer them.
In checkAppointments if you wanted to view the different appointment booked for you or your staff first you would go to the Main tab and select My Calendar. Once in the calendar view you were then able to select different staff members from the dropdown menu and see their appointment. In checkAppointments you were not able to filter appointments by services/class type or location in the calendar view.
The appointment filter consists of five sections:
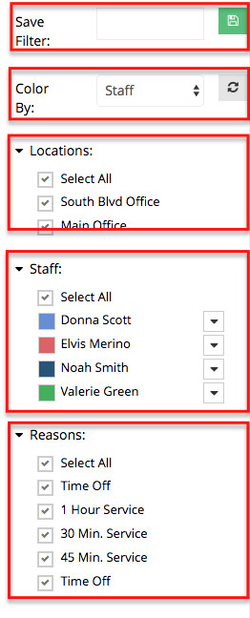
Save Filter: Here is where you can create filters based on predetermined criteria, once a filter is created and saved, it can be used at a later time.
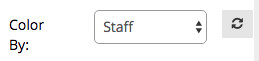
- Color By: Colors can be assigned to Locations, Staff, and Reasons (Services/Classes) this feature will allow you to have a visual representation of what each appointment in your calendar is.
- Locations: These are the locations you've added in TimeTap
- Staff: If you are an Administrator or Account Owner you will see all users who are able to take appointments listed here. Location Super Users will only see those users for the location they have been assigned to, Staff members with the security level of User on the other hand will only see their own name listed.
- Reasons: Services, classes or courses offered to your clients
First we'll cover how to filter appointments by location:
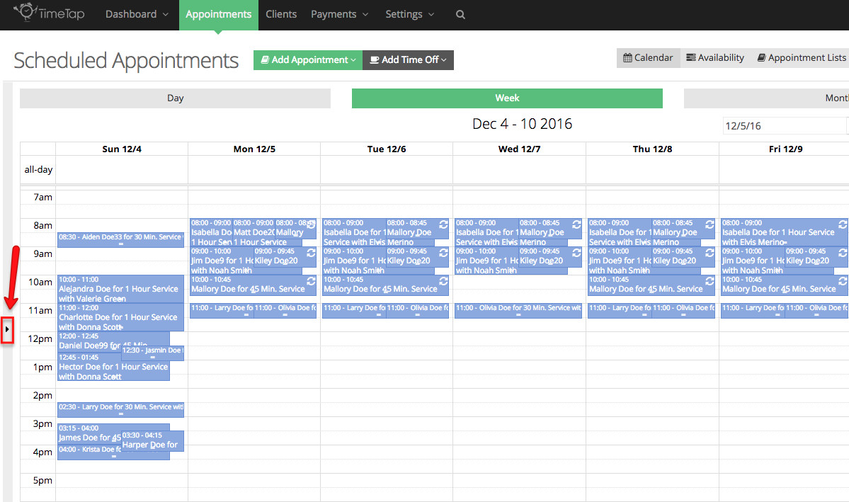
By default your calendar view in TimeTap will display all appointments at all location, for all services, and staff. To make it easier for you to view appointments use the filter feature to the left of the calendar. First expand the filter tool by clicking the small black arrow on the left side of the screen:
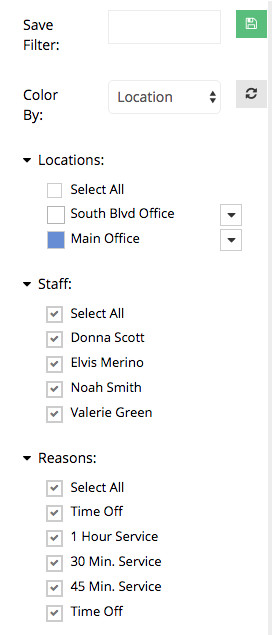
Next I'll select from the dropdown menu next to "Color by" I'll select the Location, under the Location list I'll select Main Office, the arrow to the right of the location name allows you to select a color for the location. Under the staff list I can either select all staff members or only those who have availability at the Main Office. Reason are the services/classes/courses offered at all your locations, when filtering appointments I can either select all or only those I offer at the location I chose:
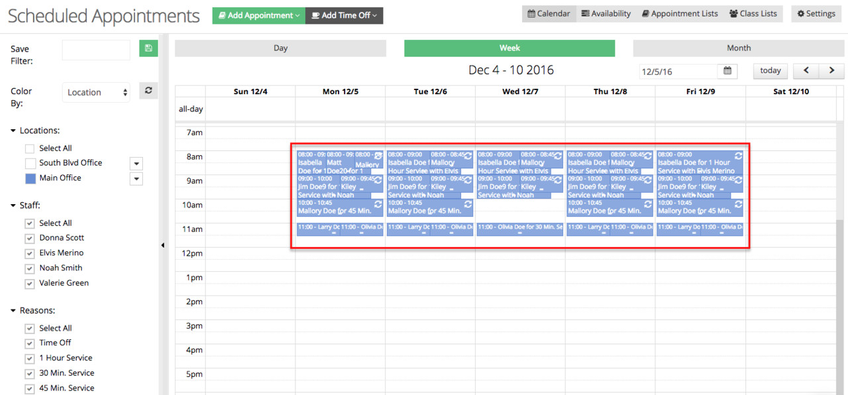
After selecting the parameters I need in the filter, the calendar to the right will update and will show me appointments scheduled at the Main Office location:
Now we'll cover how to filter appointments by staff:
Now I want to filter appointments by staff, I'll go back to the filter tool and change "Color By" to Staff and leave Main Office selected:
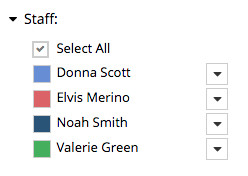
I will then select a different color for each staff member:
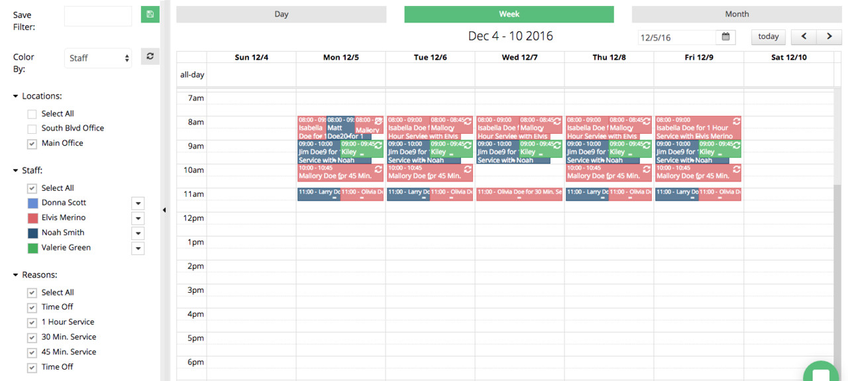
Now, if you look to at the calendar you'll notice that the appointments have changed color. Based on my selection I'm seeing all the appointments taking places at the Main Office and since the color of the of the appointment corresponds with the color I select with each staff I can easily see the staff assisting clients:
You can repeat the steps above if you would like to filter appointments by reason (services/classes/courses)
Lastly, we will cover how to save filters:
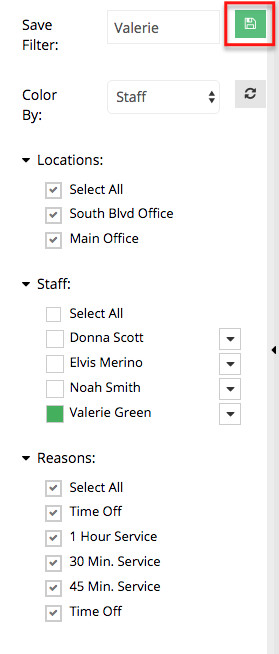
The filter tool allows you to create an filters in multiple combinations, once you've found a combination you would like to reference at a later date you can save by simply clicking the save Icon:

Let's assume that based on the example that I've been demonstrating I only want to see Valerie Green's appointments, I will leave Color By set to Staff, select all locations, select only Valerie's name in the Staff sections, and select all Reasons. I will then assign a name to this new filter I'm creating and click the Save icon:
Now, if I look at the calendar I will only see Valerie's appointments:

You can create as many filters as you want, per staff, locations, and reasons.
With the filter I created still select I can click the Availability tab, Appointment Lists, and Class Lists and the information defined by the filter will appear in each different view.
If you have any questions about creating filters, reach out to our support team and we'd be happy to answer them.