Adding your Availability
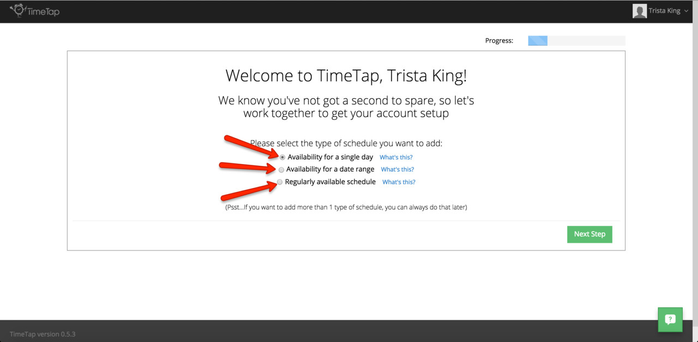
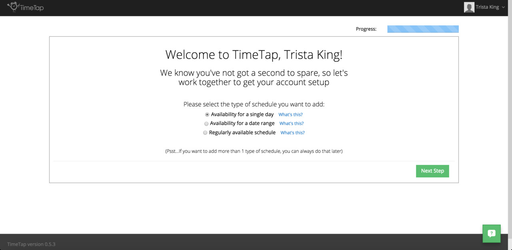
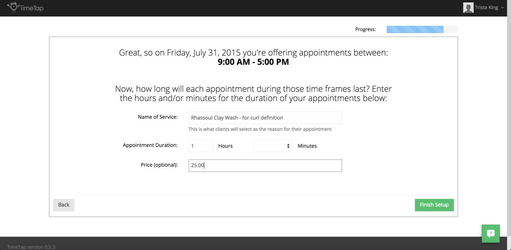
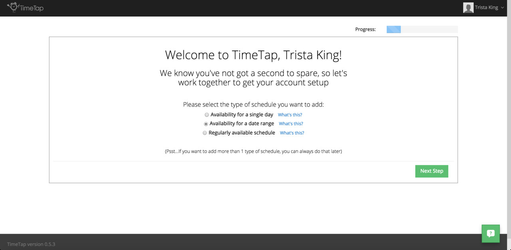
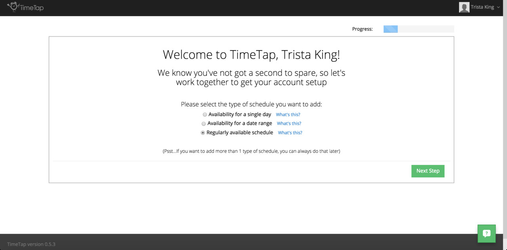
First you'll select which type of schedule you're adding. The Three options are: Availability for a single day, Availability for a date range, and Regularly available schedule.
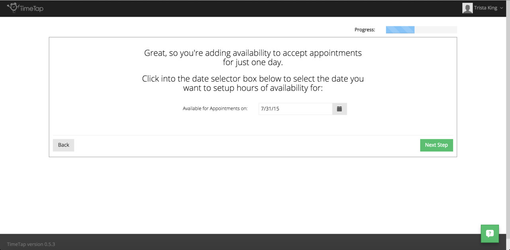
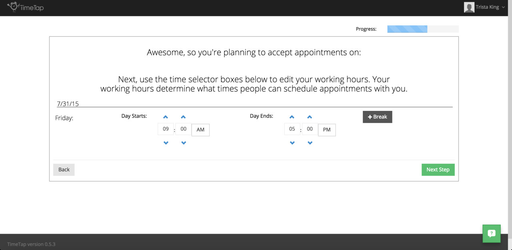
With Option 1, you'll be setting up just one day that you're available to take appointments between whatever time frames you've set aside to allow clients to schedule with you. For example, maybe you are just able to take appointments on October 17th but you don't have a regularly available schedule to take appointments.
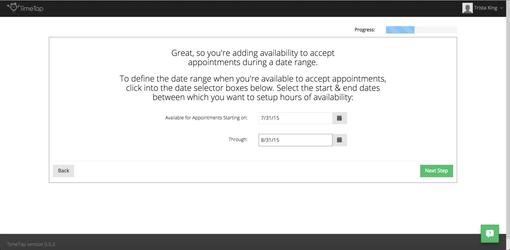
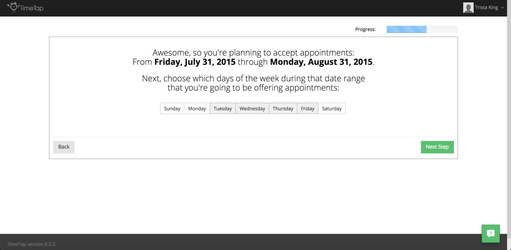
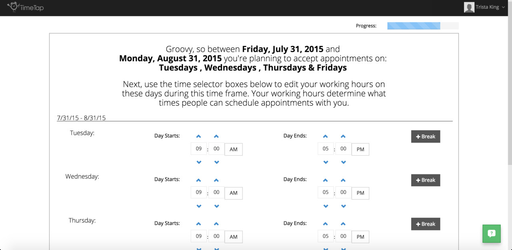
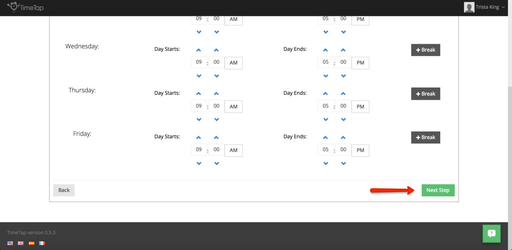
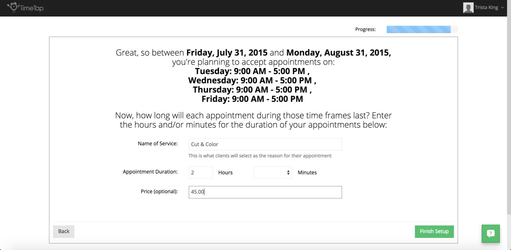
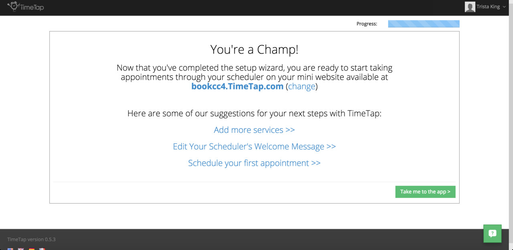
With Option 2, you'll be setting up availability between a start and end date. So, maybe you are able to accept appointments between September 24th - October 31st of 2014. You don't want your availability to extend on indefinitely so clients will not be able to make appointments past your end date. You'll select your date range and then the days of the week during that date range that you're able to accept appointments.
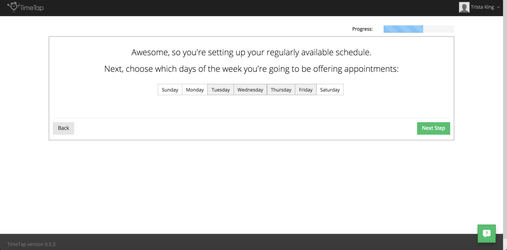
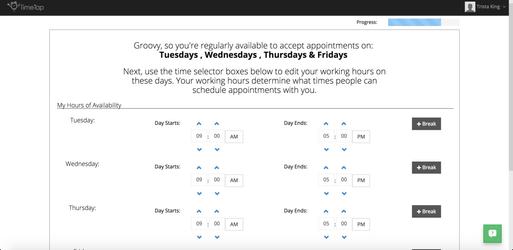
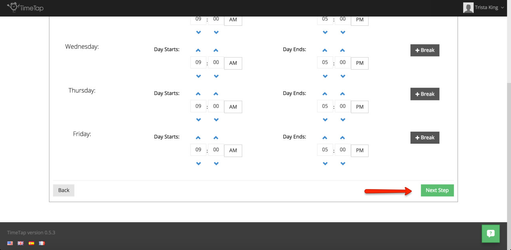
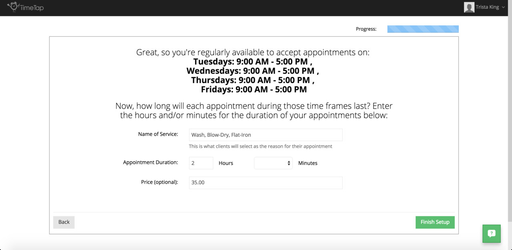
With Option 3, you'll add in your availability for appointments that exists on a regular basis (like Monday - Friday between 9am - 6pm). This is for the folks who have business hours that occur on a regular, predictable pattern without an end date.
You can see the screen flow of each option below.
Adding availability with Option 1:
Click through the image gallery below to see the steps laid out for adding availability for a single day
Availability for a single day |
||||
|---|---|---|---|---|
|
|
|
|
|
|
|
|
|
|
|
Adding availability with Option 2: Availability for a date range
Click through the image gallery below to see the steps laid out for adding availability for a date range
Availability for a date range |
||||||
|---|---|---|---|---|---|---|
|
|
|
|
|
|
|
|
|
|
|
|
|
|
|
Adding availability with Option 3: Regularly available schedule
Click through the image gallery below to see the steps laid out for adding availability for appointments on a regular basis
Regular available schedule |
|||||
|---|---|---|---|---|---|
|
|
|
|
|
|
|
|
|
|
|
|
|
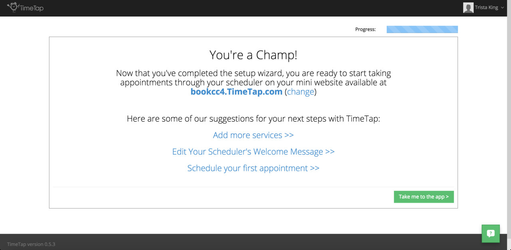
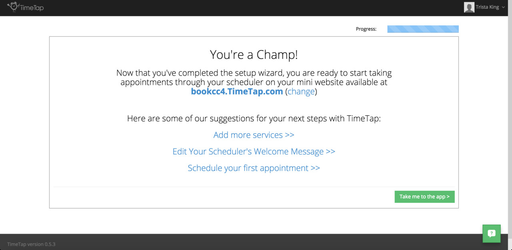
Once you have finished going through the setup wizard and adding your availability, you'll be ready to accept appointments on your mini website or on the scheduler you embed on your website.
Please note: if you need to add or edit availability for scheduling with you, you can do this in multiple ways in your account. The methods described above are just used when you set up your account for the first time.
