Adding a Time Off for a day or less
If there is ever a period of a day where you're not going to be able to take appointments (maybe you have your own doctor's appointment or you have to go to your daughter's soccer game or you just need 15 minutes of no appointments to meditate), you can use the Time Off feature to block part of your day off so no appointments can be set during that time. This may be faster than, say, going through and modifying your staff availability for the day.
In this page we will cover how to:
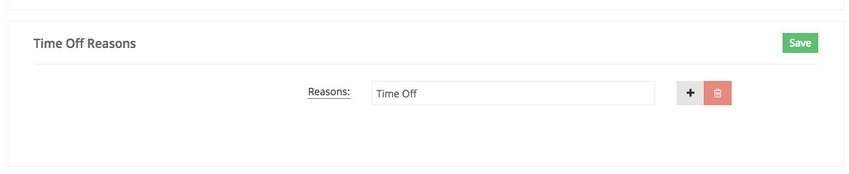
Time off reasons help you keep yourself and your staff organized when adding time off to your calendar. By default TimeTap has already create a time off reason called "Time Off", you can choose to add more so you can see what each time off you added is for.
First go to Appointments click Setting:

Once in the Settings screen, scroll to the bottom of the page to the Time Off Reason sections:
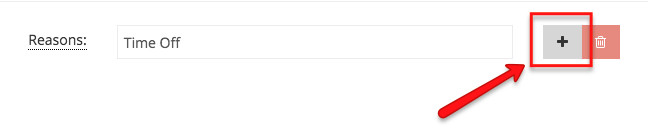
Click the + button next to Time Off:
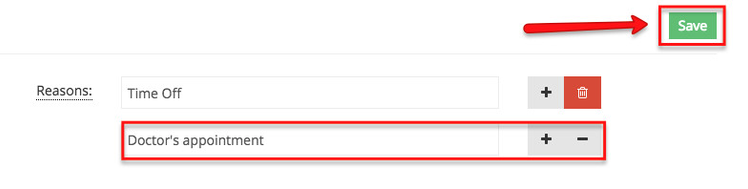
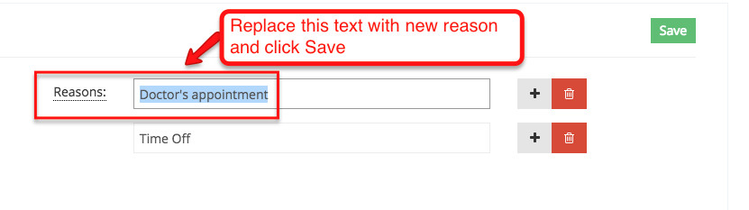
After you click the + button a new box will appear under Time Off where you can enter a new reason, in this case I entered "Doctor's appointment", and click Save when you're done. A message will appear confirming that the time off reason was added successfully.
You can add as many time off reason as you want. To edit the time off reason simply erase the text inside the box and click Save:
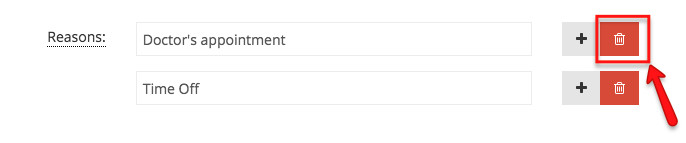
To delete a time off reason simply click the trash can button next to the reason you want to delete:
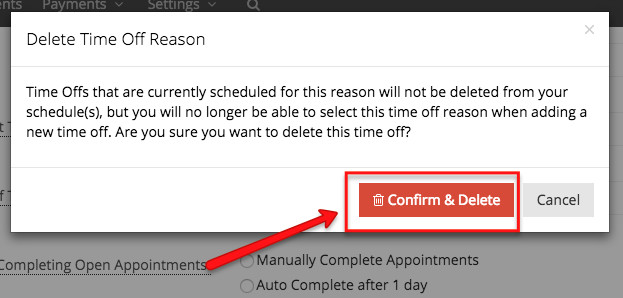
A new window will appear letting you know that any time off you've added with this reason will be removed from your calendar and clients will be able to book appointments with you once again during the time you had this time off. Click Confirm and Delete to remove this time off reason:
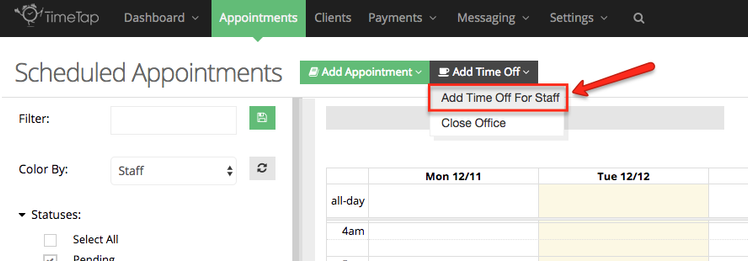
In order to add Time Off for less than a day, go to Appointments and click on the "Add Time Off" button:

After clicking Add Time Off select Add Time Off for Staff, we will cover the Close Office option later:
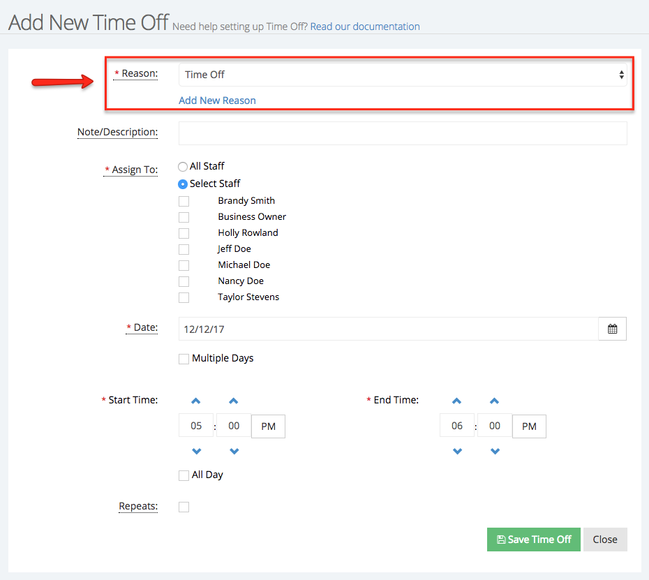
In the Add Time Off screen, first select a reason or click Add New Reason to create a new one:
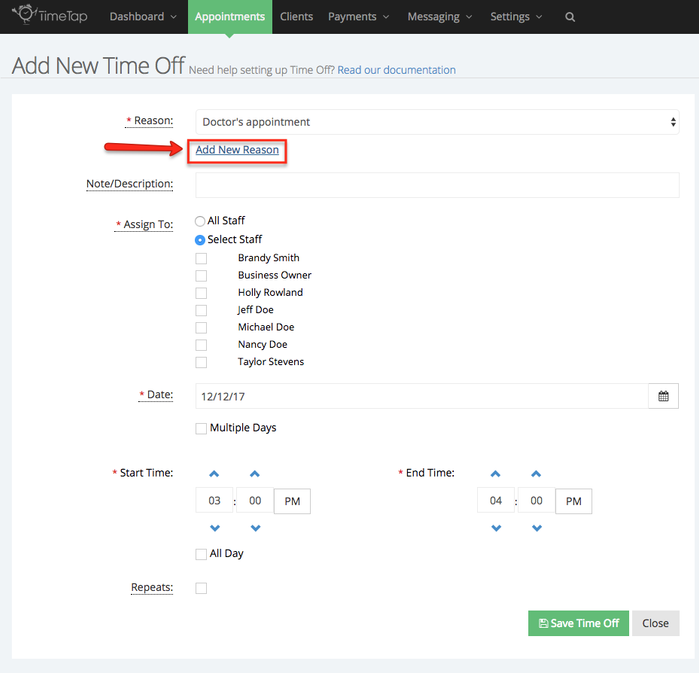
Once you've entered a new reason click the Save Button:

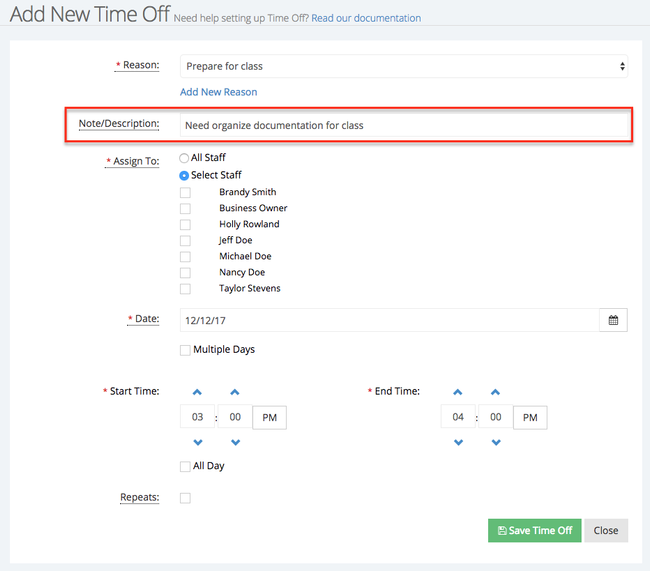
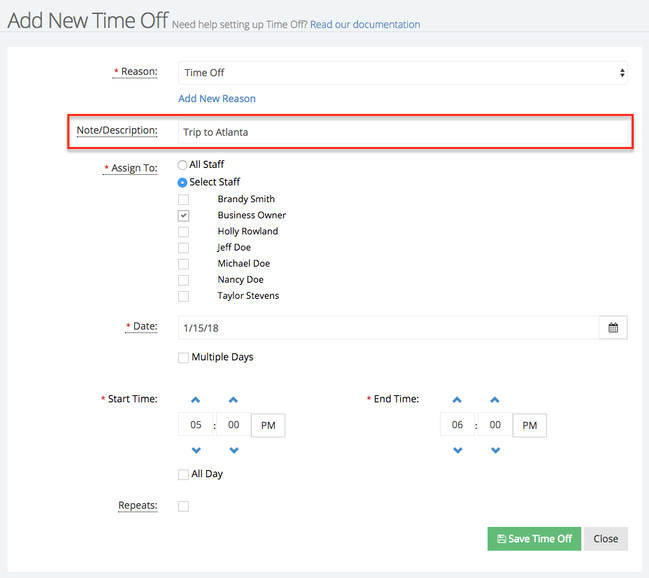
After you've selected the time off reason you can enter a little bit more details about your time off in the Description field:
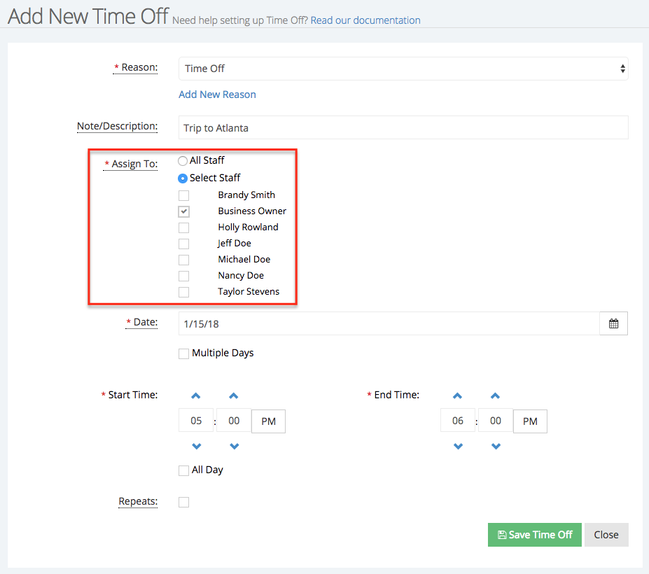
Select your name or the name of the staff who will be taking the time off. Alternatively you can select "All Staff" if this time off will apply to all your staff:

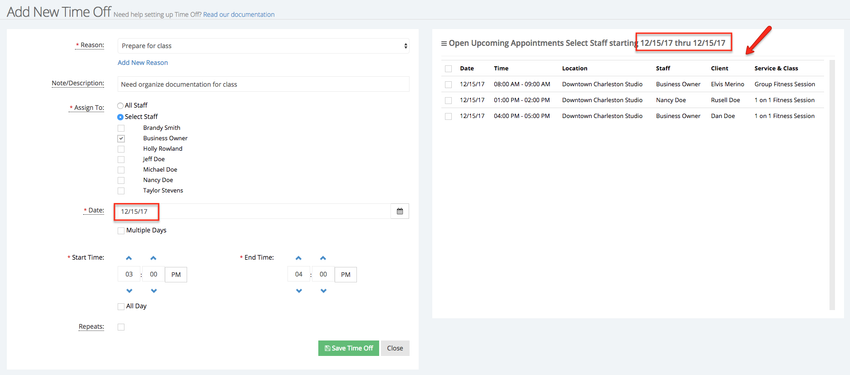
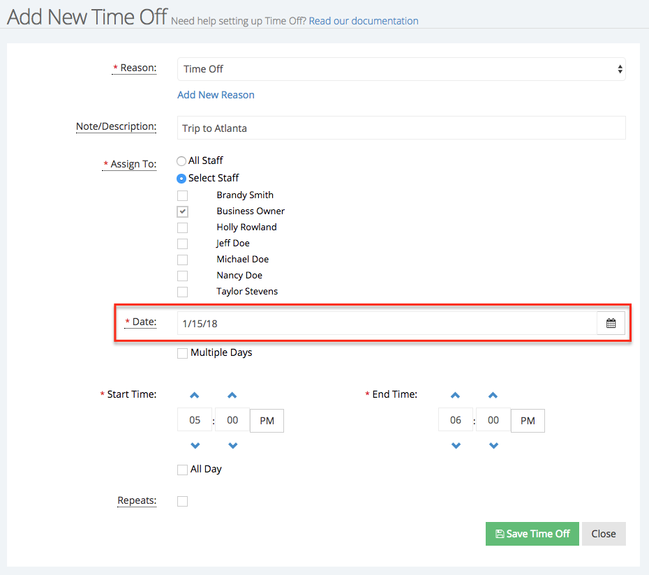
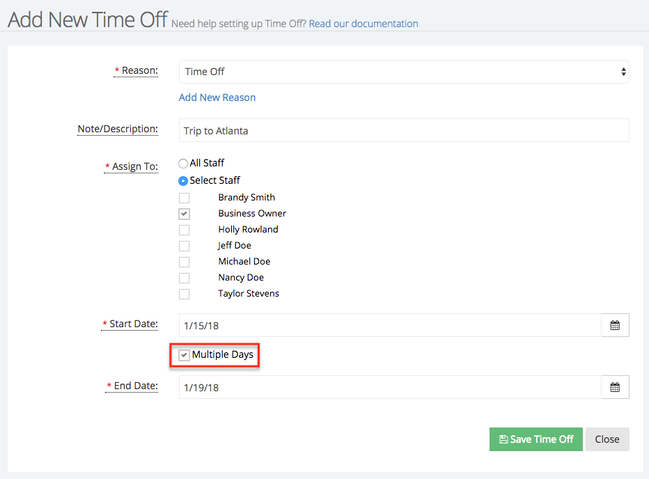
Next enter the date that your time off is going to be set for, select the option "Multiple Days" if you time off will span more than one day, making this selection will not allow clients to book appointments during the time range you select:

You'll see as soon as you select the date that the Open Upcoming Appointments list updates with any appointments you already have set for that day so you can make sure you aren't adding time off when you have clients coming in for appointments:
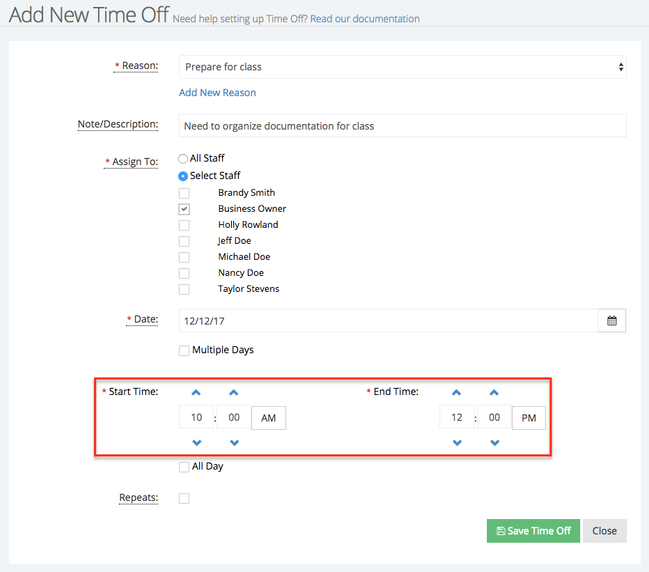
You'll then want to customize the start time and end time for your time off:
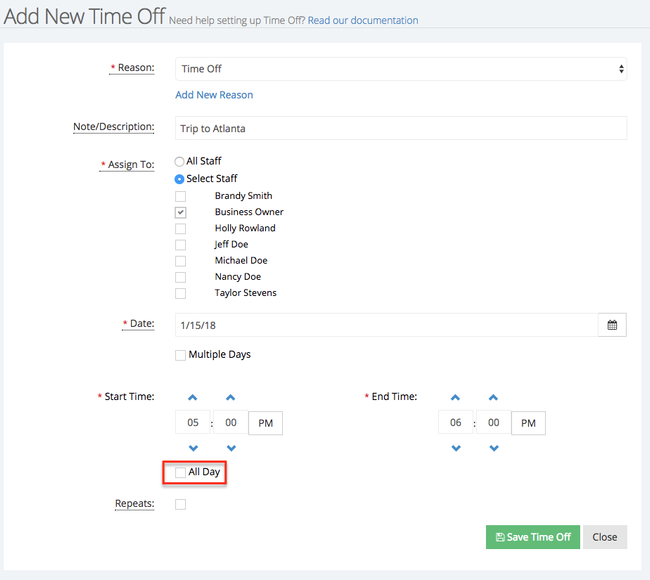
If you are taking off for the full day, you can go ahead and select the "All Day" checkbox. This will make the start and end time fields disappear as they will be filled in automatically with 12:00am to Midnight of the date you've selected:
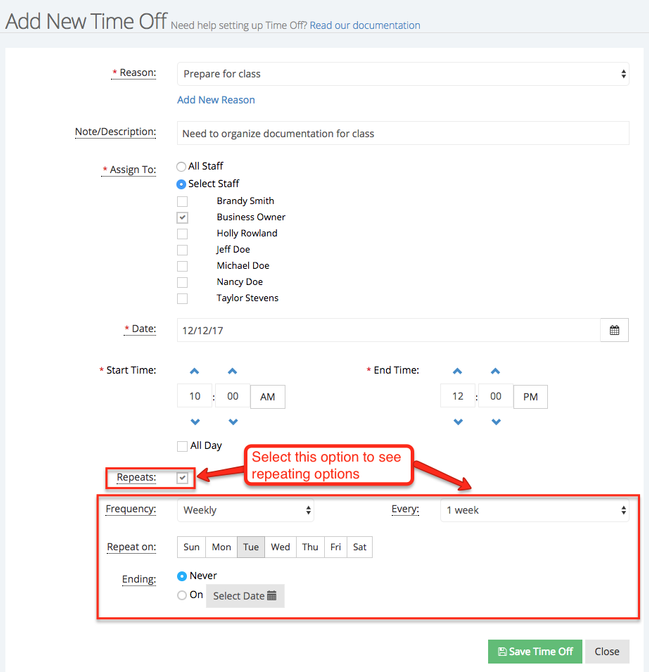
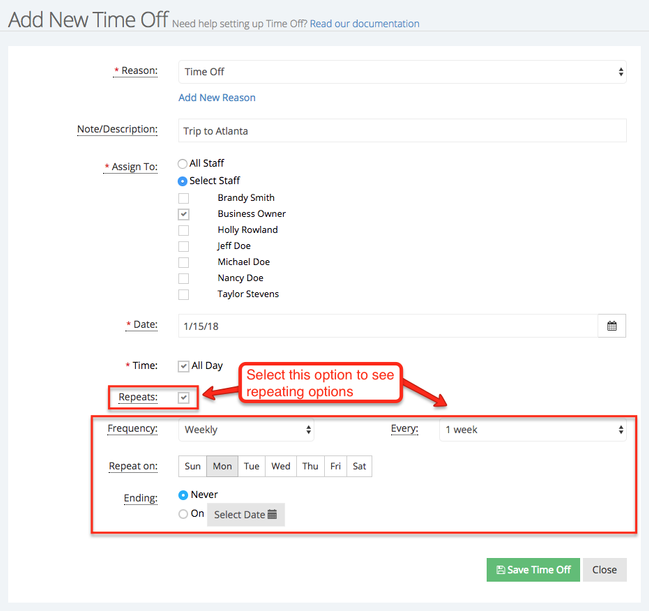
Lastly, if this time off repeats on a regular basis, you can define the pattern by selecting the "Repeats" checkbox and customize the frequency:
After you've made your selections click the "Save Time Off" button:
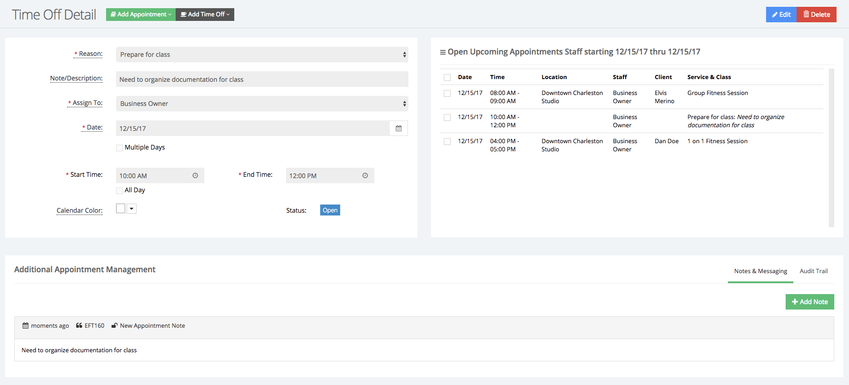
At this point, your screen will enter into view only mode and you'll see the Edit button appear at the top which you can use if you ever want to make changes to your single day time off:
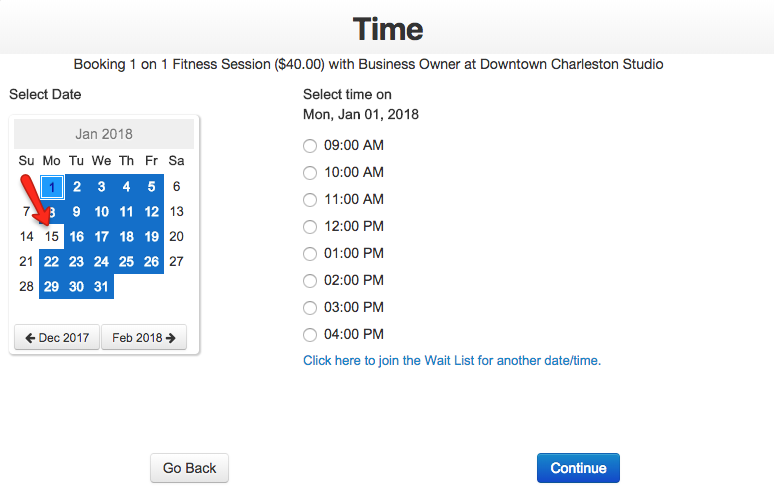
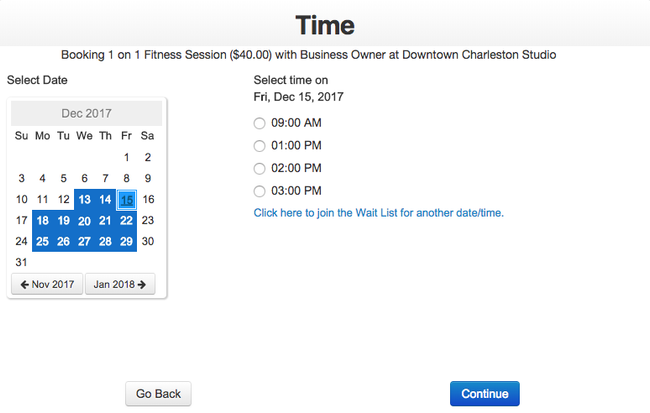
Finally, if you check out how your scheduling looks on the client facing scheduler, you'll see that no appointment times will display for the hours on the date that you just entered:
In order to add a Time Off a day, go to Appointments and click on the "Add Time Off" button:

After clicking Add Time Off select Add Time Off for Staff:

In the Add Time Off screen, first select a reason or click Add New Reason to create a new one:
After you've selected the time off reason you can enter a little bit more details about your time off in the Description field:
Select your name or the name of the staff who will be taking the time off. Alternatively you can select "All Staff" if this time off will apply to all your staff:
Next enter the date that your time off is going to be set for:
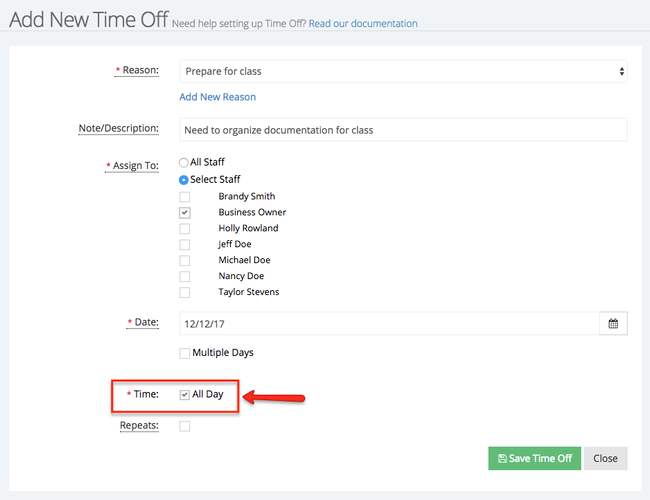
If your time off is only for the day you selected you can skip the "Multiple Days", "Start Time", and "End Time" options and select the "All Day" box:
if this time off repeats on a regular basis, you can define the pattern by selecting the "Repeats" checkbox and customize the frequency:
Select the option "Multiple Days" if you time off will span more than one day, making this selection will not allow clients to book appointments during the time range you select:
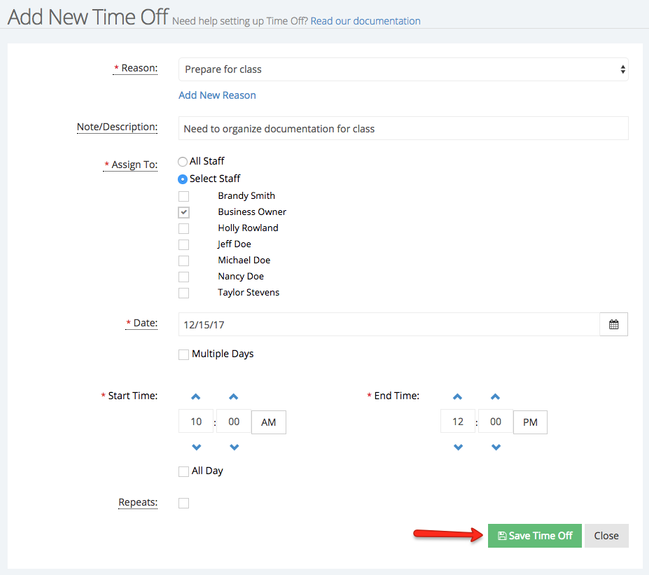
After you've made your selections click the "Save Time Off" button:

At this point, your screen will enter into view only mode and you'll see the Edit button appear at the top which you can use if you ever want to make changes to your single day time off:

Finally, if you check out how your scheduling looks on the client facing scheduler, you'll see that the day(s) you chose are not available for your clients to select: