How to add time off for more than a day
Now that you know how to add time off reasons and add time off for a day or less, we'll cover how to add time offs that last more than a day.
We cover more about time offs here.
In this documentation we'll cover:
- How to add time off for more than a day for specific staff
- How to add time off for more than a day for a specific location
First we'll cover how to add time off for more than a day for a staff member.
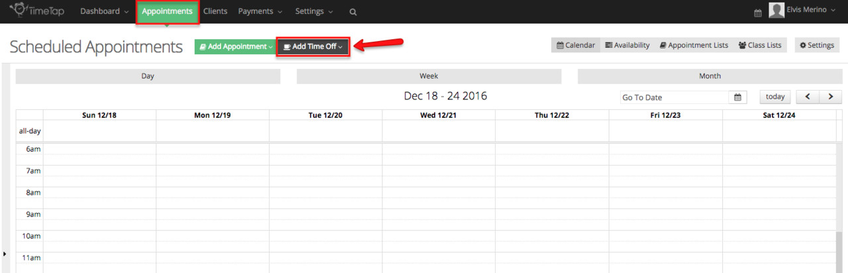
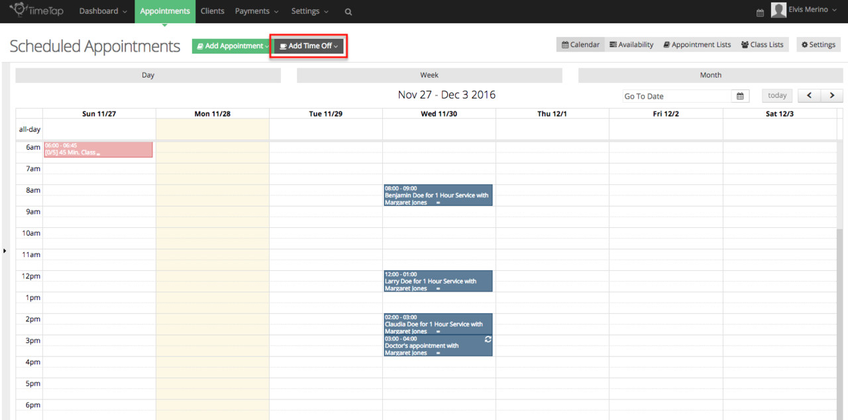
go to Appointments and click on the "Add Time Off" button:
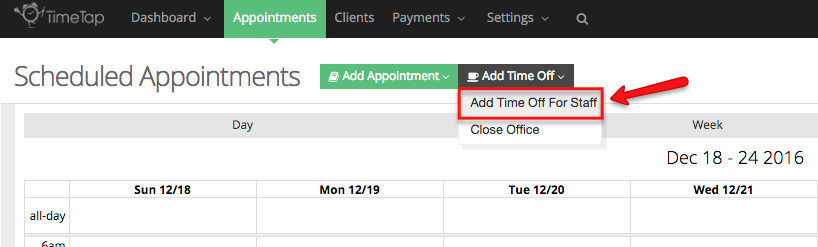
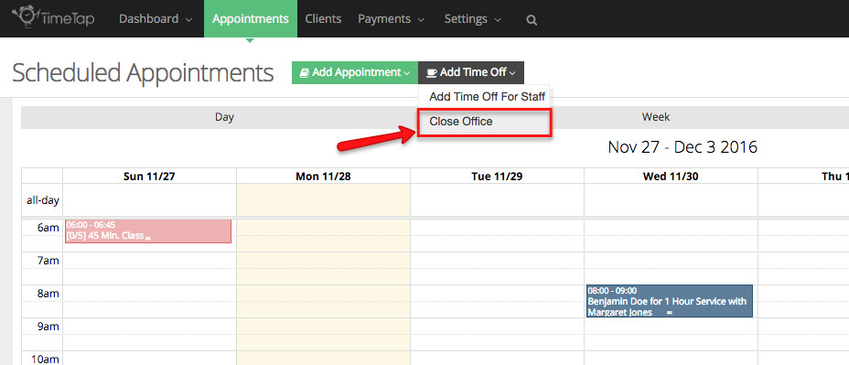
After clicking Add Time Off select Add Time Off for Staff, we will cover the Close Office option later:
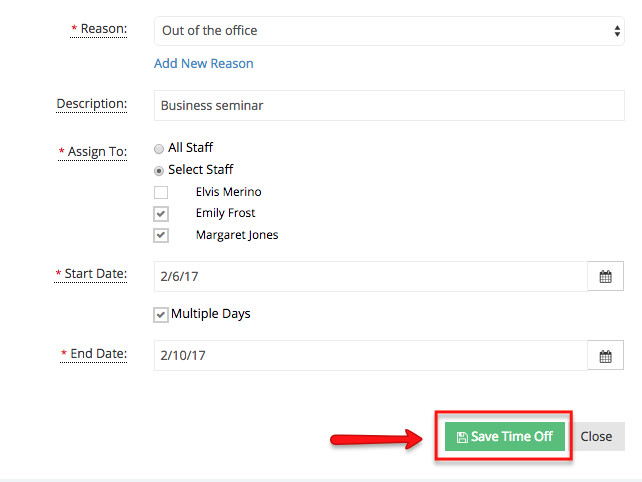
In the Add Time Off screen, first select a reason or click Add New Reason to create a new one:
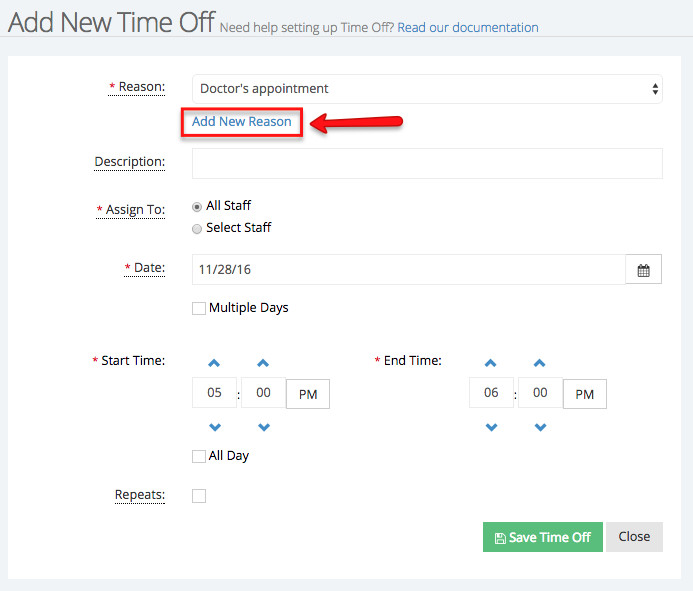
Once you've entered a new reason click the Save button:

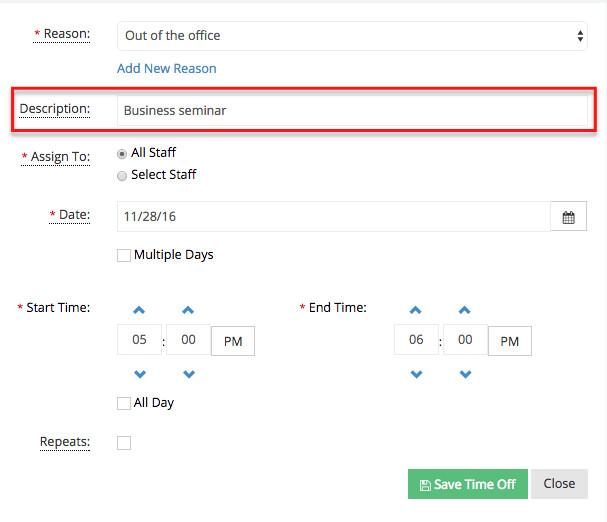
After you've selected the time off reason you can enter a little bit more details about your time off in the Description field:
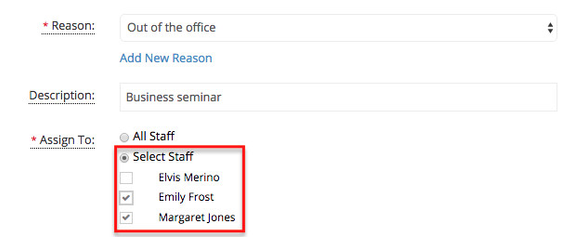
Next, you'll have the option to add this time off for all your staff, or only staff you select. If you choose the option "Select Staff" you'll notice that the name of all your staff will appear, check the name of the staff for whom you would like to add this time off:
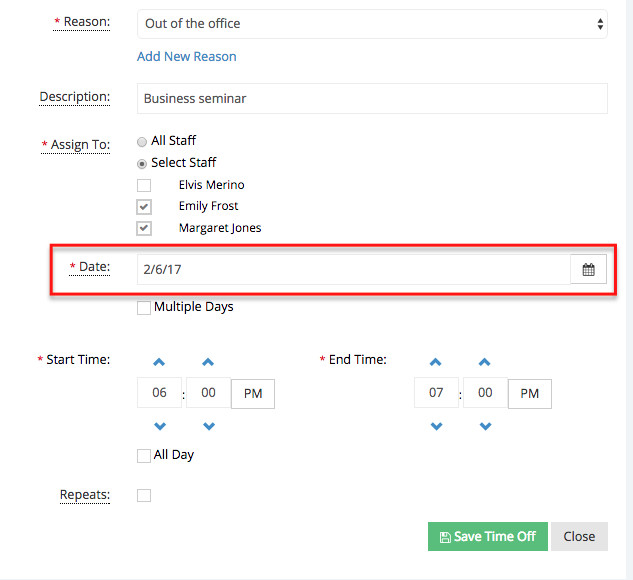
Enter the date that your time off is going to be set for:
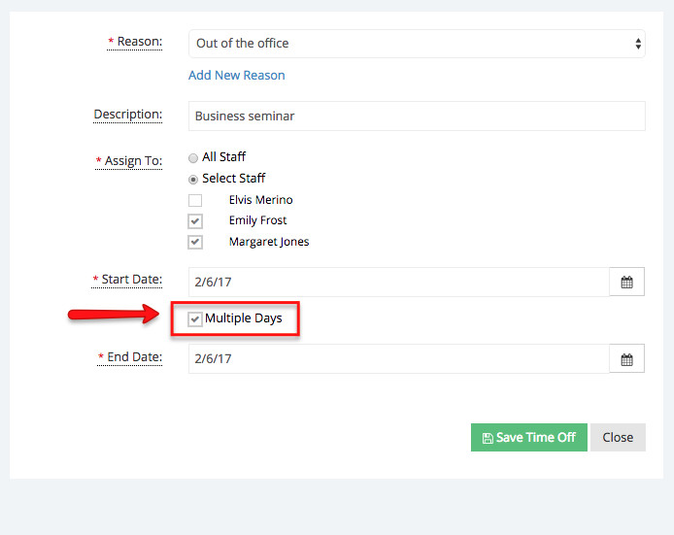
To add a time off for more than one day click the box next to Multiple Days:
Now select an end date, this is the last the selected staff is unavailable for appointments:
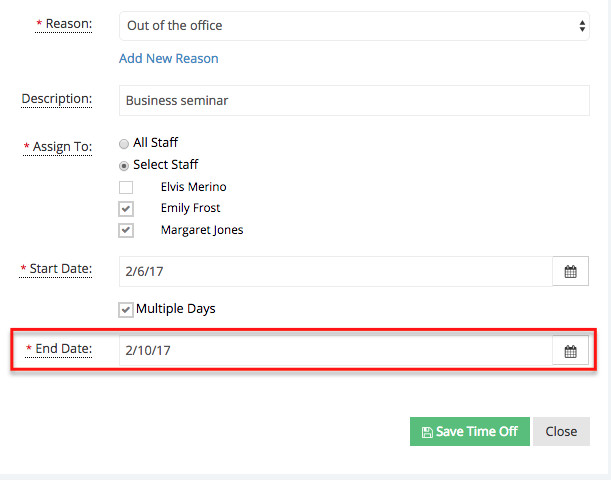
Once you've entered a date range click Save Time Off:
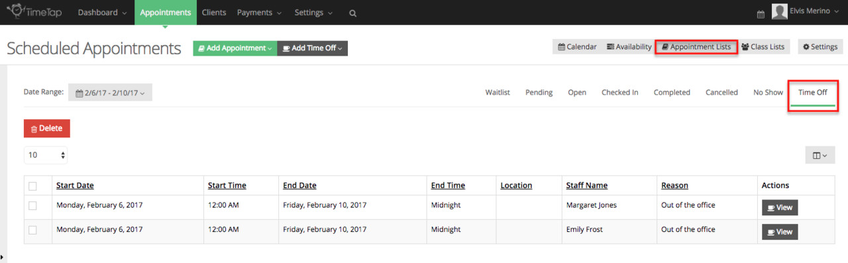
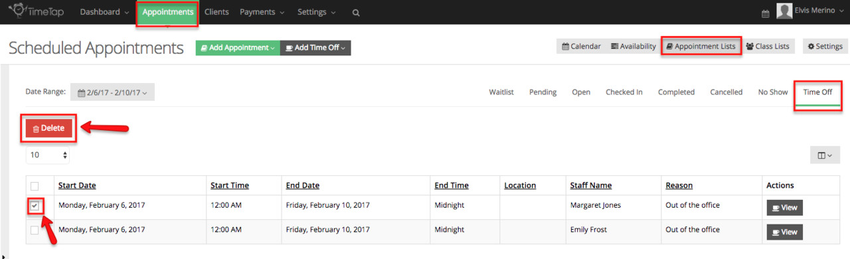
You will then be taken to the Time Off tab under the Appointment Lists, where you'll see the time offs you just added:
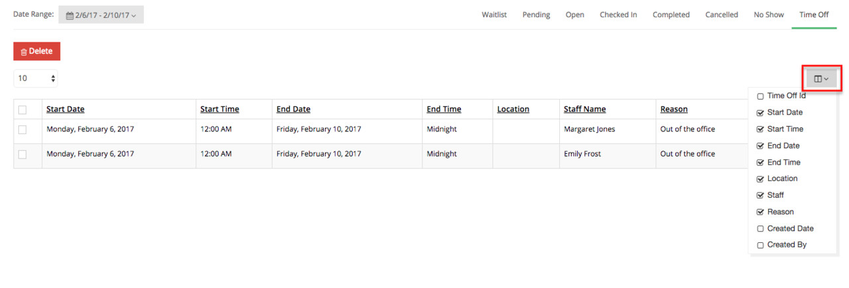
Once in the time off lists you can click the dropdown above the Actions column to display more information:
You can click View under the Actions column to see view the details of a specific time off:
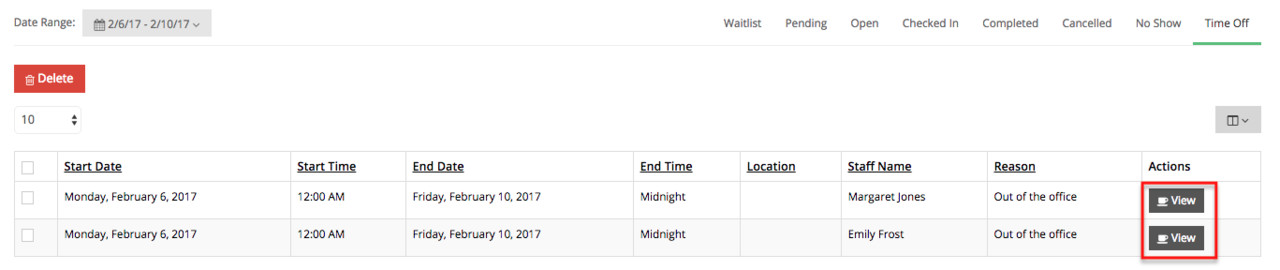
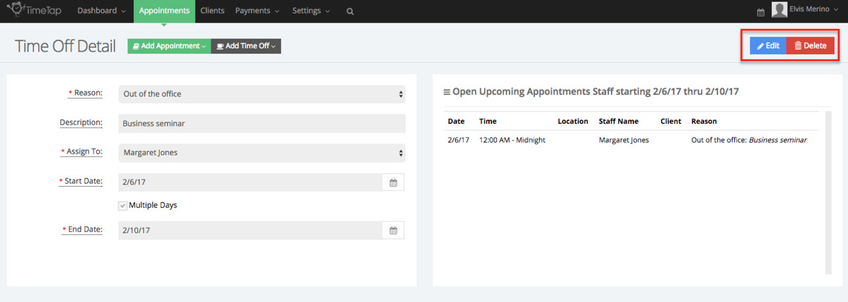
After you click View you'll be taken to the Time Off Detail screen where you can make changes to this specific time off by clicking Edit or Delete by clicking the Delete button:
From the Time Off tab under the Appointment Lists, you're also able to delete time off by selecting one or multiple time offs and clicking Delete. In the example below I'm only deleting one time off for one staff member created by criteria I initially entered:
Now that you know how to add time off for more than a day for specific staff members, we'll cover how to block your staff's availability at a specific location. This Close Office feature can be used if you decided you want to prevent clients from booking appointment at a specific location for determine date range, such as a holiday, staff meetings, etc.
In order to add Time Off for less than a day, go to Appointments and click on the "Add Time Off" button:
After clicking Add Time Off select Close Office:
In the Add Time Off screen, first select a reason or click Add New Reason to create a new one:

Once you've entered a new reason, click the Save button:

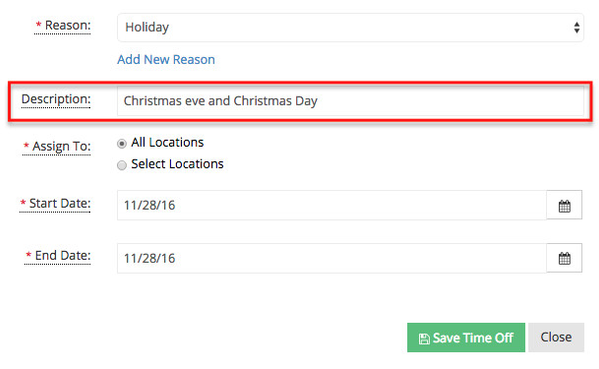
After you've selected the time off reason you can enter more details about the time off in the Description field:
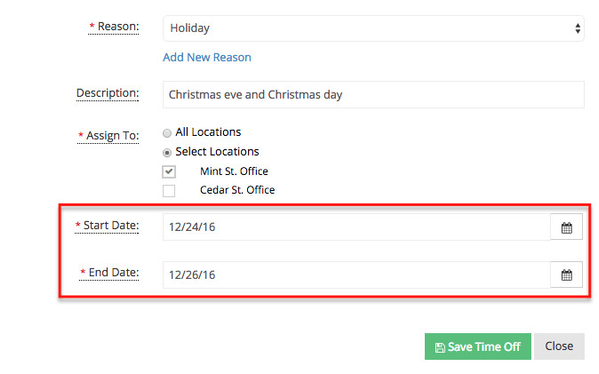
Then you will have the option to apply this Close Office time off to one or multiple locations in your account. In the example below I've selected to only apply it to the Mint St. Office:

After selecting the location(s), you'll then have to determine a date range, in the example below I want to block client from being able to book appointment from December 24th, 2016 to December 26th, 2016, I will be able to start booking appointments on December 27th, 2016:
Now that the time off has been added your screen will enter into view only mode, here you'll be able to see the time off details you entered on the left side of the screen:

Any appointments in open status scheduled for the date range selected will appear on the right side of the screen:
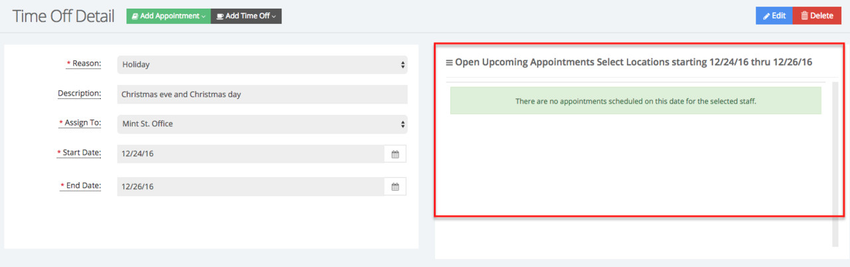
You can click the Edit button to make changes to this time off or click Delete to remove it:

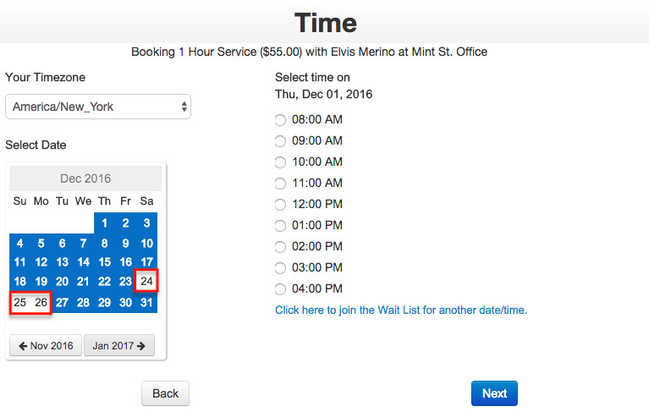
If your clients go to your scheduler they will not be able to book appointments during the date range you selected at the location you chose:
Now, if you go to the Calendar view in TimeTap's back office, you'll notice that the time off appears on the All Day Row for the days selected in the date range:
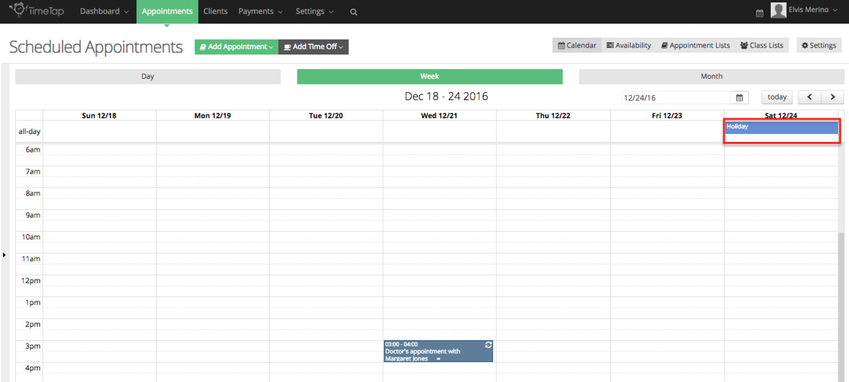
If you click on the time off you will then be take to the Time Off detail screen where you can Edit or Delete the time off.