Managing your Forms
- Elvis Merino (Unlicensed)
- Kyle Simmons
- Elvis Merino (Deactivated)
- Meaghan O'Reilly (Unlicensed)
Now that you have learned what forms are and how they can be used, we will cover how to
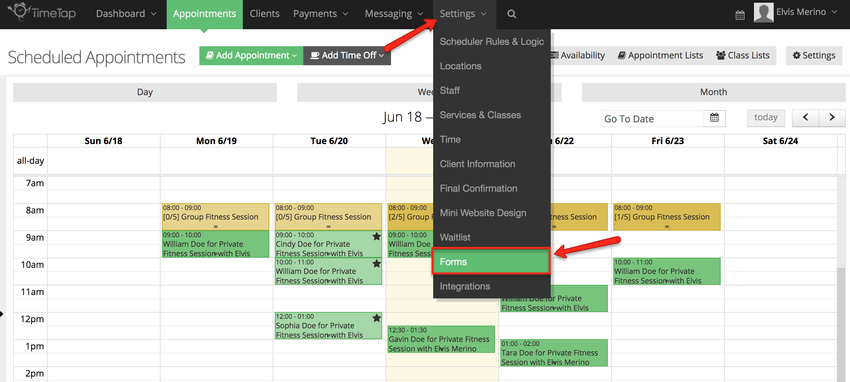
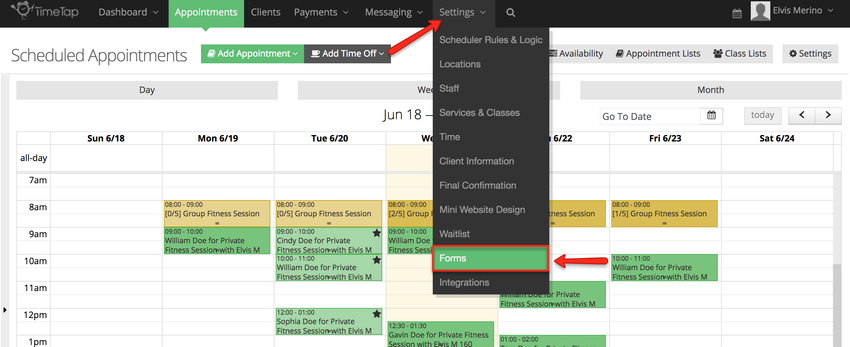
In this scenario we will create a disclaimer that we want the client to fill out and submit. Begin by clicking Settings in the top navigation bar and select Forms:
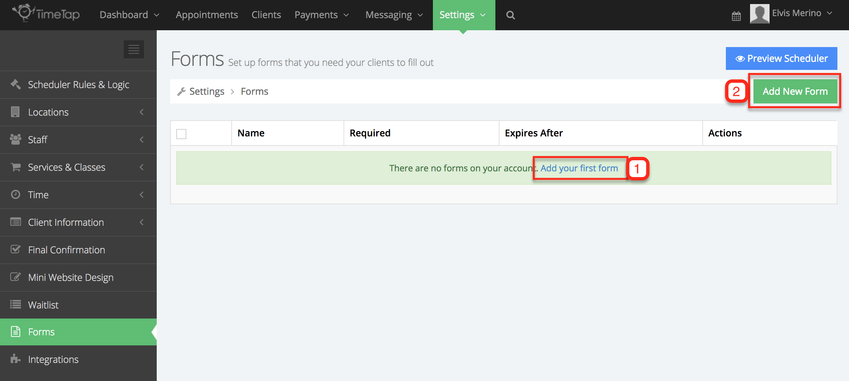
If you have not added any forms before you will see a link to add a new form (1) or you can also click the Add New Form button (2):
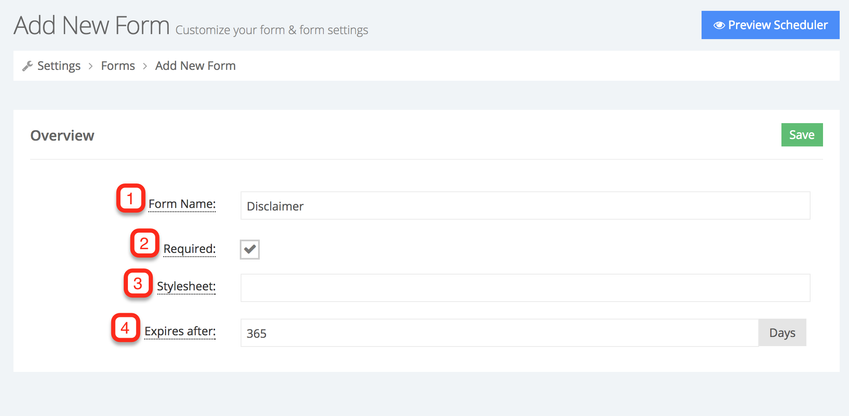
After you click either the link to add a new form or the Add New Form button you will be taken to the Add New Form screen. The overview section allow you to add:
- Form Name: This is the what your client will see at the top of the form as they're filling it out
- Required: Selecting this box will make it so that you'll be reminded to prompt clients to fill out this form before their appointment
- Stylesheet: If you want to add custom styling to any of the fields on the page, you can add a stylesheet in this field that will be added to the head of the html page
- Expires after: If this form is only valid for a certain number of days, enter the period in this field and TimeTap will prompt you to get the client to refill out a form after it expires
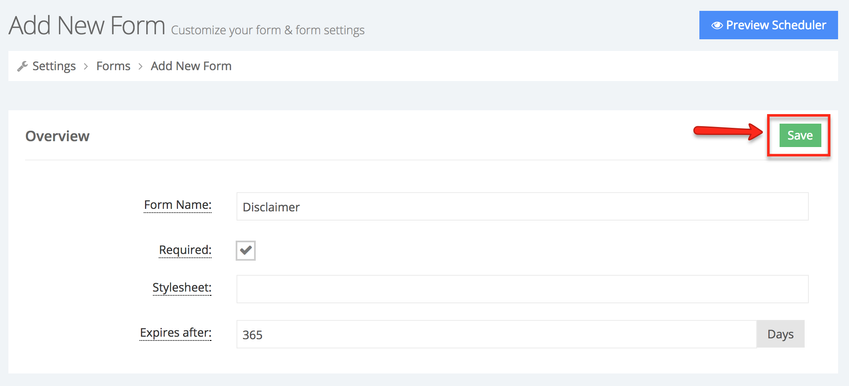
In this case I've set the name of the form to Disclaimer (1), set the form to required (2), did not apply a stylesheet (3), and set the form to expire after 365 day (4):
Once all the necessary have been entered, click the Save button on the top right corner:
After you click the Save button you will be taken to the Overview tab in the Form Profile, here you can make additional customizations to the form:
- Thank You Message: This is the message that appears to the client immediately after they submit the form
- Already Submitted Message: This is the message that appears to the client if they click to fill out the form after they've already submitted it
To make changes to any of these fields and others in the Overview section, click the edit button on the right side of your screen:

In this case I've set the Thank You Message to "Thank You for submitting your disclaimer!" and the Already Submitted Message to "You've already submitted your disclaimer." :

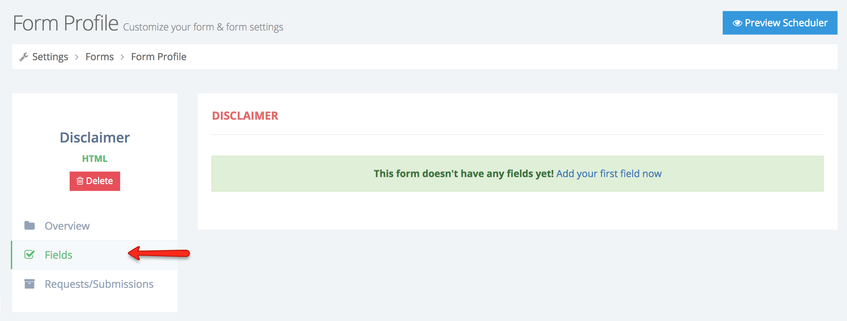
Now that we covered how to create a new form, we will cover how to add fields to a form. Fields are the different sections of the form, for example, you can have a field where the client can enter today's date, another field can be used to relay the message of your form to the client, etc. Once the form has been created and the necessary changes have been made to in the Overview section, click the Field tab in the Form Profile:
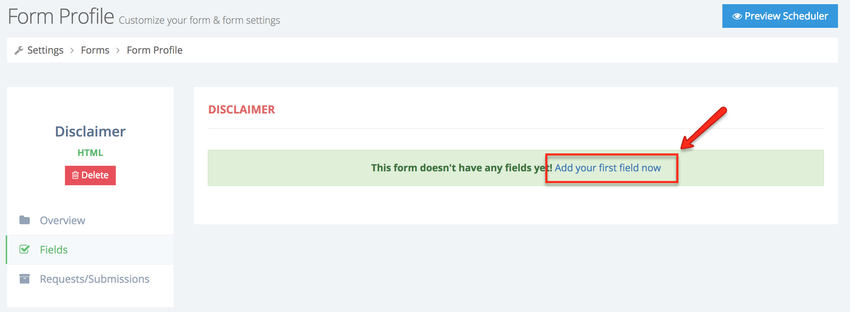
If you have not added any fields, click the "Add your first now" link:
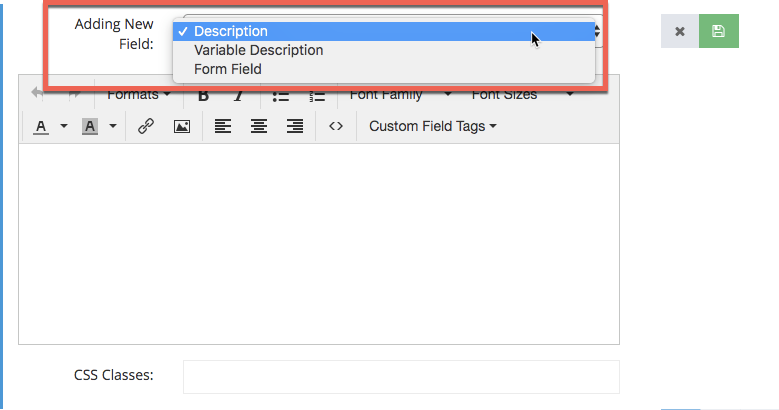
After you've clicked the link you will be able to select the whether the field you want to add is a Description, Variable Description or a Form Field. Form Field are fields where you require input from your clients, such as their name, signature, date, height, etc. Description field is where you add the message of the form, for example, if you're adding a disclaimer (like in this case), you can use the Description field to add the statement that denies responsibility in case of injury. And the Variable Description field is where you can program default values and select from these preset value at the time you are sending the form to a client. You can use the Variable Description field if you have a situation-based message to share with your clients. In this case I will begin by adding a Form field where the client can enter today's date:
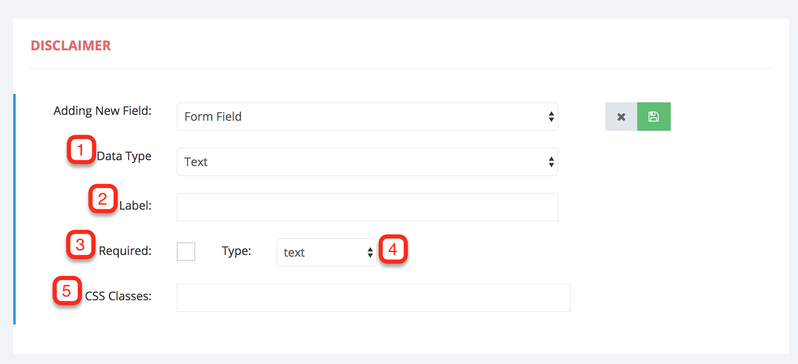
After you select to add Form Field you will be give the option to add:
- Data Type: In this field can you determine whether the field is going to require input from your client in the form of text (Text or Text Area), if they should select a date from a calendar (Calendar), you can present options for you client to choose from by adding checkboxes (Checkboxes Or Radio Dial)
- Label: This is what displays next to the field and prompts the client to fill in that information
- Required: Check this box if you want to make the field required
- Type: If you select to add a text field this will determine the type of date that will be entered in the field, such a a telephone (tel), email (email), text (text), number (number), and signature (signature). If signature is selected the field will be formatted to accept the client's signature
- CSS Classes: If you would like to apply custom CSS styling to the filed enter this CSS class here
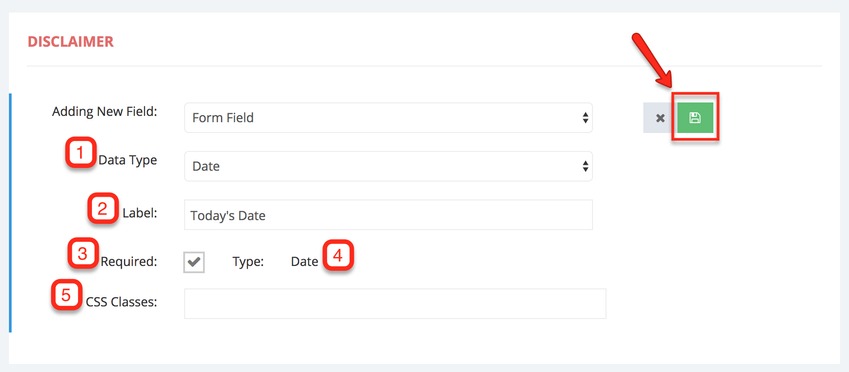
In the example below I added a Date field (1), sent its label to "Today's Date" (2), set the field to required (3), the type was automatically set to Date (4) and decided not to apply any custom CSS styling (5), after the information has been entered for the field click the green Save button:
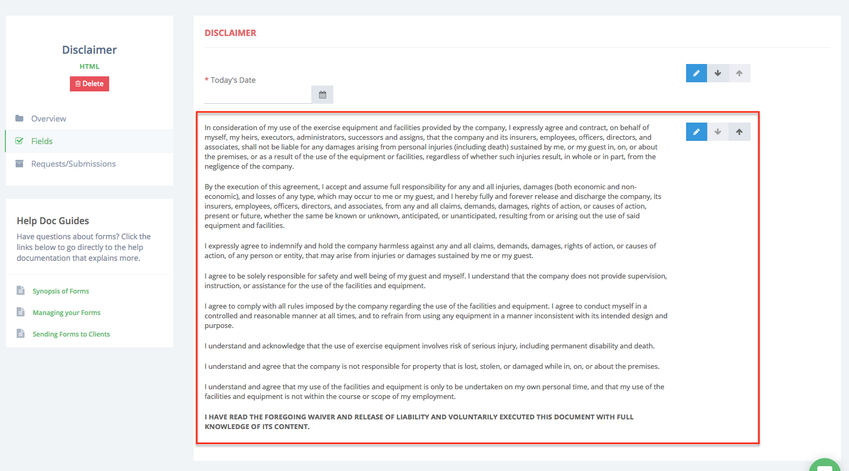
After the field has been saved the screen will change to give you a quick preview of the field and as you add more fields you will be able to see a preview of the entire form. To make changes to any field hover your cursor over the field you want to edit and use any of the buttons on the right side of the screen:
- Edit: Click this button to edit the field
- Position: Use the arrows to move the field in a different section within the form
- Add: Click this button to add a new field
- Delete: Click this button to delete the field

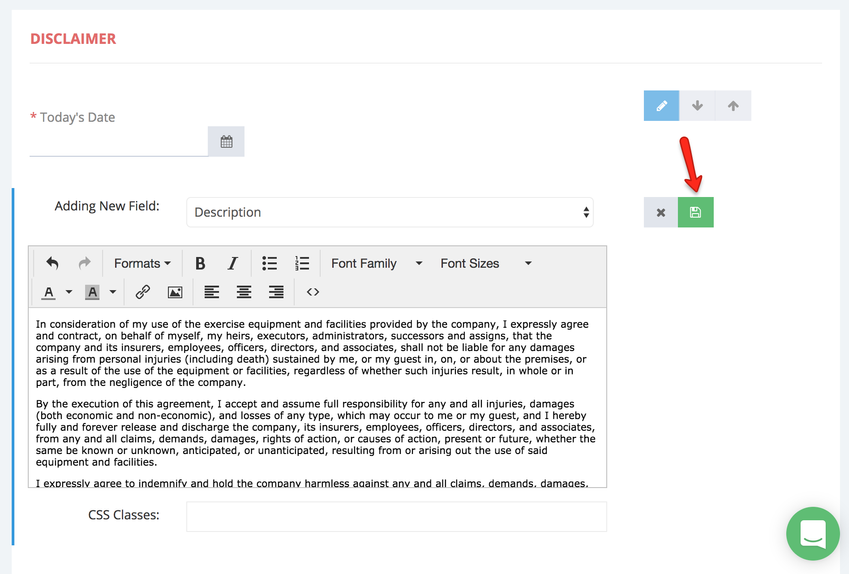
I will click the Add button to add a new field to the form. This new field will contain the statement that denies responsibility in case of injury, therefore I will set the new field to Description, I'll enter the statement in the text box below, and click Save to add the field to the form:
After the field is added to the form a preview of the form will appear in the screen:
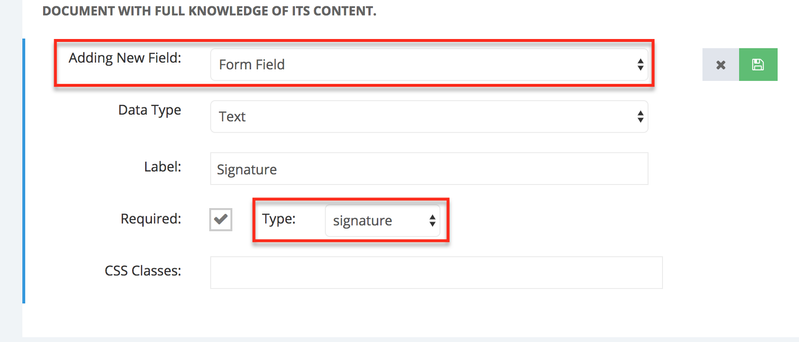
I will then add three more Form fields, one for the clients to enter their signature:
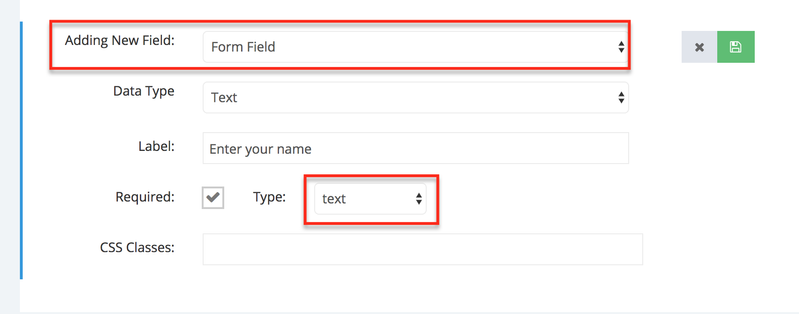
Another field for them to enter their name:
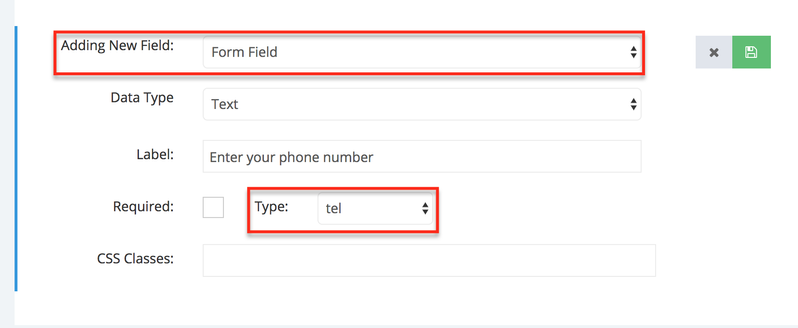
Lastly, one field for the clients to enter their phone number:
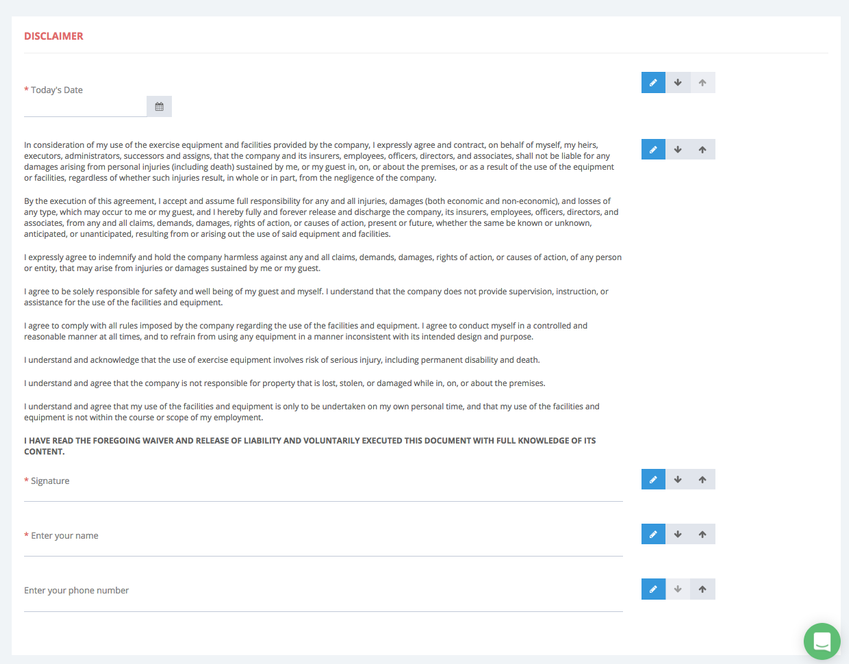
Once all the fields have been added, a preview of the form will be appear on the screen:
We cover how to send forms to clients and how to view requests and submissions in a different section.
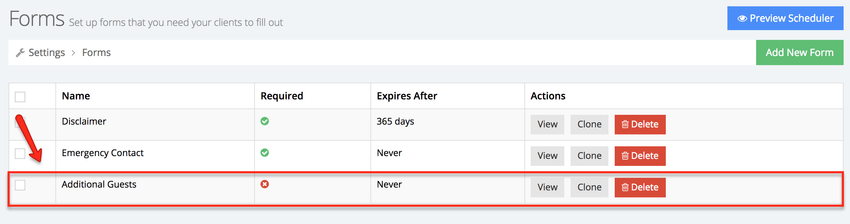
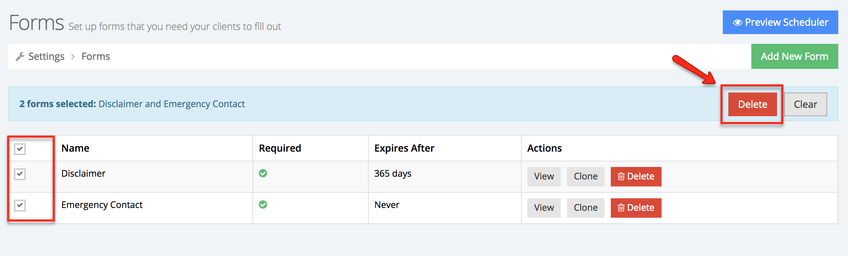
To view a list a list of all your forms go to Settings → Forms;
Once in the forms screen you will see a list of all your forms, and will have the option to add a new form, view a form, clone a form, and delete a form. To delete multiple forms at once, select the forms you wish to delete and click the Delete button:
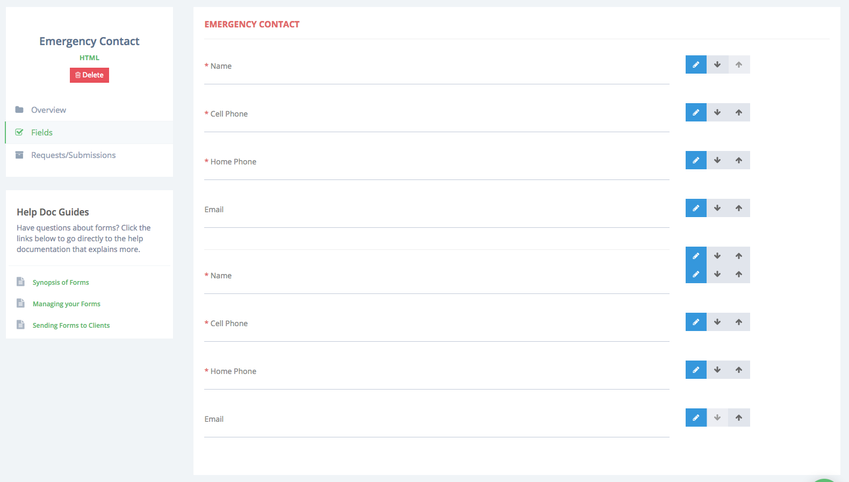
In this section we will focus on cloning a form. I've created a form and named it "Emergency Contact", this is a required form and the client has to enter the contact information of people we should contact in case of an emergency:
I want to use the same layout as the Emergency Contact form for a class I want to schedule. Once clients have signed up for the class I want to send them this form so they can provide the information of additional guest who will be attending the class. To avoid having to create a new form, I will simply clone the Emergency Contact form and make minor adjustments to it. Begin by clicking the Clone button next to the Emergency Contact form:
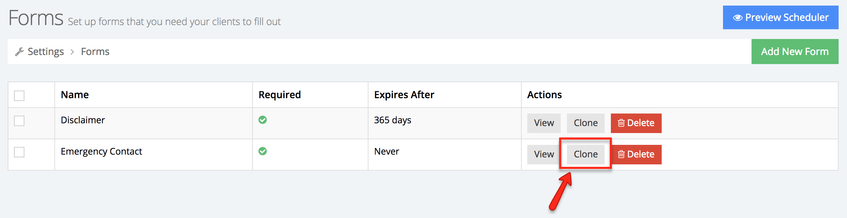
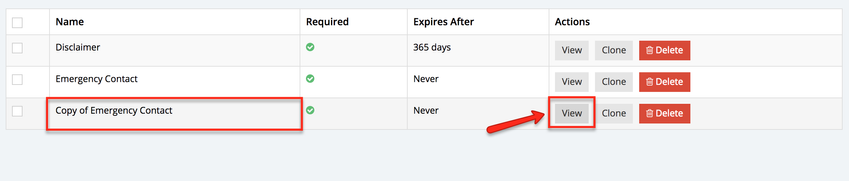
This will create a copy of the "Emergency Contact" form, I can then click View to change the necessary changes:
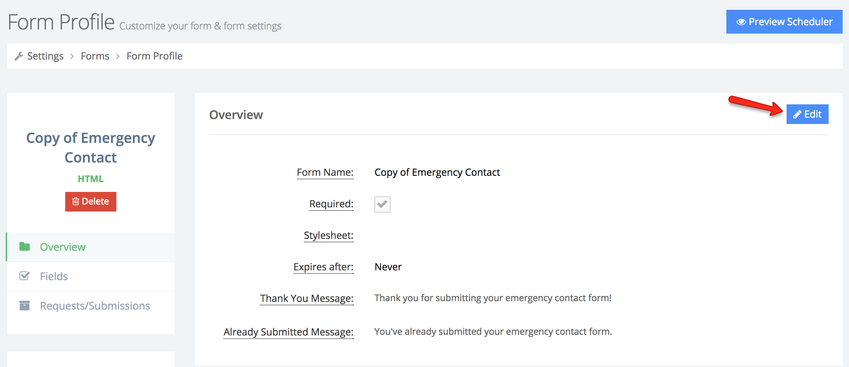
Once in the Form Profile, click Edit in the Overview section to make changes to the name and make this form optional:
Once the changes have been saved this new updated form will appear in the list of forms: