Adding Translations
Translations can be added to common elements within TimeTap and those elements can be pushed to email templates using internationalized tag formatting.
For instance, let's say you have a service called "Phone Consultation" and you want to show that in your email template that sends out to the candidate in both English and in French Canadian. The standard tag for the service name is is %REASON% , but you can provide as many translations that you'd like and depending on what language you're translating it to you can just provide the translation's locale code at the end of the tag.
So if you wanted to show your French Canadian translation of service name in the email template, the translation code for French Canadian is fr-CA, so the tag would be formatted as %REASON#fr-CA%
In this documentation, we're going to go through:
- Providing translations for Locations
- Providing translations for Reasons (Services & Classes)
- Providing translations for Dates and Times
After reading through this documentation, you'll be familiar with how to define translations based on locales for different elements within TimeTap as well as the different tag formats for those different elements.
A full list of locales and locale codes are available here.
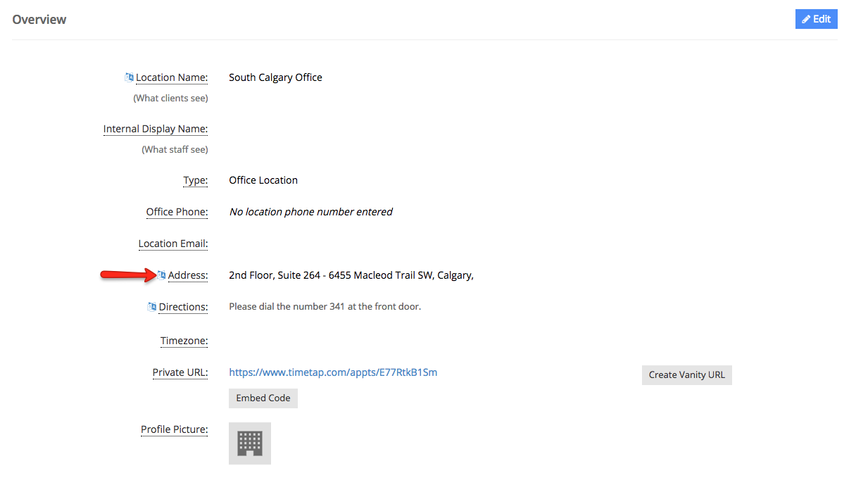
If you go into a location's profile under Settings > Locations, you'll see a little language icon next to the Location Name, Address, and Directions:
If you click on that icon next to any of those elements, you'll get a translation pop up window for that element:
In that pop up window, you'll see the option to pick the locale/language you want to translate for on the left and then enter the translation for that locale/language on the right.
If you wanted to translate the address of this location into French Canadian, for instance, you would first click the language icon next to the address field:
Then you would select the locale/language French Canadian from the locale dropdown:
Then you would type out the translation for the address in French Canadian under the Translation column:
Once you've entered the translation in, click "Save Translation":
Now, if you wanted to display the location address in French Canadian on any of your email templates you would simply use the location address tag and append the appropriate locale before the closing percentage sign: %LOCATION_ADDRESS#fr-CA%
Please note: the syntax here is important. The locale code has to match the language selected in the translation window (see here for a full list of locale codes by language) and it has to come before the ending percentage sign, separated from the tag by a hash symbol #
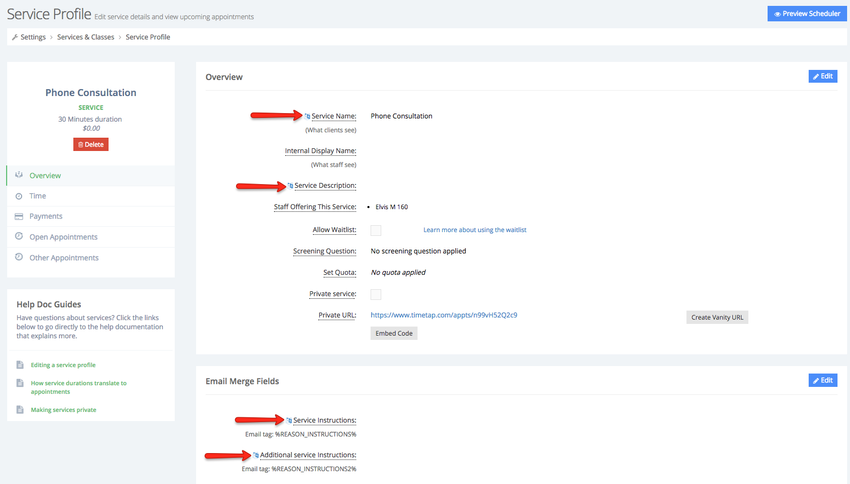
If you go into a reason's profile under Settings > Reasons, you'll see a little language icon next to the Reason Name, Description, Instructions and Additional Instructions:
If you click on that icon next to any of those elements, you'll get a translation pop up window for that element. In that pop up window, you'll see the option to pick the locale/language you want to translate for on the left and then enter the translation for that locale/language on the right.
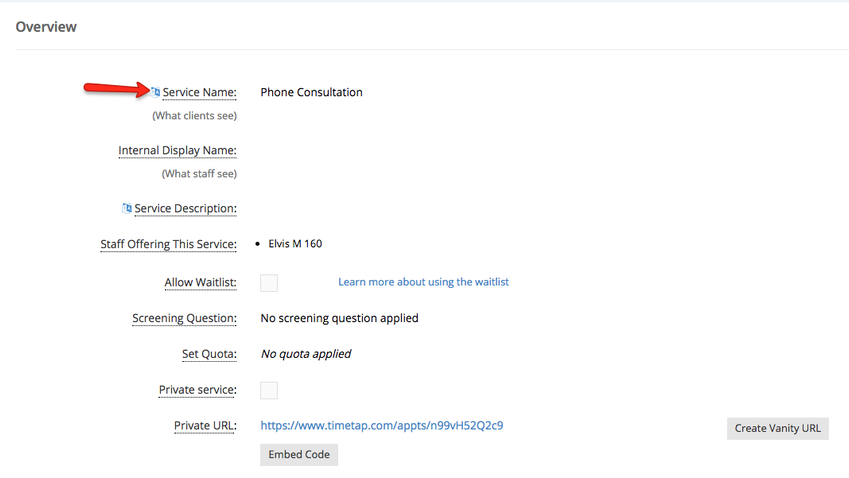
If you wanted to translate the name of this reason into French Canadian, for instance, you would first click the language icon next to the Reason Name field:
Then you would select the locale/language French Canadian from the locale dropdown:
Then you would type out the translation for the reason name in French Canadian under the Translation column:
Once you've typed that all in, click "Save Translation":
Now, if you wanted to display the Reason Name in French Canadian on any of your email templates you would simply use the reason name tag and append the appropriate locale before the closing percentage sign: %REASON#fr-CA%
Please note: the syntax here is important. The locale code has to match the language selected in the translation window (see here for a full list of locale codes by language) and it has to come before the ending percentage sign, separated from the tag by a hash symbol #
Below is a table of date and time tags and their respective translations for French Canadian formats. If you want to use the French Canadian format in any of the email templates, simply use the French Canadian tag shown below:
| Standard Tag | Standard Example Translation | French Canadian Tag | French Canadian Example Translation |
|---|---|---|---|
| %APPT_CLIENT_START_DATE_SHORT% | 7/23/17 | %APPT_CLIENT_START_DATE_SHORT#fr-CA% | 17-07-23 |
| %APPT_CLIENT_START_TIME_SHORT% | 11:10 AM | %APPT_CLIENT_START_TIME_SHORT#fr-CA% | 11:10 |
| %APPT_CLIENT_START_TIME_MEDIUM% | 11:10:00 AM | %APPT_CLIENT_START_TIME_MEDIUM#fr-CA% | 11:10:00 |
%APPT_CLIENT_START_TIME_FULL% | 11:10:00 AM EDT | %APPT_CLIENT_START_TIME_FULL#fr-CA% | 11 h 10 EDT |
%APPT_CLIENT_START_TIME_LONG% | 11:10:00 AM EDT | %APPT_CLIENT_START_TIME_LONG#fr-CA% | 11:10:00 EDT |
%APPT_CLIENT_START_DATE_MEDIUM% | Jul 23, 2017 | %APPT_CLIENT_START_DATE_MEDIUM#fr-CA% | 2017-07-23 |
%APPT_CLIENT_START_DATE_LONG% | July 23, 2017 | %APPT_CLIENT_START_DATE_LONG#fr-CA% | 23 juillet 2017 |
%APPT_CLIENT_START_DATE_FULL% | Sunday, July 23, 2017 | %APPT_CLIENT_START_DATE_FULL#fr-CA% | dimanche 23 juillet 2017 |


