Location Groups
- Lucy Barber (Deactivated)
- Elvis Merino (Unlicensed)
Location groups allow you to organize your offices into more "territory" like spaces.
This basically creates "Folders" for your locations so you can direct clients to the scheduler that contains the locations nearest or most convenient for them.
This is great if you have a whole lot of locations where you offer appointments. Maybe you service multiple states. You could group all of your locations in one state within a single group and then provide that group's private URL to your client base that's there for them to book through that.
Say you're a fitness studio with facilities across the southeast: 3 in Florida, 4 in Georgia, and 3 in North Carolina. You wouldn't want to display all of these in one long list! Instead, you would create a group called "Florida", a group called "Georgia" and a group called "North Carolina" and then sort the respective locations into these groups.
In this documentation, we'll cover:
I will use the above fitness studio example for context. This could extend to any industry, I just think this is a pretty easily understood example for this feature. If you do have questions after reading through this documentation, reach out to our support team and we'd be happy to answer them.
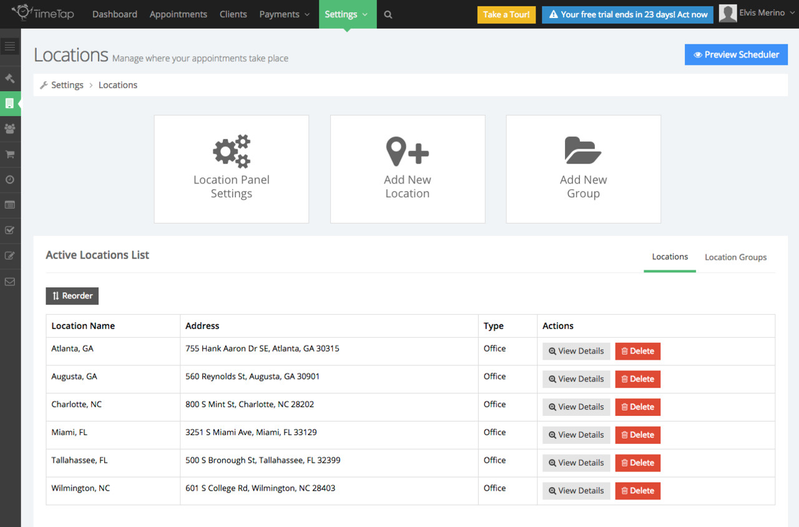
Let's say we run a fitness studio business and we have several different locations as you can see from our list of locations in our account:
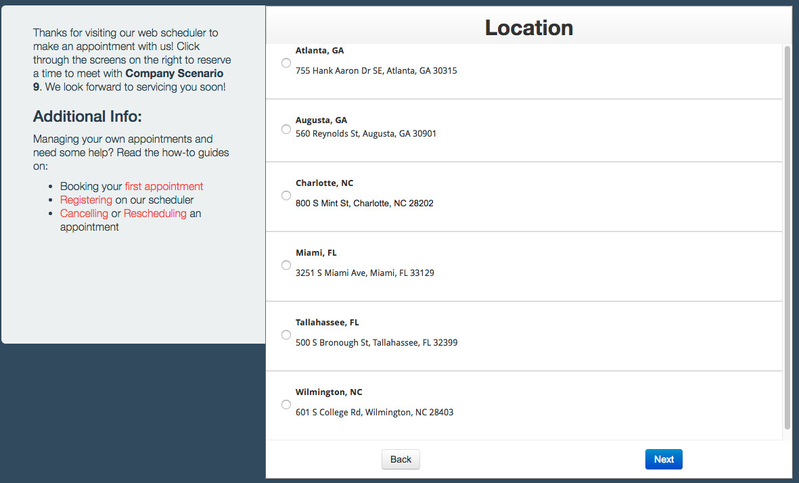
This gets to be a lot when clients go to your scheduler and end up seeing a long list of jumbled locations:
To make it easier for your clients, let's add in some location groups so that you can direct clients to the scheduler that's most pertinent for them. Then they'll only see the locations closer to where they actually are. To do this, click the button to "Add New Group" from your Settings → Locations page:

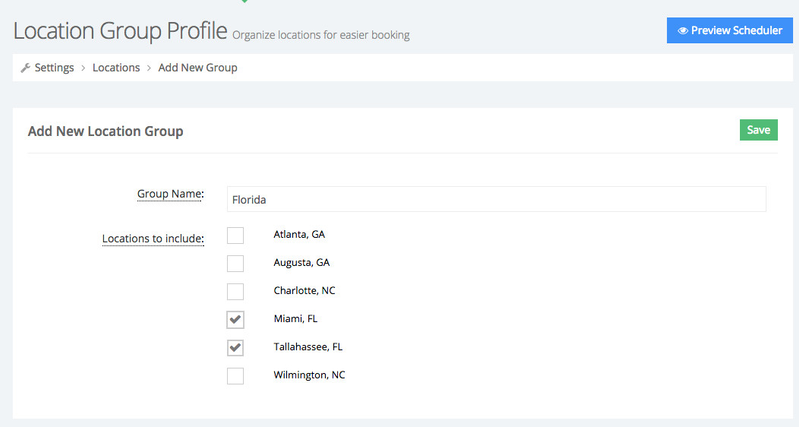
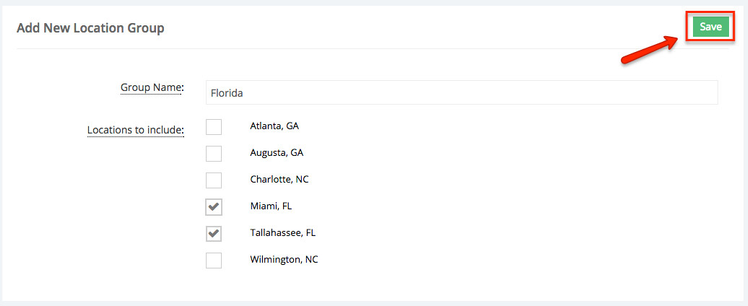
Set up your new group by first giving it a name. In this case I'll name the group "Florida", and select the locations you want to include in this group. In this case, I'll select all the Florida based locations:
Finally, click the "Save" button in the top right to save your new location group to your account:
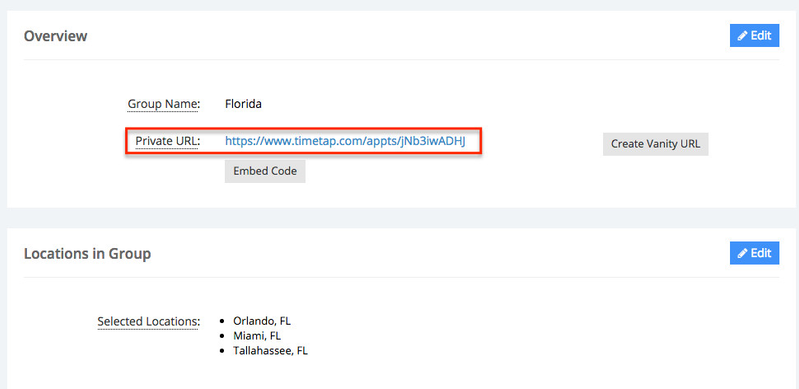
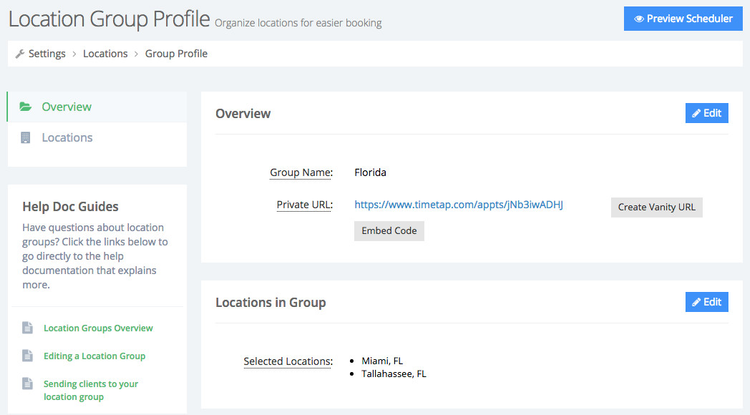
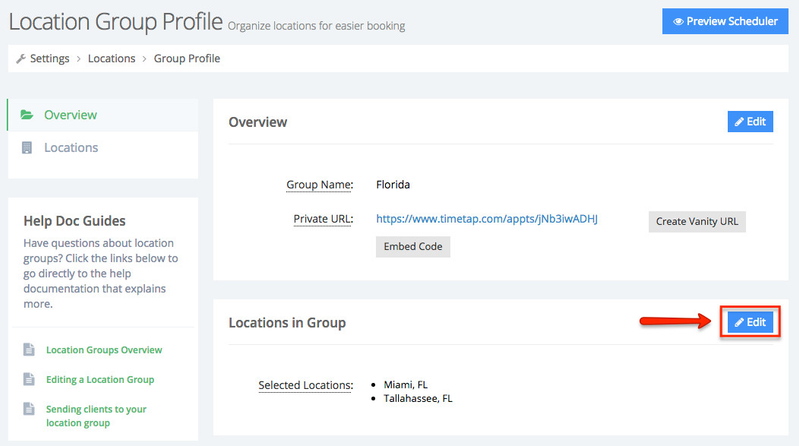
This will take you to the profile view for the saved group:
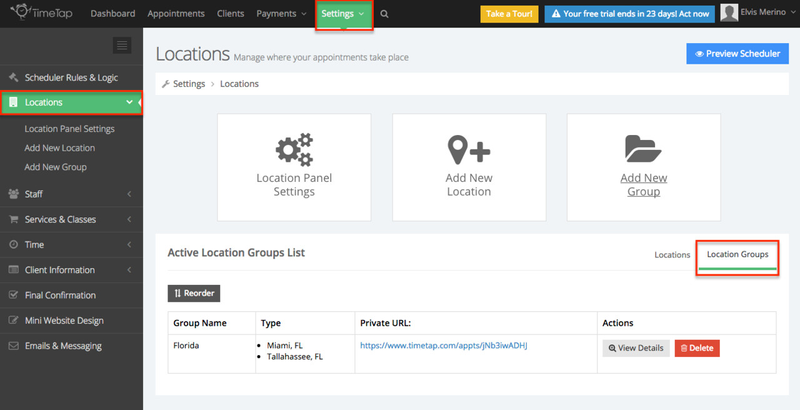
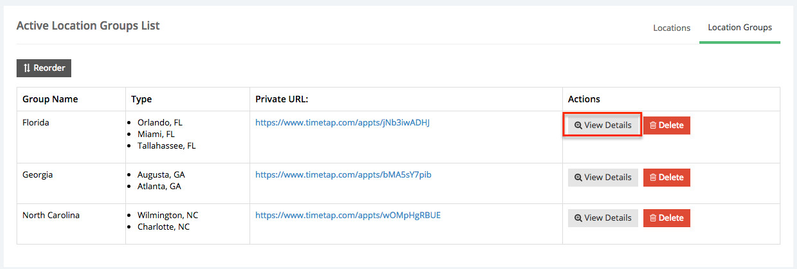
I'll now be able to find this group under my Settings → Locations → Locations Groups list view:
Now, that the group is created you can send clients to book at that group by copying the private url for the group and linking it either on your site or in an email to the client.
Continue reading this documentation to learn how to:
Once you've established a group, you may, at a later date, decide to add another location that you want to include in that group.
Let's say I've got my fitness studio all set up on TimeTap and we open a new franchise in Florida. I've already added the new location, but now I need to include it in my existing Florida group.
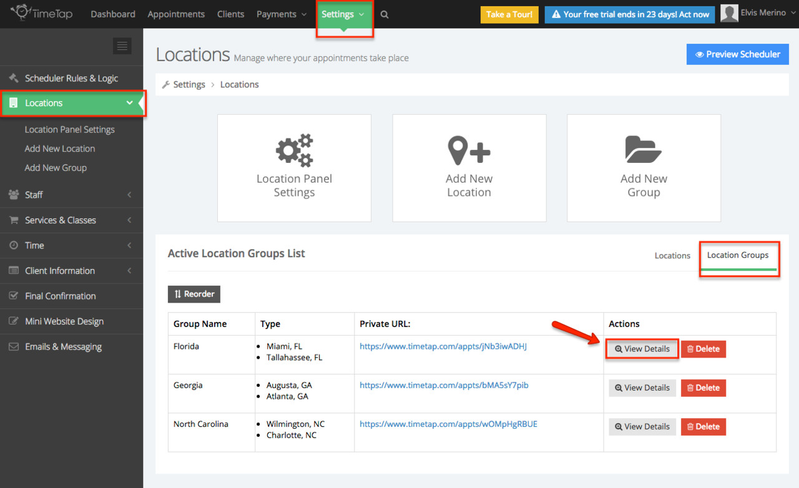
First, I'll navigate to Settings → Locations → Location Groups list view and click the "View Details" button next to my group that's named "Florida":
This will take me to my group profile view which shows the groups current name, it's private URL, and the current selection of locations in that group. To edit the selection of locations in the group, I'll simply click the "Edit" button next to the locations section of the page:
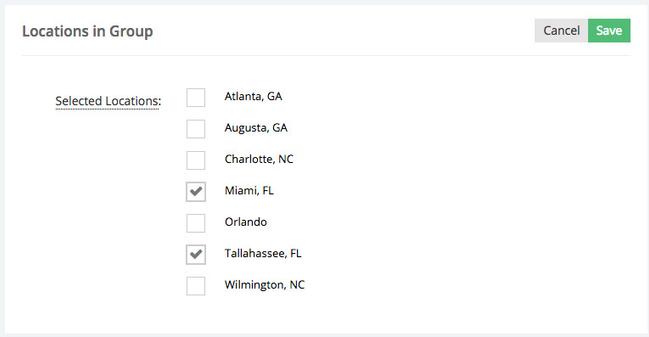
At first only the existing locations in the group will have a check mark next to them:
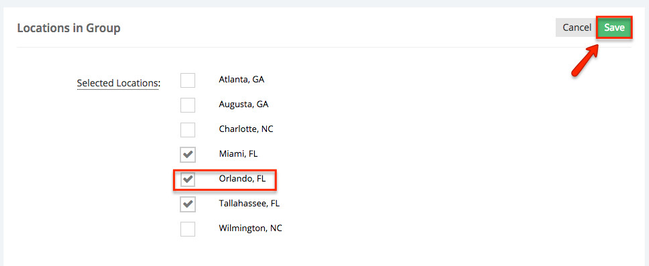
To include a new type of service, I'll simply check off that location and then click "Save" in the top right:
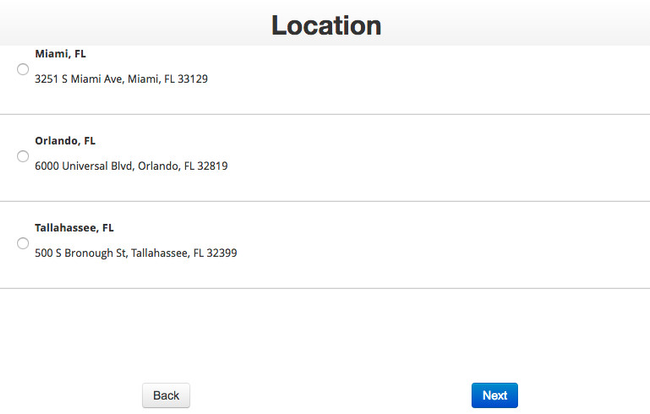
Now when I go to the location groups private URL to book, I'll see that new location in the scheduler flow as well:
If you've added a location group on your account, then most likely you'll want to have a way for clients to get to it to book. This means that you'll need to send your clients a link to the location groups private url which is a different web page than your normal scheduling landing page..
To get your location groups private url, follow these steps:
Go to Settings → Locations → Location Groups:
You'll see the location groups private url in the table view there. Simply highlight it with your mouse cursor to copy it and send it to a client or click on the link to open it up in a new tab on your browser:

You will also find this link in the location groups profile view by clicking the "View Details" button next to the location group:
The private URL will be listed at the top of the page: