Location Super Groups
- Lucy Barber (Deactivated)
- Rashida Moore (Unlicensed)
- Elvis Merino (Unlicensed)
Location super groups allow you to organize your location groups into even broader categories.
This basically creates "Folders" for your location groups so you can direct clients to the scheduler that contains the location groups most pertinent for them.
In this documentation, we'll cover:
If you do have questions after reading through this documentation, reach out to our support team and we'd be happy to answer them.
For this example we're going to assume that my business has a total of 8 offices located in two different states, North Carolina and Florida. In North Carolina my offices are located in the Eastern and Western regions of the state, in Florida my offices are located in the Central and Northern parts of the state. I want to share a link to a booking site with my clients from North Carolina where in the scheduling flow they will see two regions, Eastern and Western, then based on the region they selected the offices in that region will be displayed. I also want to share a link to a booking site with my clients from Florida where in the scheduling flow they will see two regions, Northern and Central, then based on the region they selected the offices in that regions will be displayed.
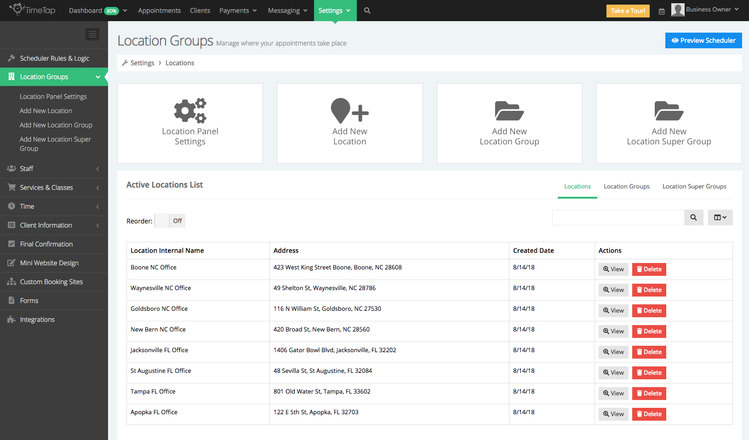
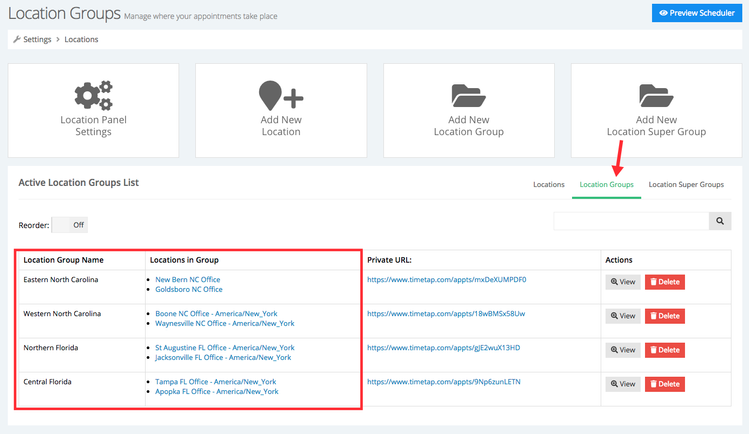
First, I'm going to group my locations in 4 location groups, Eastern North Carolina, Western North Carolina, Northern Florida, and Central Florida, each location group will have their corresponding locations:
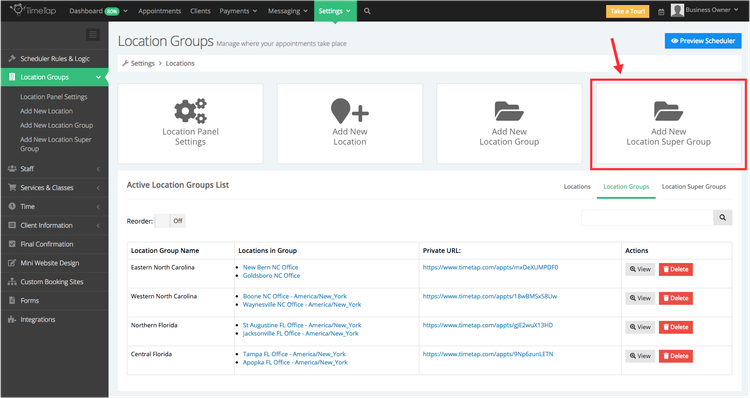
With my location groups created I'm now going to group them in two different location super groups, North Carolina and Florida. In the North Carolina location super group I'm going to add the Eastern North Carolina and Western North Carolina location groups, in the Florida location super group I'm going to add the Northern Florida and Central Florida location groups. I'll begin by clicking the Add New Location Super Group button:
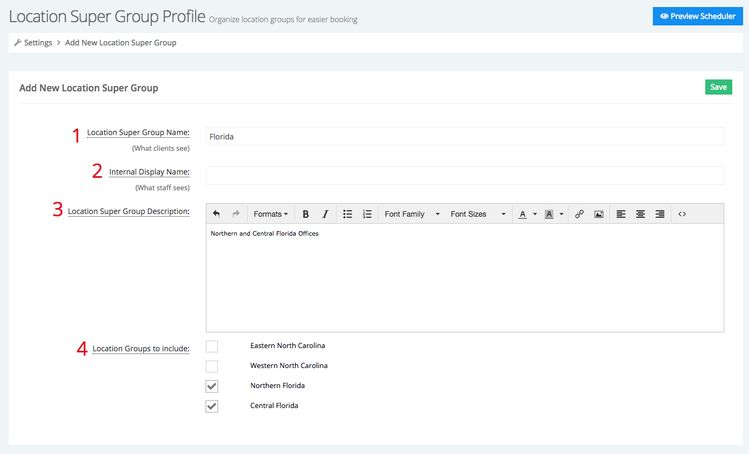
After the button is clicked I'll be taken to the Location Super Group Profile page where I'll enter a Location Super Group name (what clients see) (1) and skip the Internal Display Name for now (What staff sees in the back office) (2). I'll also add a brief description for the location super group (3), this is what appears under the location super group's name in the scheduling flow and can be used to provide more details around what's included in the group. Finally, I'm going to select the location groups Northern Florida and Central Florida (4):
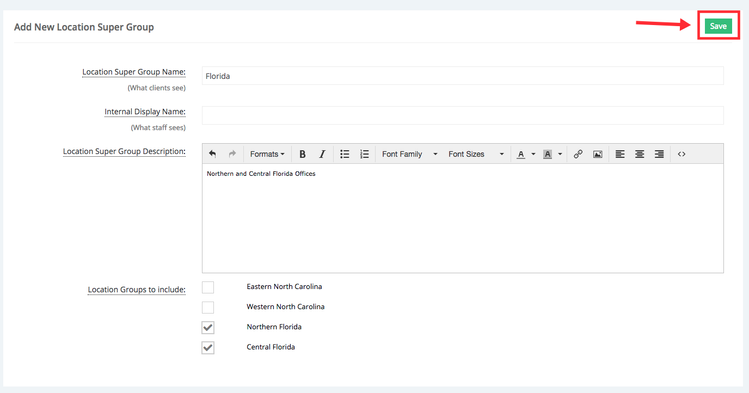
After all the necessary information has been added I'll click the Save button to add my location super group:
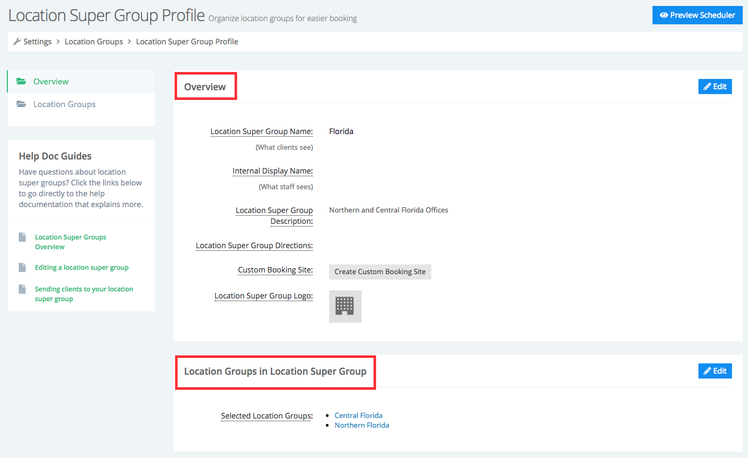
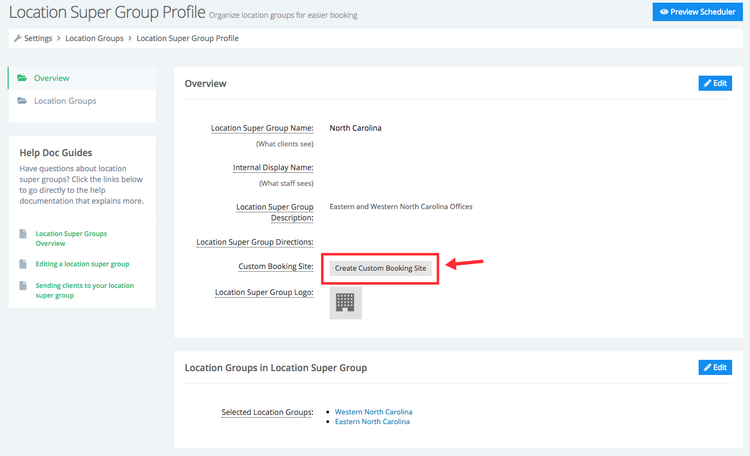
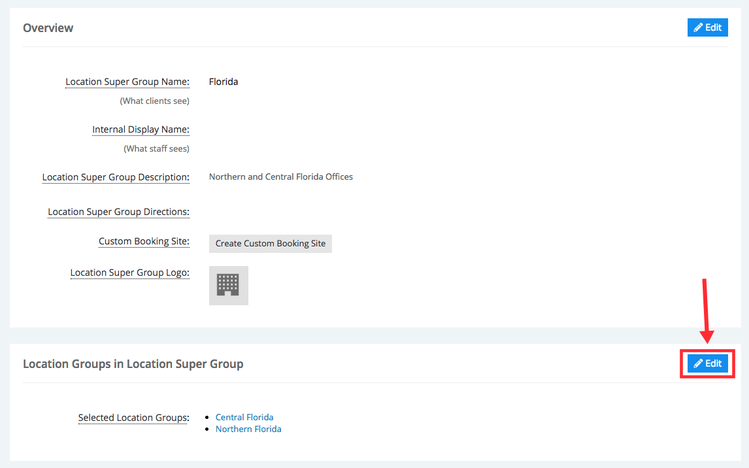
You will then be taken to the Location Super Group Profile page, this page is composed of two sections, Overview and Location Groups in Location Super Group:
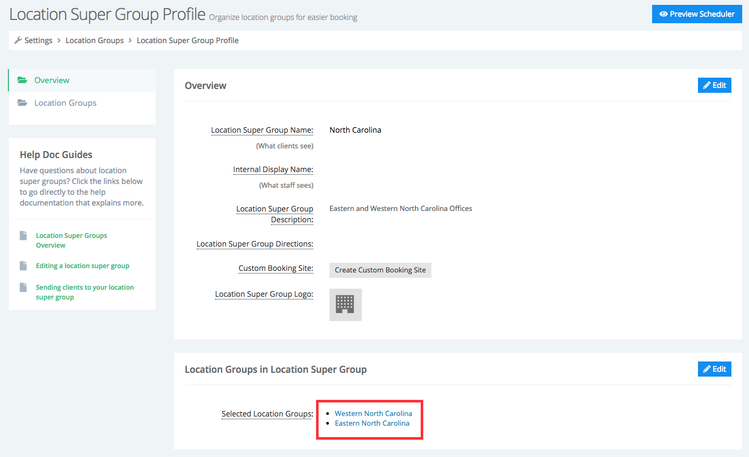
I will repeat the same steps mentioned above to add my North Carolina location super group in which I will add the Western North Carolina and Eastern North Carolina location groups:
Next, we'll create a custom booking site for the North Carolina location super group, within the location super group's profile click the Create Custom Booking Site button within the Overview section:
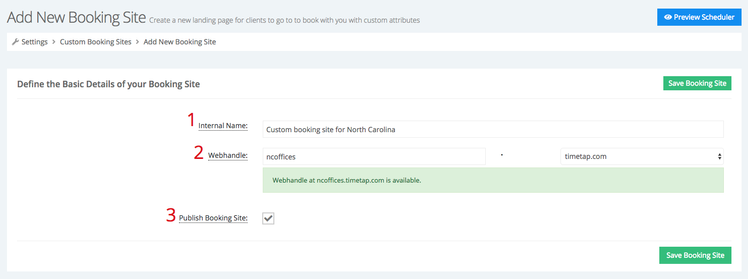
After the button is clicked you'll be directed to the Add New Booking Site page, where you will enter an internal name for the booking site (1), create a custom webhandle if you're in a Business level plan otherwise a webhandle will be assigned to the location super group automatically (2), and choose to publish the booking site (3):
After all the necessary information has been entered I'll click the Save Booking Site button. The previous two steps will have to be repeated to create a webhandle for the Florida location super group: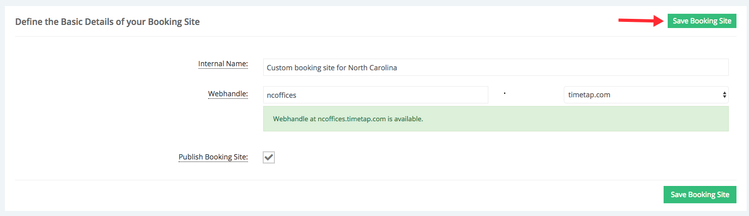
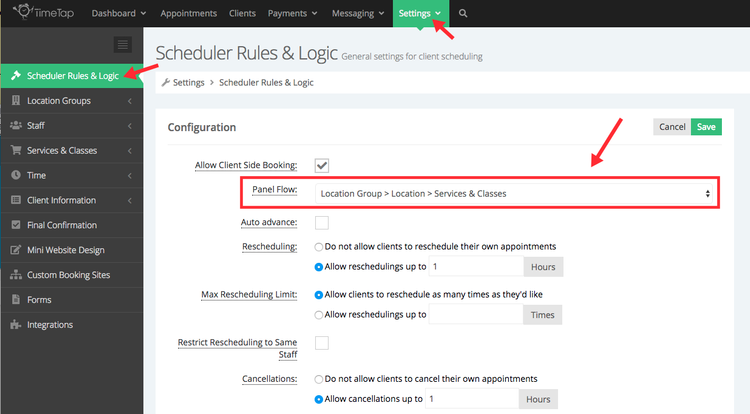
Finally, we'll select a panel flow from the Scheduler Rules & Logic or the custom booking site that contains the location groups, this will make it so that when clients are directed to the location super group's webhandle they will be presented with the location groups within the location super group, in this case I chose the option Location Group > Location > Services & Classes:
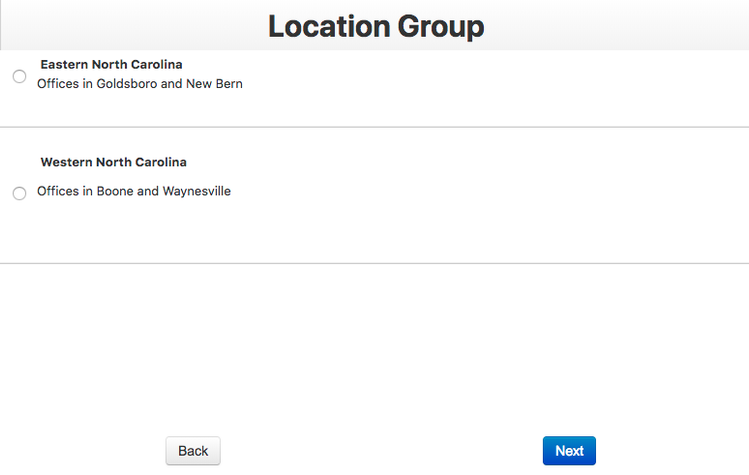
When clients visit any of my location super group booking sites they will see location groups after the Welcome Panel:
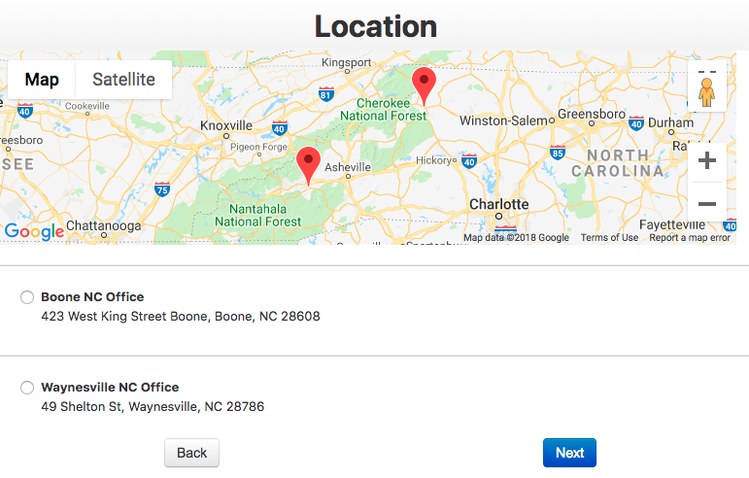
Then based on the location group they select the locations within that location group will be displayed:
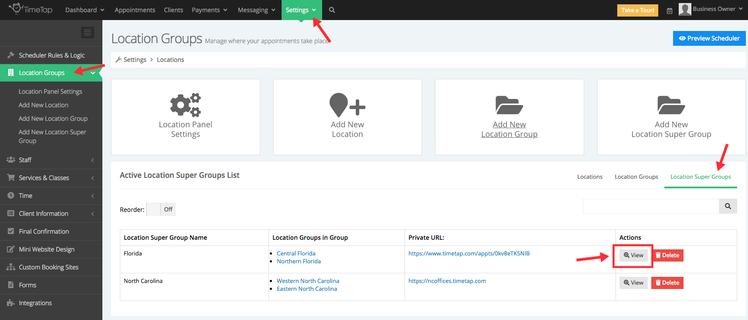
To edit location super groups begin by going to Settings → Location Groups → Location Super Groups then click view next to the location super group you want to edit:
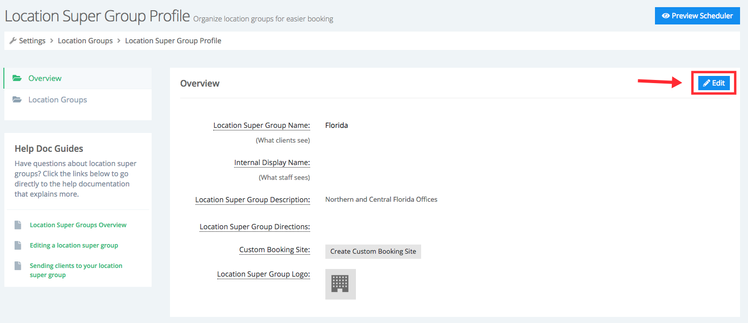
If you want to change the following items click Edit in the Overview section:
- Location Super Group Name: The super group name is what your locations groups are organized under and should represent the general category for all the location groups selected
- Internal Display Name: This is how the location super group name will appear to you and all your staff when you're logged into the back office. If this field is left blank TimeTap will use the name in the Location Super Group Name field
- Location Super Group Description: This appears under the location super group's name in the scheduling flow and can be used to provide more details around what's included in the location super group
- Location Super Group Directions: If you need to put in directions to get to your location super group, you can enter them in this field and then inject them into your email templates using the tag %LOCATION_SUPER_GROUP_DIRECTIONS%
- Custom Booking Site: If you have not create a custom booking site for a location group click this button to create one. If you only want to show clients the option to book within a specific location super group send them to the URL for the custom booking site
- Location Super Group Logo: This will appear at the top of your location super group private scheduling page in place of your main logo
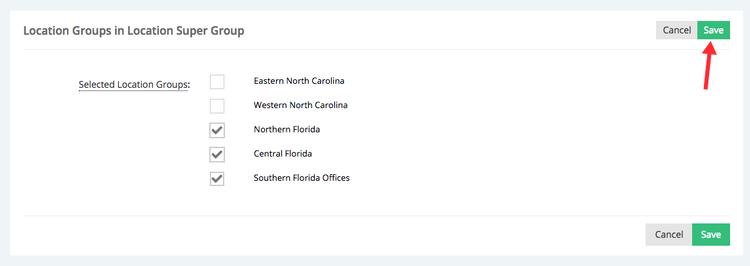
To add or remove location groups within a location super group click the Edit button in the Location Groups in Location Super Group section:
After you select the additional locations or remove them click the Save button:
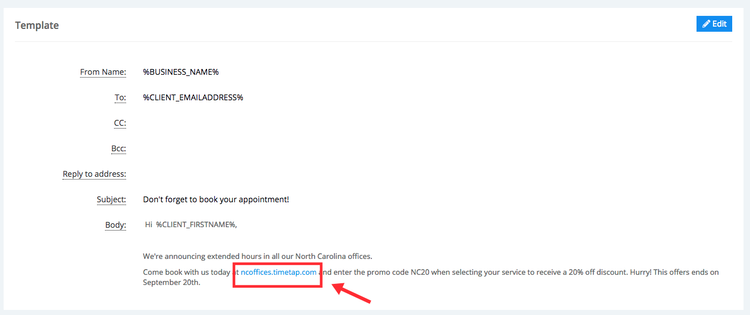
Before you can email a location super group link to your client we recommend creating an invitation template (click here to read the step by step guide), after you add your invitation template and add your location super group's custom booking URL in it you are ready to send the template to your clients:
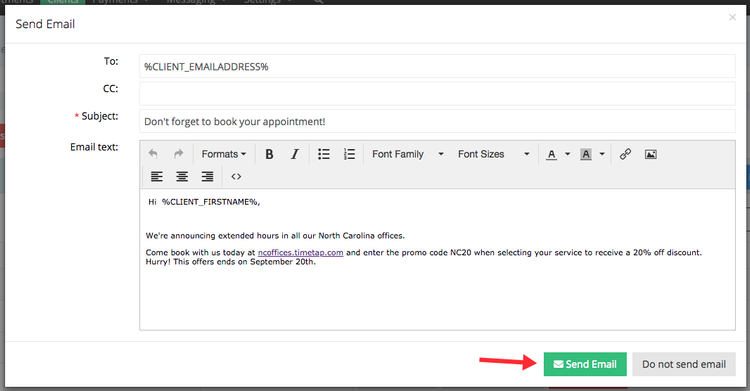
Go to you list of clients and select the clients who you want to send the invitation email to and click the Send Email button:
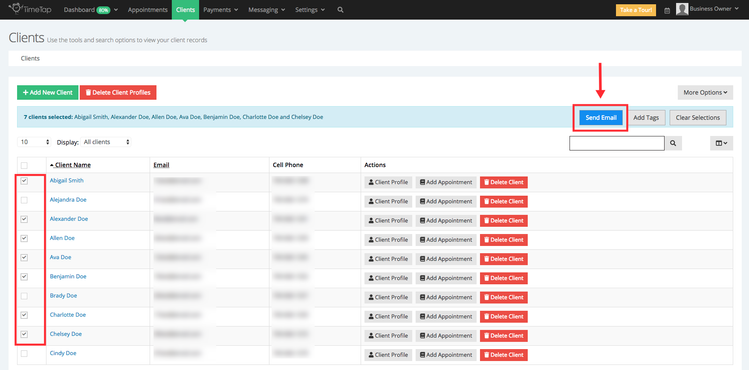
A new window will appear where you can select the template you want to email to your clients:
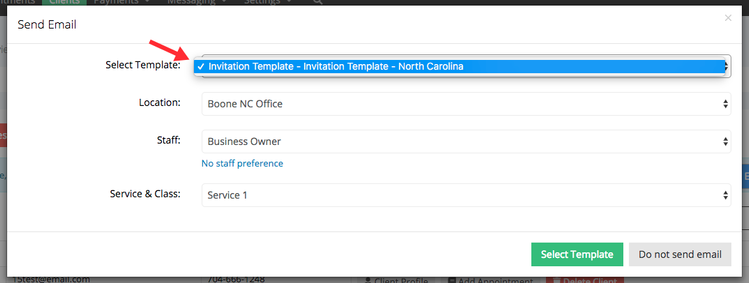
Note: If you didn't use the tags %LOCATION_NAME%, %STAFF_FULLNAME%, %STAFF_FIRSTNAME%, or %REASON% you don't have to worry about the selections you make in the Location, Staff, Service & Class as this information will not be populated in your template.
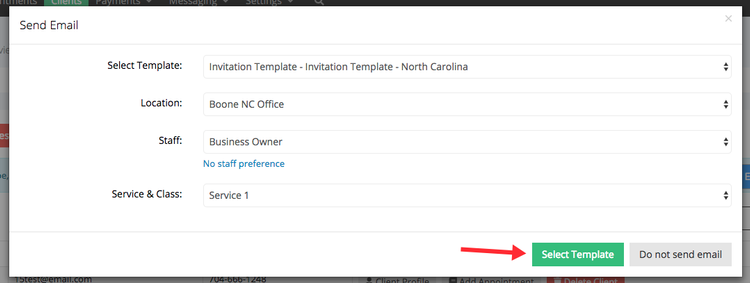
After selecting your template click the Select Template button to see a preview of the email you're about to send to your clients:
You can make changes to the email before sending but if it looks good, click the Send Email button: