Categorizing appointments by status
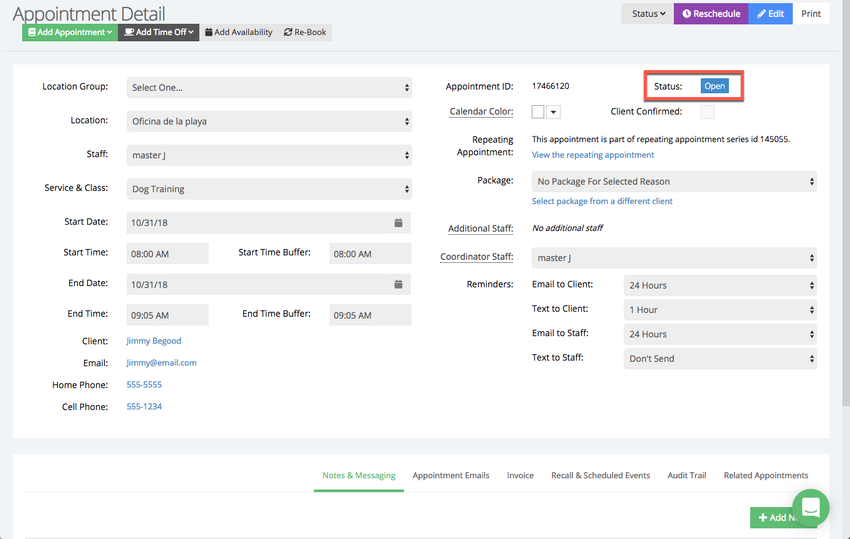
Open status is what every appointment is listed as initially. As soon as you add an appointment or the client schedules him/herself, the appointment is added to your schedule and in Open status.
Appointments that are listed in Open status can be found in the Open appointments list under Appointments → Appointment Lists → Open. You can change the status of an Open appointment to Checked In, Completed, No Show, or Cancelled.
When appointments are first opened, clients will receive a New Appointment email and the staff will receive a New Appointment notification. If appointments are re-opened (after being marked as any other status) then clients will receive the Appointment Edited email.
You'll know if an appointment is in open status because the status will display on the "Appointment Detail" page in blue in the status section:
As clients come in for their appointment, you can mark their appointment as Checked In. You can mark either Open appointments or No Show appointments as Checked In. From Checked In status, appointments can be marked as "Checked Out & Completed" or "Checkout as No Shows".
To provide a little more color on this one, Checked In is sort of a half way status. It is still technically an Open appointment and thus it's not a status that stands on it's own. Checked In appointments can be viewed separately from or together with Open appointments.
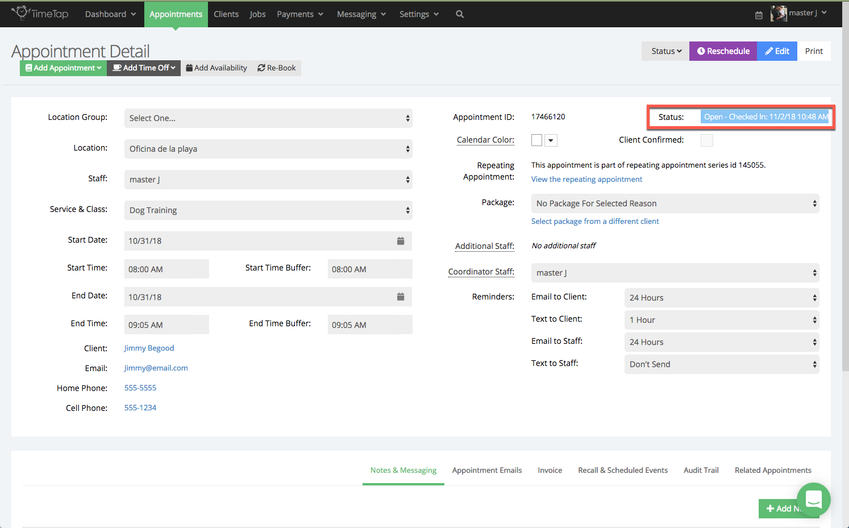
As appointments are marked as Checked In, their check in time is stamped on the status of the appointment. You can see this check in time on the audit trail or in light blue on the appointment detail page in the status itself:
An appointment that's in Completed status means that the client has come in and the service for the appointment has been successfully rendered. Appointments can move to "Completed" status from any other status and the completed time will be marked in the audit trail for the appointment.
Usually once appointments are marked as completed, that is the end of the appointment's life cycle. It may, however, be Re-Opened or you can change the status to Cancelled or No Show if you accidentally marked it as Completed by mistake.
As you mark an appointment as completed, you have the option to send out a follow up Thank You email to the client with a note that you can add to it.
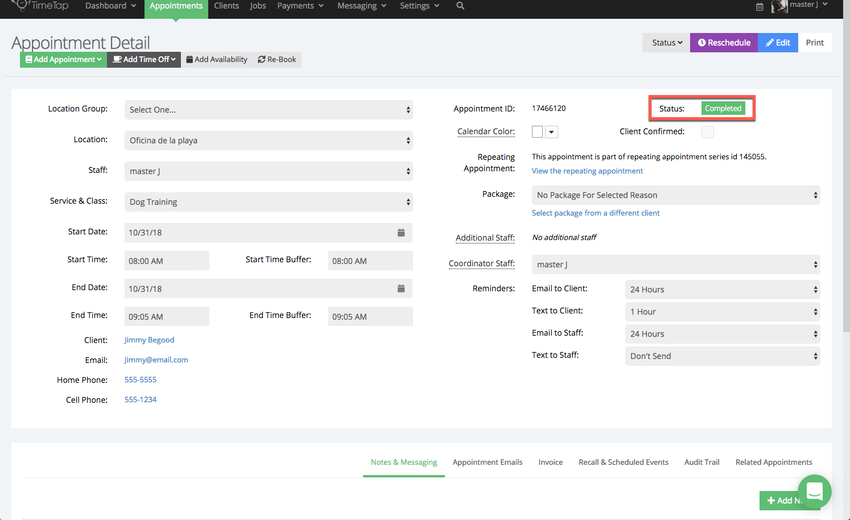
You can tell if an appointment is in Completed status from the green listing on the appointment detail page:
Either a Client or a Staff person can mark an appointment as "Cancelled". A client can do so by logging into the scheduler to manage his/her appointments or by clicking on the link in the New Appointment email they receive or the Appointment Reminder email.
Marking an appointment as Cancelled clears it from your calendar view to open that time-slot up for another person looking to schedule with you. All canceled appointments can be found by going to Appointments → Appointment Lists → Cancelled. It can also send out an email to the client and the staff about the cancelled appointment.
Cancelled appointments can be Re-Opened if a client cancelled in error, or they can be marked as Completed or No Show if you as a staff person accidentally categorized them incorrectly. Cancelled appointments can also be deleted (be careful, though, as this is a permanent action).
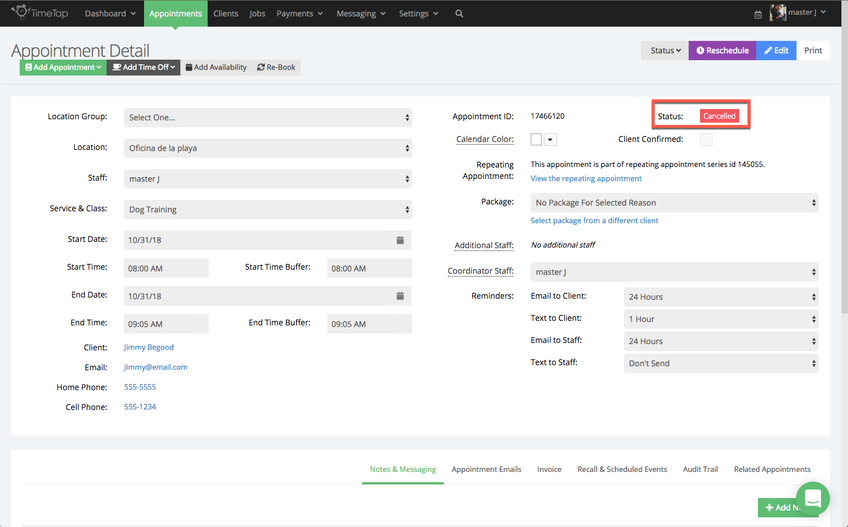
From the Appointment Detail page, you can see if an appointment is in Cancelled status by the red status listing:
It the client does not end up showing up for his/her appointment time, you can mark the appointment as No Show. This does not clear it from your calendar view like a cancelled appointment, but it does categorize it in a different list than the rest of the appointments.
From No Show status, appointments can be Re-Opened or Checked In in case the client just arrived late for his/her appointment. It can also be marked as Completed or Cancelled in case you incorrectly categorized the appointment as a No Show.
Clients whose appointments get marked as No Show will receive a No Show email if you want to send them one. You could prompt them to re-schedule or you could yell at them for wasting your time (not advised, but it's your world ![]() )
)
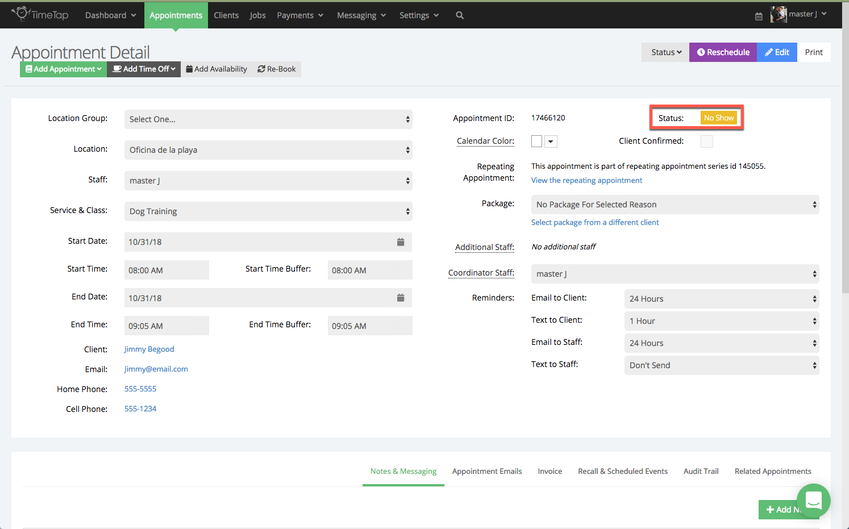
You can tell if an appointment is in No Show status form the yellow label they receive in the Appointment Detail screen:
Status 6: Confirmed
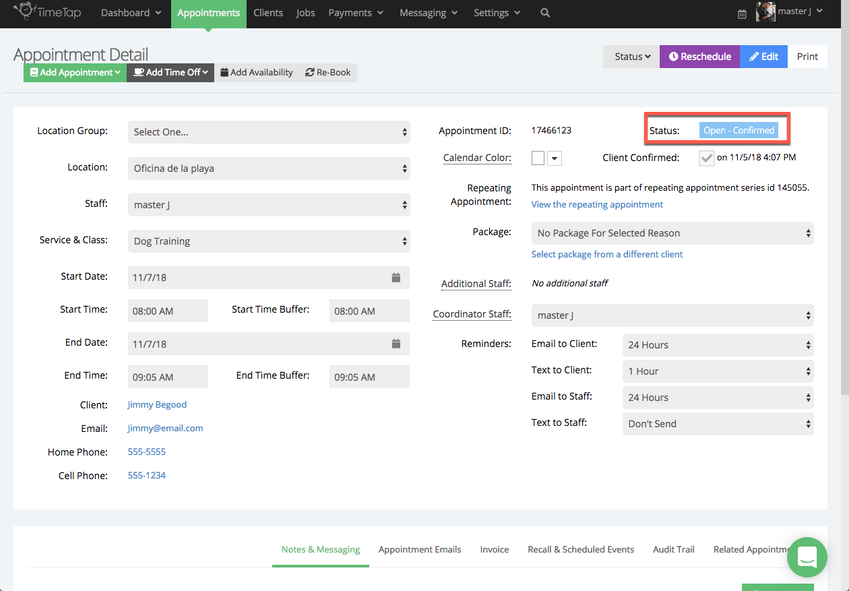
An appointment can be confirmed by the staff in the back office or the client can simply click the Confirm button in the reminder email to confirm him- or herself.
Confirmed is a substatus of Open and appointments with this status will appear under Open appointment lists and reports. An appointment can thus only be marked as Confirmed if it first is marked as Open.
Status 7: In Progress
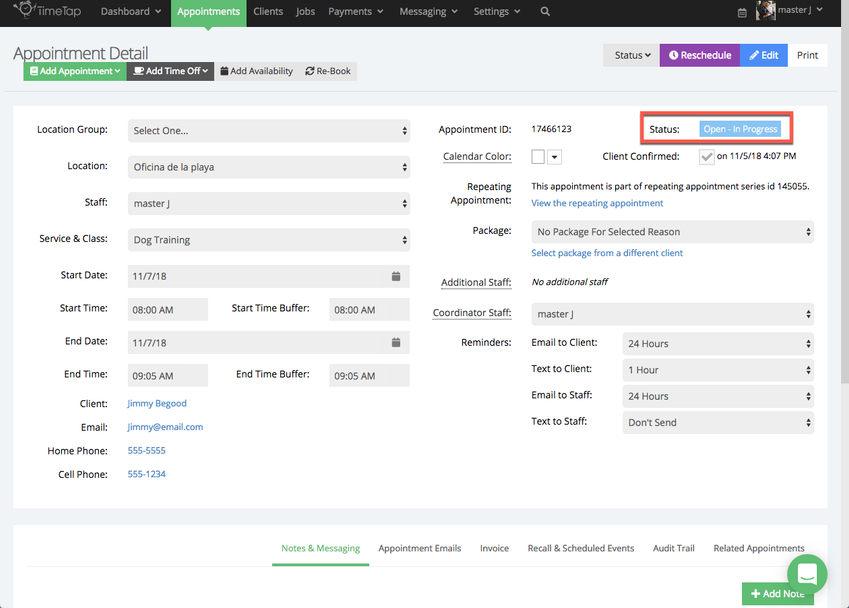
An appointment can only be marked as In Progress by the staff only, and this status helps staff determine when an appointment has started for the purpose of tracking how much time a staff member spends with a given client.
In Progress is a substatus of Open and appointments with this status will appear under Open appointment lists and reports. An appointment can thus only be marked as In Progress if it first is marked as Open.
